Hey Lovelies!!
Almost easter and one last easter craft. Well I made it for easter this time around, but the base you can use all year round. I always loved this technic, Paper Wicker. If you don’t know what that means, it’s a recycle craft, using old newspapers. Let’s make a wreath of old newspapers!
For this DIY you’ll need:
♥ A bunch of old newspapers.
♥ (Acryllic) Paint.
♥ School Glue.
♥ Hot Glue Gun.
♥ Brush.
♥ Something slim and round, like a skewer.
♥ Anything to decorate, think of ribbon, easter bunny, eggs, etc.
DIY
Start with the newspapers, Cut them in strokes with a width of about 10cm. It’s totally fine if they are wider of smaller. The length doesn’t matter, just take the length of the newspaper you have.
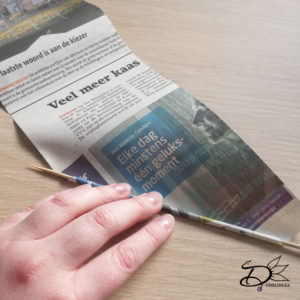
Now take your skewer and start at one of the points of you newspaper strokes. Roll them as tightly as you can and glue the point close with school glue. Let it dry for a bit and go on to the next one. You need a lot of these rolls, I ended up using about 100.
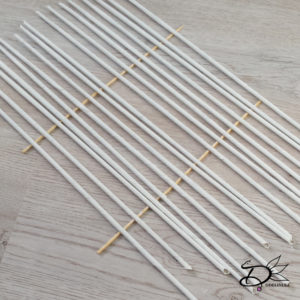
The next step is optional, it really depends on which look you want your wreath to have. But paint all the newspaper rolls in the color you like. I used white acryllic paint and gave it about 2 coats of paint. let everything dry very well now before you move to the next step. (What I figured is that you maybe should skip painting at this point, and spray paint the finished wreath at the end. but I am not sure if that will work out).
Wreath making
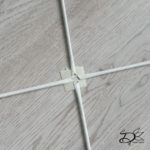
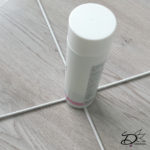
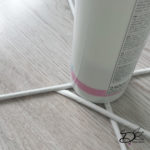
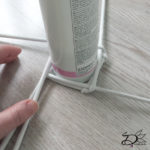
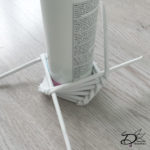
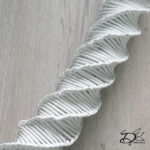
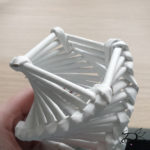
Now it’s time to actually make the wreath, take 4 rolls of newspaper and stick a roll of tape (so it’s double sided) on your floor or desk, wherever you have enough space. Make a cross like the picture below. Set something, a tube, in the middle of the cross, where the tape is, something round, I used my make up remover xD. Add a 5th newspaper roll, glue the point under one of the rolls, and put the rest of the length over the next roll, along your tube in the middle, as shown in the picture. Let this one dry well before you continue.
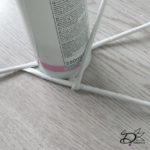
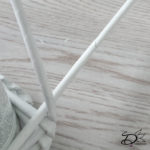
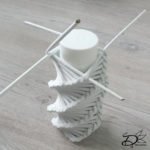
The roll you added last, the 5th you glued on, lays over one of the 4 you started with, fold the one under the 5th one, over the 5th along the tube. The next roll that lays under because you just folded one, fold that one over along the tube. So everytime you fold one over the other, it lays on another roll, the one that’s under you always fold over that one. keep on doing this until you have enough length to make the wreath.
When a roll is finished, add a new one, you can slide them into each other with some glue and simple continue going.
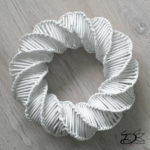
When you finished the lenghth you like, and you are able to make it round as a wreath, glue the ends on both sides, to the inside with some hot glue. Now you can also glue both ends together with hot glue and hold for a bit. When the glue is set and you like the shape, you can go on to the fun part! Decorating time!
Decorating
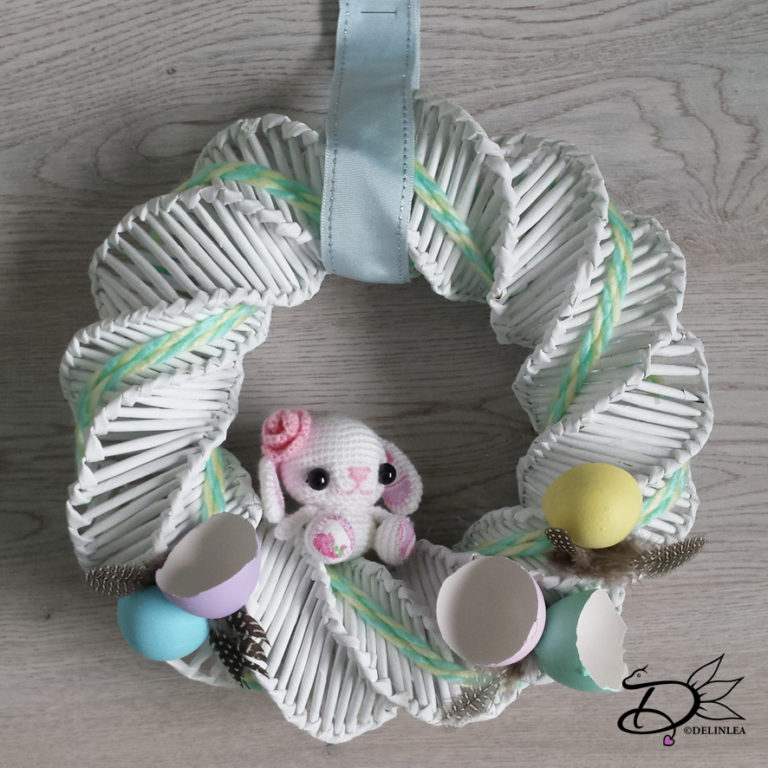
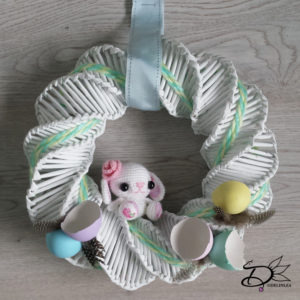
You can decorate your wreath the way you like. I used some yarn and wrapped it around. Had a crochet bunny I made a long time ago, added that to the middle, and some eggshells and feathers to make the easter look complete. I kept it fairly simple, but you can make it as complicated as you like!
I hope you enjoyed this DIY! I would love to see what you created! #DelinleaDIY. And if anything isn’t clear, comment below or send me an email, I’m happy to help you out!
Love Danielle

