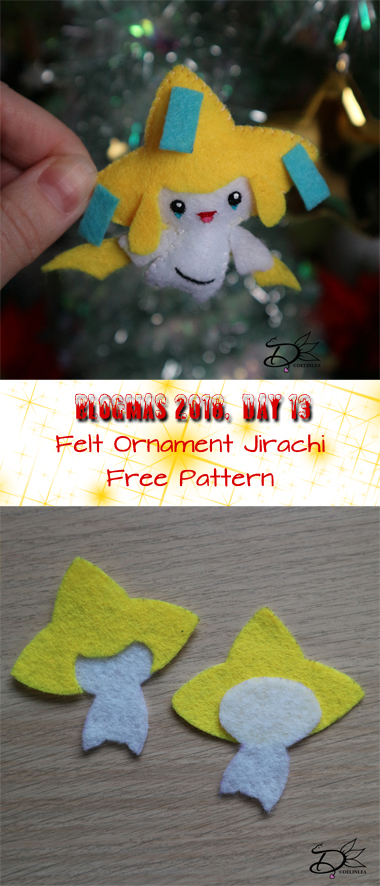
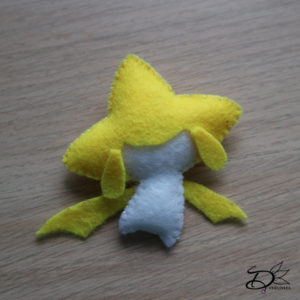
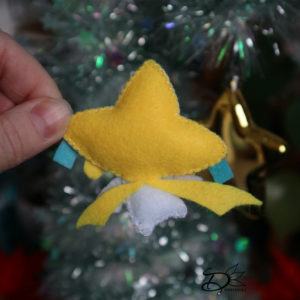
Hey Lovelies! It’s day 13 of Blogmas! Having fun so far?! Have you made anything yet?! For today I planned another felt ornament! It’s time for Jirachi! I kept him as he is, why cause he is already a star haha xD. Let’s do this.
For this DIY you’ll need:
♥ Felt in the colors Yellow, White and Blue.
♥ Sewing thread in matching colors to the felt.
♥ Sewing Needle.
♥ Trick Marker or anything else where you can copy the pattern with on to your felt.
♥ Pattern.
♥ Scissors.
♥ Stuffing.
♥ Fabric Glue. (optional)
♥ Acryllic Paint in Black, Red, White and Blue.(optional, you can use felt instead if you like)
DIY
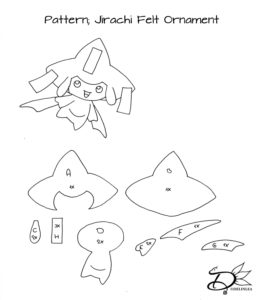
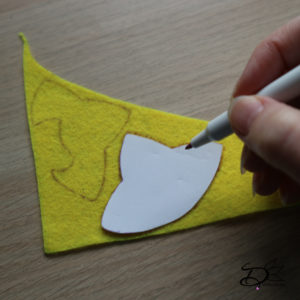
First off all, download the pattern HERE! And print it out (or draw it from your screen). The good thing is, you can make it as big as you want! Then cut out all the pieces. On every piece is stated how many times you need to cut it out of felt.
Now cut out all the parts from felt. Part A, B, C, F and G out of Yellow. Part D and E from white felt and Part H out of Blue felt.
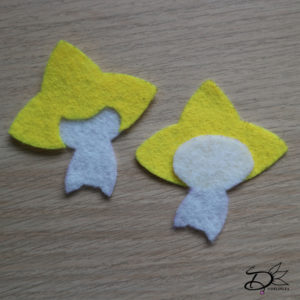
Place parts D on part A and B. Just like the pic has shown, you can either glue this on like I did, or sew it on.
Put these 2 parts on top of each other and sew them together with a blanket stitch. Start sewing the yellow part, stuff this. And then do the white part and before entirly closing, stuff the body as well.
Attach part C to the head now with either glue or sew it on. Do the same for parts H, F and G.
Don’t forget to give him a face! I used paint as usual, but you can use felt if you prefer! Do what feels right for you!
And he is finished already! Much easier as you would think right?! I hope you had fun and will make him too~. If you did, share it with me, #DelinleaBlogmas2018DIY or #DelinleaDIY.
Have a lovely day and I’ll see you tomorrow!
Love
Danielle

