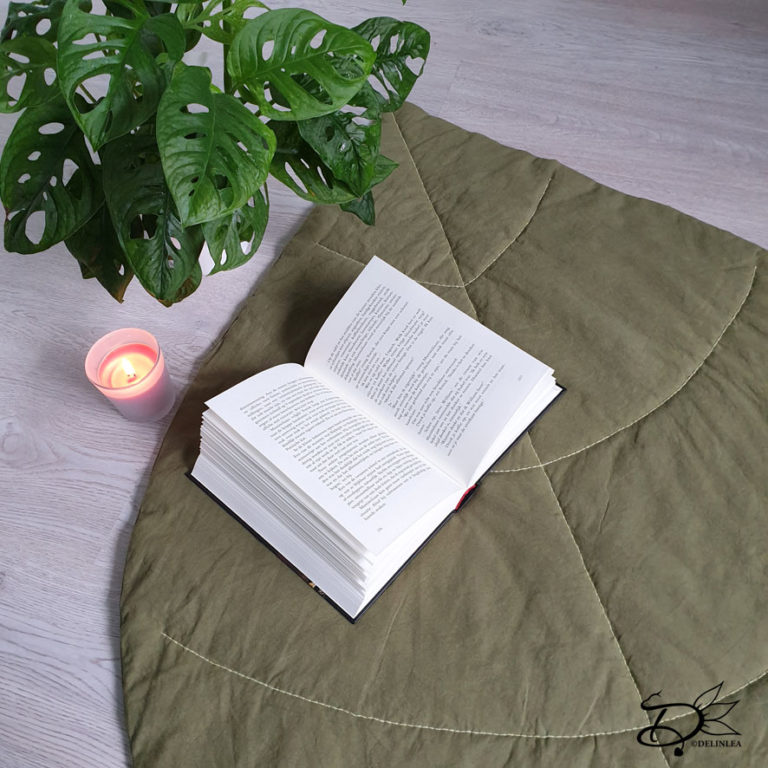
Hey Lovelies! Since colder days are coming, well, weather forecast says else, but let’s ignore that xD. I really need a new rug, that I could easily dump in the washing machine. My cat is kinda old, with her little accidents, I just need to be able to clean it well. My last rug didn’t survive the washing machine, oops, haha. So, I came up with a much more fun one, in the shape of a leaf! I love botanics and would fit my space well. While I was making it, I realized it would be perfect as blanket as well! So, double fun, just choose where you wanna use this Leaf Rug/Blanket for. Let’s see how to create your own.
For this DIY you’ll need:
♥ Green Fabric of choice, 1 by 2 meter.
♥ Sheet Stuffing/Snowblanket, 1 by 1 meter.
♥ Template of a Leaf.
♥ Sewing Machine. (optional)
♥ Needle and Thread.
♥ Embroidery Floss in Green.
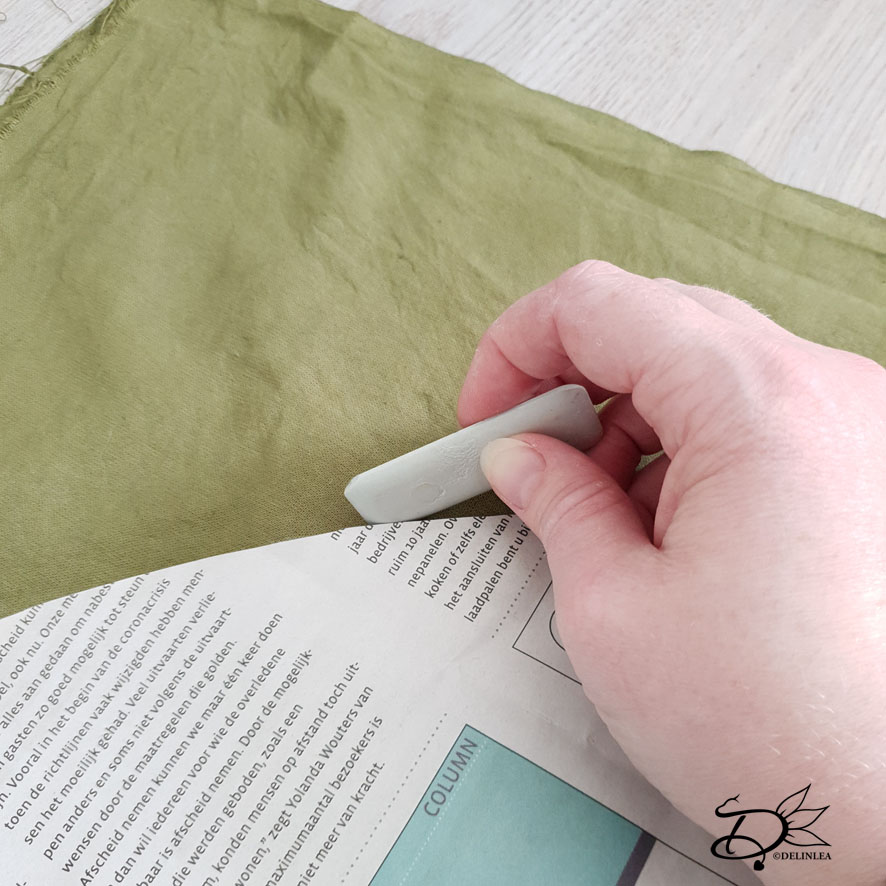
♥ Tailor’s Chalk.
♥ Sewing Pins.
♥ Fabric Scissors.
♥ Fabric Glue. (Optional)
♥ DIY Leaf Rug or Blanket
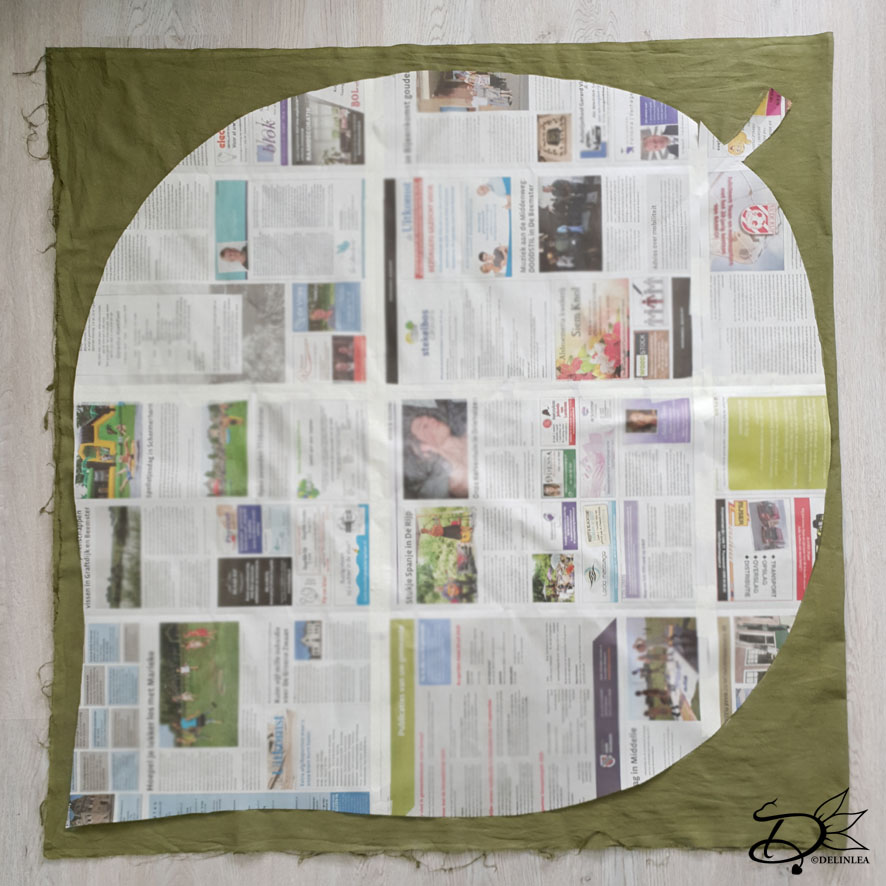
Make a template of a leaf, you can easily find shapes online or draw one yourself. If you are confident enough you can also draw directly on the fabric. Since I am a perfectionist, I used newspaper to draw my leaf on and cut it out. Make sure you stay within 1 by 1 meter.
Fold your fabric in half, so you have a 1 by 1 meter sheet. On this, position your template and trace around it with the tailor’s chalk. Or, if you chose to draw it freehand, use the chalk as well.
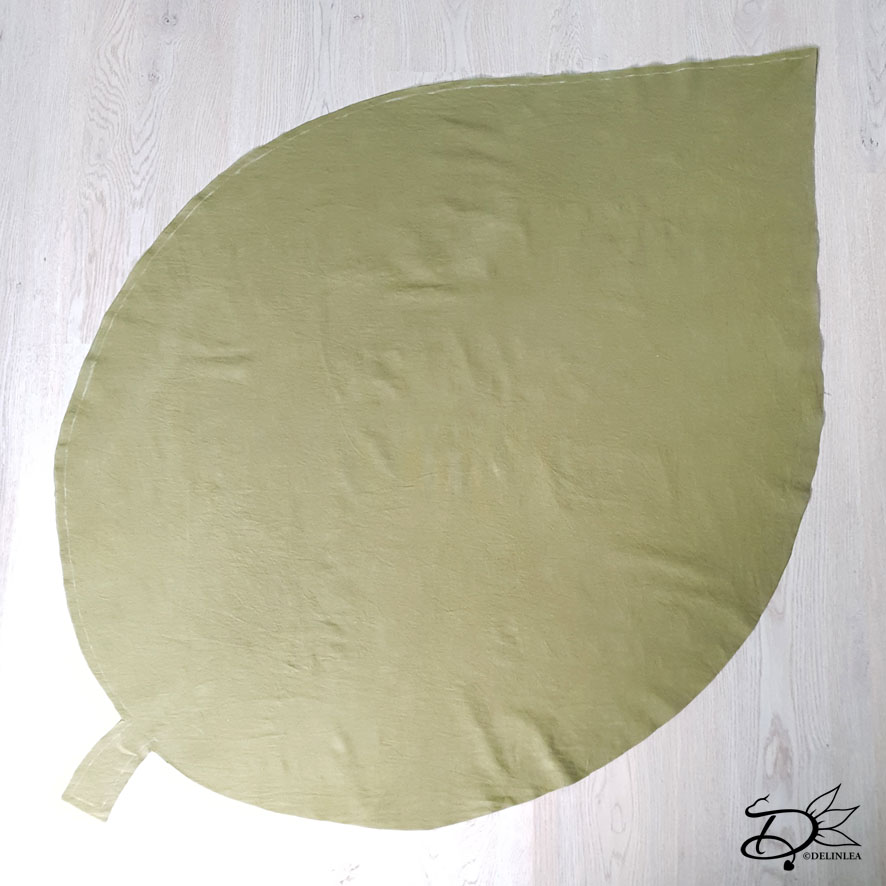
Now before you cut it out. Keep in mind you need seam allowance. I just drew a line 1cm from the edge of the leaf on the inside, or you can add it around it. Just keep in mind that if you draw it within the shape, it will turn out a bit smaller. When you did that, cut it out, both layers at the same time!
Sewing
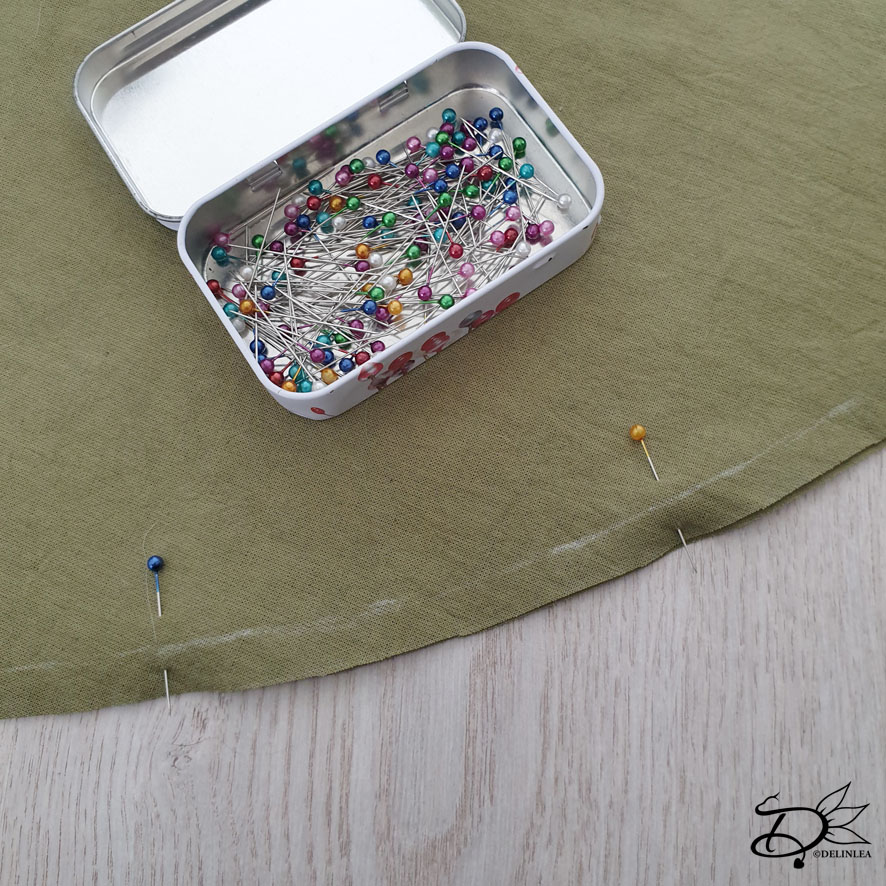
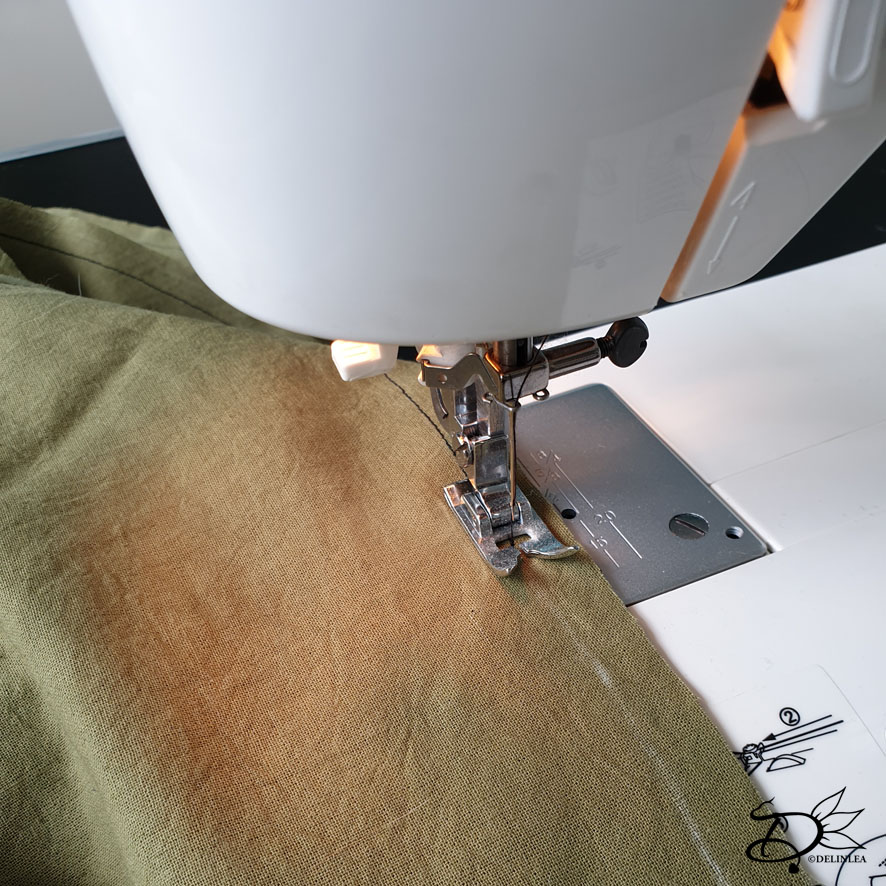
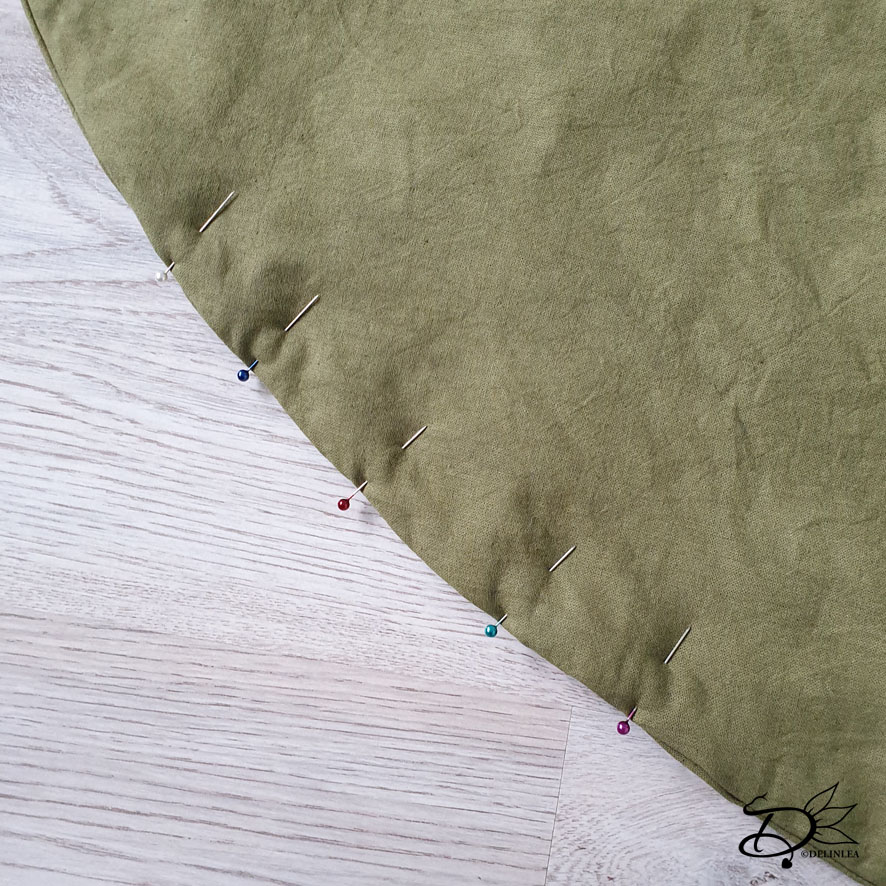
Now it’s time for sewing! You could do this by hand, but that will probably take a while! I used my sewing machine, just a straight stitch will do. Start somewhere on one of the sides, since you need to leave a gap, about 20cm, to turn it inside out. To keep the layers together before sewing, use sewing pins along the edge.
Stuffing.
I used an old snow blanket for the stuffing, it was perfect! Cut it to size, use your template. It doesn’t have to be perfectly shaped, just make sure that it will fit inside the seams.
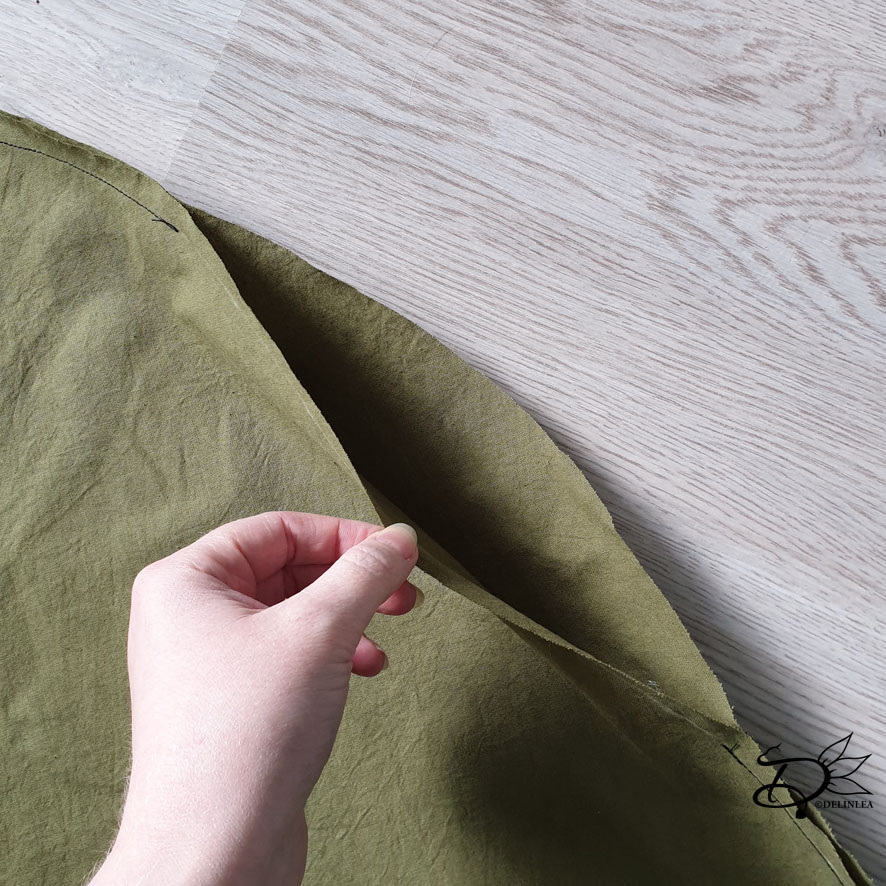
Now for the tricky part, the stuffing has to end up on the inside. You can do this 2 ways. Just flip the fabric and try to get the stuffing nicely inside, which is a challenge but possible.
Or the second way is, before you flip it, use a bit of fabric glue around the edge of the stuffing and glue it to the fabric. Just a warning here, test you glue on a scrap piece of fabric first. Some will leave really bad stains and that’s not pretty! Make sure to let the glue dry well and then flip the whole thing.
Closing the Gap.
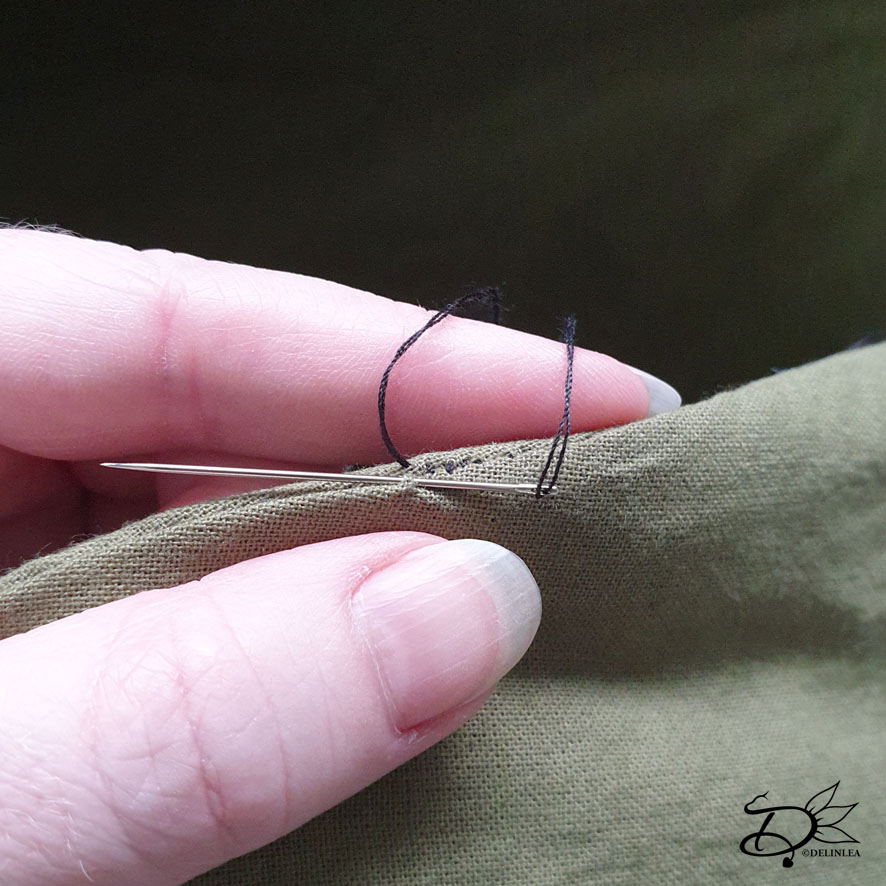
With a neeldle and thread, sew the gap closed. The best way is to use and invisible stitch. If you don’t know how to do this, watch a video on youtube, it’s not as hard as you might think. Make sure you fold in the sewing allowance neatly to the inside so, in the end, it won’t be visible when you are done.
Leaf Veins
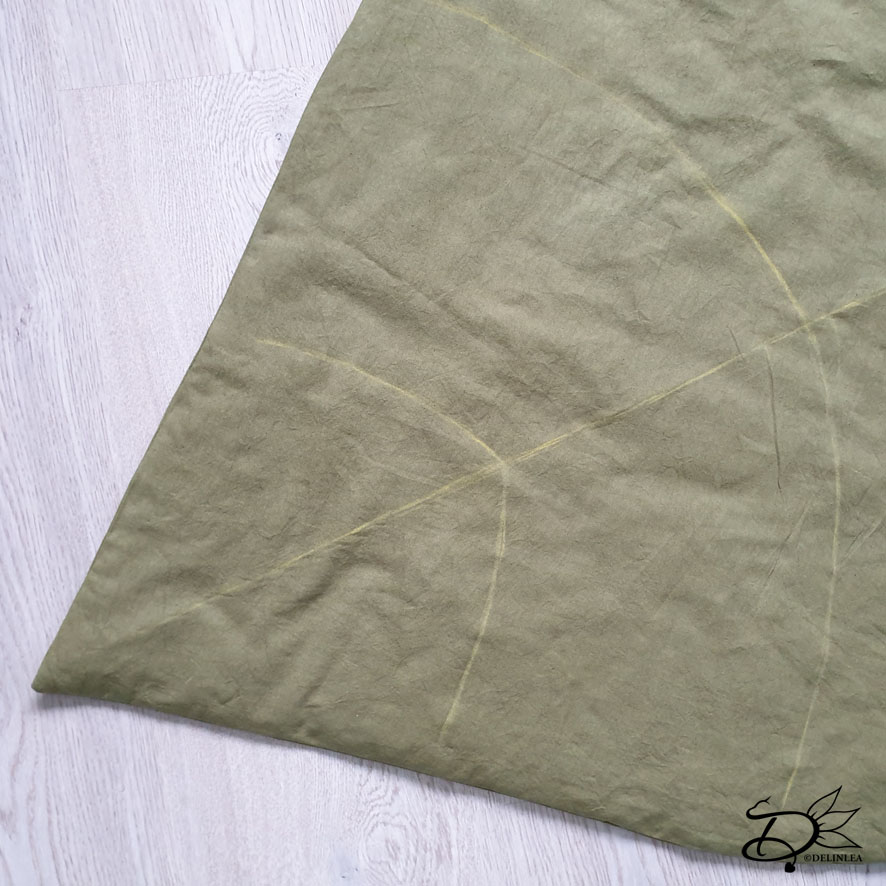
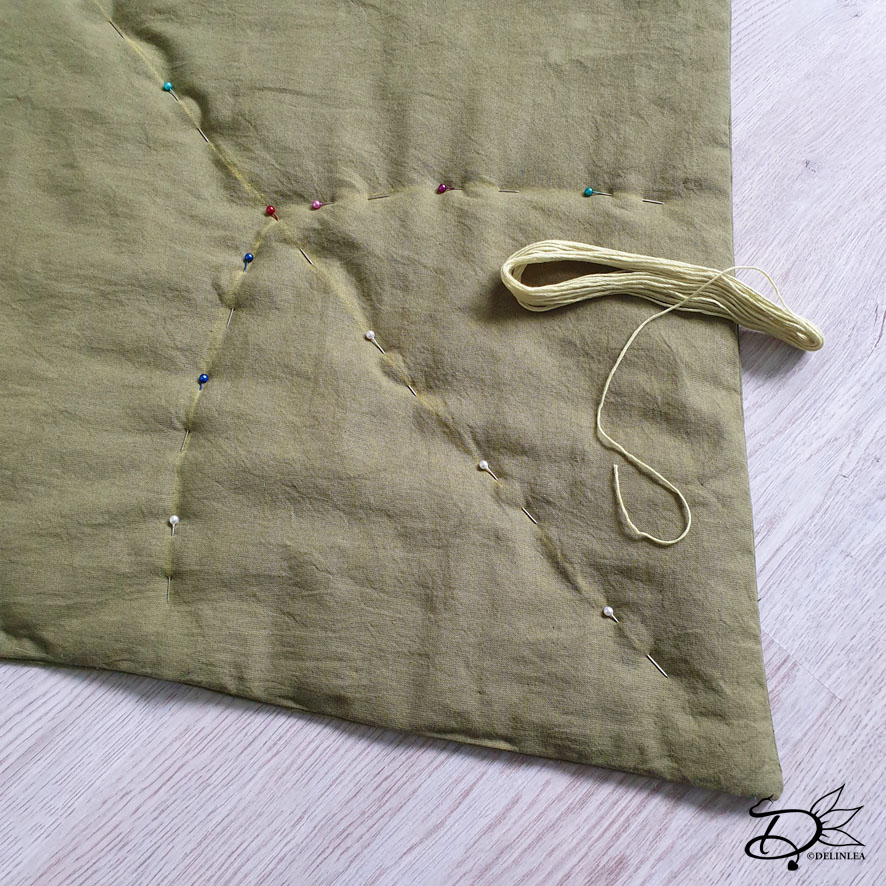
It’s time to give our rug or blanket some more detail! Take out you chalk again and draw out the Leaf Veins is any shape or form you like. If you are happy with how it looks, take your sewing pins and pin those down.
I did use embroidery floss, split in 3 strands. And stitched those veins by hand, it will take a while, but this way they were thinker as I could get with sewing it on my sewing machine. You, of course could choose to use your sewing machine to finish it quickly. But I think it was worth it to do it by hand.
♥ Finished!
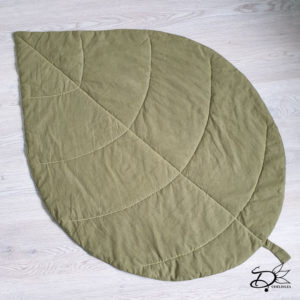
Your rug or blanket is finished! Isn’t it fun to see? I hope you enjoyed this tutorial and made a beautiful blanket or rug. If you did, don’t forget to show me on Twitter or Instagram with the #DelinleaDIY
Have a wonderful day and I’ll see you next week!
Love
Danielle

