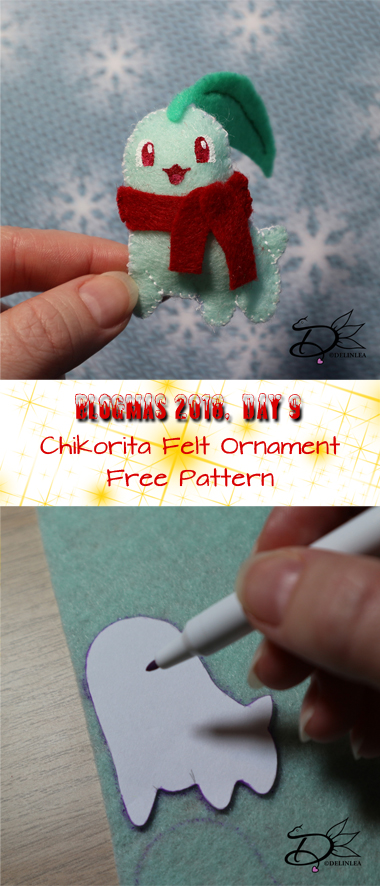
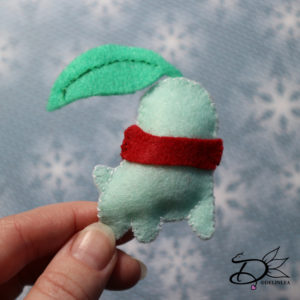
Hey Lovelies! It’s day 9 of Blogmas 2018! I love making those cute felt ornaments so I planned another one for today! It’s Chikorita’s turn! He needed some warmth so he’s wearing a scarf! ^_^
For this DIY you’ll need:
♥ Felt in the colors Light Green, Green and Red(white optional).
♥ Sewing thread in matching colors to the felt.
♥ Sewing Needle.
♥ Trick Marker or anything else where you cancopy the pattern with onto your felt.
♥ Pattern.
♥ Scissors.
♥ Stuffing.
♥ Fabric Glue. (optional)
♥ Acryllic Paint in white and Red (optional)
DIY
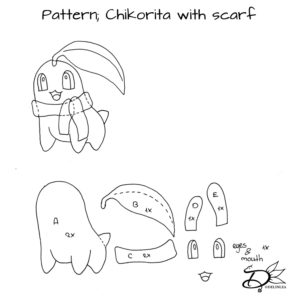
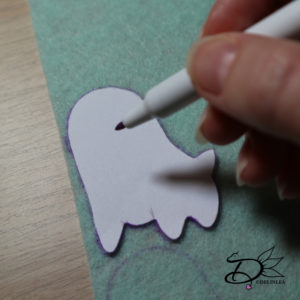
First off all, download the pattern HERE! And print it out(or draw it from your screen). The good thing is, you can make it as big as you want! Then cut out all the pieces. On every piece is stated how many times youneed to cut it out of felt.
Cut all the pieces out of felt. Part A out of Light Green,Part B out of Green Felt, Part C, D and E out of Red felt. The eyes and mouthyou can either choose to make them out of Felt or paint them on like I did.Depends on what you want.
Sew parts A together with a Blanket stitch. There are some lines in the body that continue, use a running stitch to make those lines, and go back the same way.
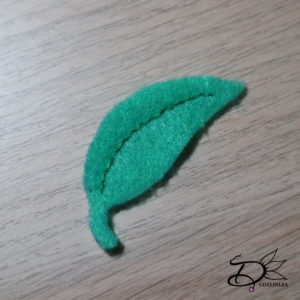
With a running stitch you’ll make the details in the leave (part B). After that, you’ll glue or sew it to Chikorita’s head.
Then it’s time to put on his scarf, I glued all pieces on, only on the sides of parts C I used a blanket stitch.
Last but not least, paint on his eyes and Mouth. Or if you chose to make them out of felt, do that now.
And another ornament is done! This one we can add to our collection! And if you made one, don’t forget to share with #DelinleaBlogmas2018DIY or #DelinleaDIY on Twitter or Instagram, so I can see^^
Love
Danielle

