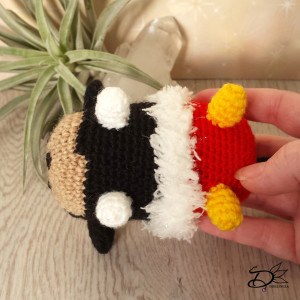
♥ Day 3: Minnie Tsum Tsum Amigurumi
Hey Lovelies!
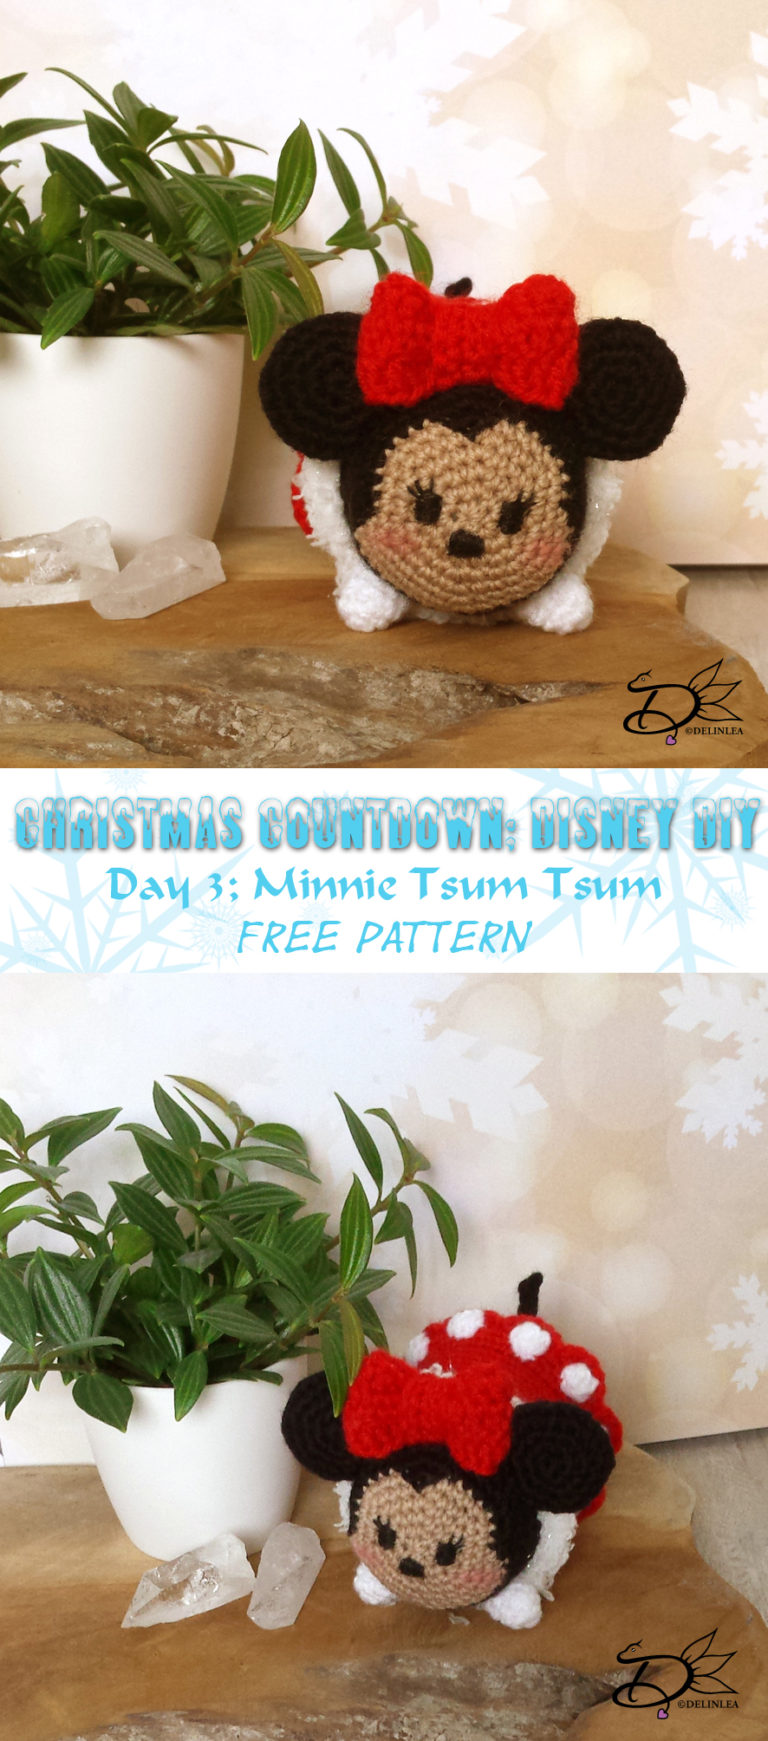
Since we have made a Mickey Tsum Tsum, we need to make Minnie Tsum Tsum as well. You can’t have a Mickey without Minnie, right?!
Anyway, time is going so fast haha, I hope you have some time to make at least a few of the DIYs I post. These days are always so hectic. So, lets relax a bit with making these cuties. Here’s the pattern for Minnie.
So for this DIY you will need:
♥ Yarn: in the colors Beige, Black, Red, Yellow and White.
♥ Cloud Yarn in white (optional).
♥ Crochet hook.
♥ Stitch marker.
♥ Fiber fill.
♥ Yarn needle.
♥ Embroidery needle with thread or felt.(Black)
♥ Scissors.
Stitches used:
SC = Single Crochet.
DC = Double Crochet.
ST = Stitch.
Inc = Increase.
Dec = Decrease.
Slst = Slip Stitch.
(…) = Repeat the space in brackets the given number of times.
[…] = Total number of stitches.
♥ Pattern:
Body:
Start with Beige.
1: 6SC in magic ring. [6]
2: Inc in each st around. [12]
3: (1SC, inc), 6 times. [18]
4: (2SC, inc), 6 times. [24]
5: (3SC, inc) 2 times, 3SC, (1SC Beige and 1SC Black in the same st) Change back to Beige, (3SC, inc)3 times. [30]
6: (4SC, inc) 2 times, 3SC, change to Black, 1SC, inc, 1SC, Change back to Beige, 3SC, inc, (4SC, inc) 2 times. [36]
7: 5SC, inc, 2SC, change to Black, 3SC, inc, (5SC, inc) 2 times, 3SC, change Back to Beige, 2SC inc, 5SC inc. [42]
8: 8SC, change to black, 24SC, Change to Beige, 10SC. [42]
Change to Black.
9: SC in each st around. [42]
14: SC in each st around. [42]
Change to Red.
15: SC in each st around. [42]
16: Work in back loops only, SC in each st around. [42]
17: SC in each st around. [42]
|
26: SC in each st around. [42]
Change to White
27: Work in back loops onlu, SC in each st around. [42]
28: SC in each st around. [42]
29: SC in each st around. [42]
30: (5SC, dec), 6 times. [36]
31: (4SC, dec), 6 times. [30]
32: (3SC, dec), 6 times. [24]
33: (2SC, dec), 6 times. [18] Stuff the body here.
34: (1SC, dec), 6 times. [12]
35: Dec around. [6]
Fasten off and weave in tail.
Now join in the front loops of row 16 with Cloud yarn (or white if you don’t have the fluffy stuff) and Crochet 42 SC. Fasten off and weave in tail.
For her Skirt, join in the front loops of row 27 with Red.
1: SC in each st around. [42]
2: SC in each st around. [42]
3: (1SC, skip 1 st, 6DC in the next st, skip one st) 10 times. [66]
Fasten off and weave in tail.
Dots on her dress: (10)
Crochet 5SC in magic ring and fasten off. leave a long tail for sewing.
Legs: (4)
Make 2 with white and 2 with yellow.
1: 4SC in magic ring. [4]
2: Inc in each st around. [8]
3: SC in each st around. [8]
|
5: SC in each st around. [8]
Fasten off and leave a long tail for sewing. You don’t have to stuff the legs.
Ears: (4)
In black.
1: 6SC in magic ring. [6]
2: Inc in each st around. [12]
3: (1SC, inc), 6 times. [18]
4: (2SC, inc), 5 times. [21] Fasten off.
Now sew 2 of the ears together so you get nice puffy ears, don’t stuff them tho.
Tail:
Chain 9, insert in second chain from hook and make 8 slst. Fasten off and leave long tail for sewing.
Bow:
In red.
1: CH22, insert in 3rd chain from hook, 20DC, turn [20]
2: Ch1, 20DC, turn [20]
3: Ch1, 20DC. [20]
Fasten off and sew both ends together so you get a circle. Keep the sewd together part in the middle wher the middle band of the bow comes and flatten it.
Middle part of the bow:
In red.
1: Ch 9, insert in 2nd chain from hook, 8SC, turn. [8]
2: Ch1, 8SC, turn. [8]
3: Ch1, 8SC. [8]
Fasten off and sew both ends together and place it in the middle of the main part of the bow. The easiest way to do this to sew it around it. Leave long tail to sew it onto her head.
♥ Assembling
To make sure you sew all parts in the right place, you can use some sewing pins to position them. When you are happy with the position, you can sew them on.
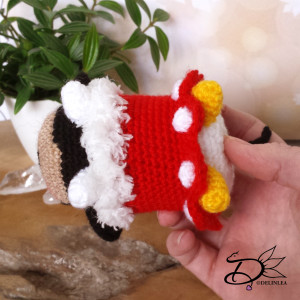
Sew the legs on to the bottom of the body, the front legs are pointing to the front. The back legs are pointing to the side.
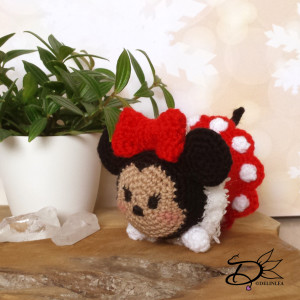
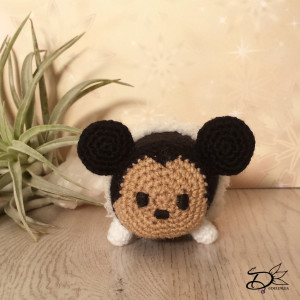
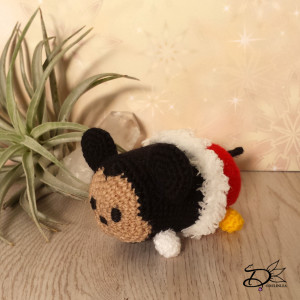
As for the ears, sew them about 2 or 3 layers from the face. Use my photo’s as a guideline to place them on the right spot.
In the middle of the ears, sew the bow. and fluff it up a bit.
The tail you’ll sew on her butt.
Sew the Dots on her skirt.
For the eyes and nose you can either choose to use felt or you can embroider them on. I chose to embroider them on, cause yeah why choose the easy way haha. But which way you choose, Minnie will look cute.
I hope my pattern is clear. If you have any questions, leave a comment below and I’ll get back to you.
I would love to see what yours look like! Leave a link in the comments below or tag me on Twitter or Instagram and use the #DelinleaDIY.
Have fun making Minnie! Good luck~
Love
Danielle

