♥ Amigurumi: Donald And Daisy Ufufy Keychain
Hey Lovelies!
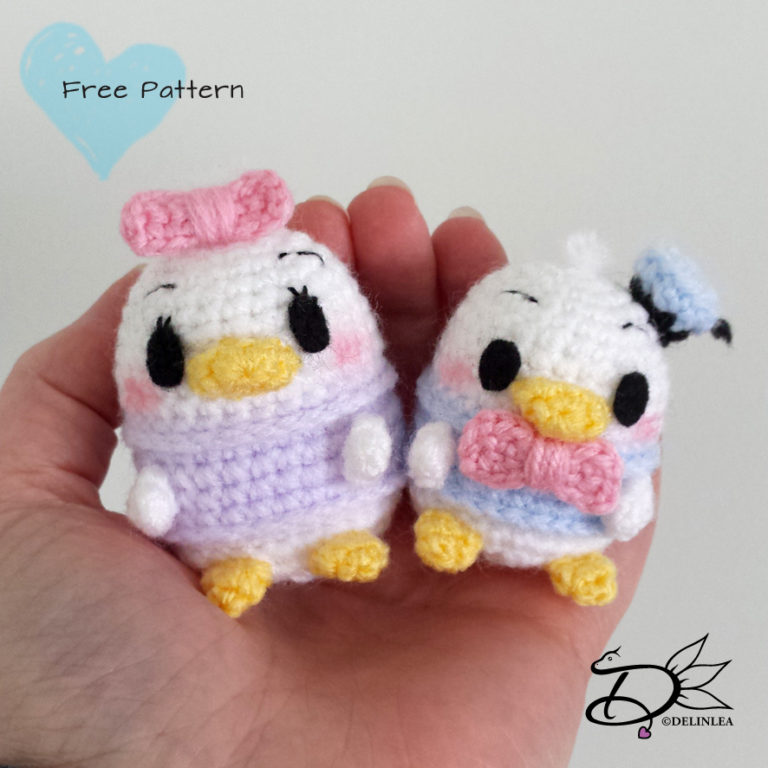
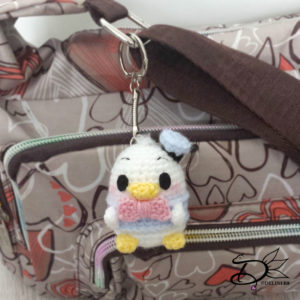
Do you have your crochet hook ready?! I really needed a keychain to go on my bag, it feels so boring! And then I had to the trouble of picking what I want to go on there! Oh well, I can always change it up again. So, I thought of making a Donald and Daisy Duck Ufufy! Hope you will like that as well!
For this DIY you’ll need:
♥ Yarn. I used thin acrylic yarn. White, Pink, Light Yellow, Light purple for Daisy, Light Blue and Black for Donald.
♥ Crochet hook.
♥ Stitch marker.
♥ Yarn needle.
♥ Sewing pins. (optional)
♥ Embroidery Neeldle and Black thread.
♥ Scissors.
♥ Fiber Fill.
♥ Black Felt.
♥ Key Chain.
♥ Glue (optional).
Stitches used:
CH = Chain.
SC = Single Crochet.
ST = Stitch.
BL = Back Loop.
FL = Front Loop.
Inc = Increase.
Dec = Decrease.
Slst = Slip Stitch.
(…) = Repeat the space in brackets the given number of times.
[…] = Total number of stitches.
Pattern
Body
Start with White.
1: 6SC in magic ring. [6]
2: 2SC in each ST around. [12]
3: (1SC, inc), 6 times. [18]
4: (2SC, inc), 6 times. [24]
5: SC in each st around. [24]
6: SC in each st around. [24]
7: (3SC, inc), 6 times. [30]
8: SC in each st around. [30
|
10: SC in each st around. [30]
Change to Light Blue for Donald of Light Purple for Daisy.
11: SC in each st around. [30]
12: Work in Back Loops only, SC in each st around. [30]
13: SC in each st around. [30]
|
15: SC in each st around. [30]
Change back to White.
16: Work in Back loops only, SC in each st around. [30]
17: SC in each st around. [30]
18: (3SC, dec), 6 times. [24]
19: (2SC, dec), 6 times. [18] Stuff the body here.
20: (1SC, dec), 6 times. [12]
21: Dec all around. [6]
Fasten off and weave in tail.
Working in Back Loops is optional, but this gives a bit more 3D-ish look. So at row 12 and 16 you worked in Back Loops, join now in the Front Loops and SLST around. Fasten off and weave in tail.
Legs (4)
2 in White, 2 in Light Yellow.
1: 4SC in Magic Ring. [4]
2: (1SC, inc), 2 times. [6]
Fasten off and leave long tail for sewing. You don’t have to stuff them, just flatten.
Beak
In Light Yellow.
1: 6SC in Magic Ring. [6]
2: (1SC, inc), 3 times. [9]
Fasten off and leave long tail for sewing. You don’t have to stuff them, just flatten.
Bow
In Pink.
1: Chain 7, insert in 2nd chain from hook, 6SC, turn. [6]
2: Chain 1, 6SC. [6]
3: SLST around the bow for a nice edge.
Fasten off and leave a long tail. Use a Yarn Needle to go to the middle of the bow and wrap the tail tightly around several times and fasten off.
Donalds Hat
Start with Light Blue.
1: 6SC in Magic Ring. [6]
2: 2SC in each st around. [12]
3: Work in Back Loops only, (1SC, dec), 4 times. [8]
Change to Black.
4: Dec all around. [4]
Fasten off and leave long tail for sewing. You don’t have to stuff it.
Assembling
Sew on the beak to the larger part of the white, just above the colored part. Cut some eyes out of black felt and glue those to both sides of the beak.
Now you know where the middle is, you can place the legs easily, use some sewing pins to make sure you potition them first, before sewing on. This way you can easily move them around until you are happy with the look. The white ones go on the colored part and the light yellow ones, go on the white part just under the colored part, sew them on.
If you made Donald, sew his hat slightly to the side of his head. If you are done sewing, pull the left over thread through the hat, so you can make his little tag. Leave it a bit longer and cut it off.
For both Daisy and Donald I gave them some fluff on the head, I just took 3 pieces of white yarn, tied a knot on one side and pulled it though the side, with a yarn needle, to the middle of the head. Make sure the knot dissapears inside the body. Cute the yarn slightly longer as you want and with the yarn needle you can untwist the yarn, so it get’s fluffy. Now you can give them the final hair cut ^^.
Time for the bow. I glued them on, but you can totally sew them on if you prefer. By Donald it goes under his beak. And with Daisy it goes on top of her head.
I hope you enjoyed this Pattern! Would love to see yours if you made it! #DelinleaDIY on Instagram/Twitter/Vero.
Love
Danielle

