Hey Lovelies!
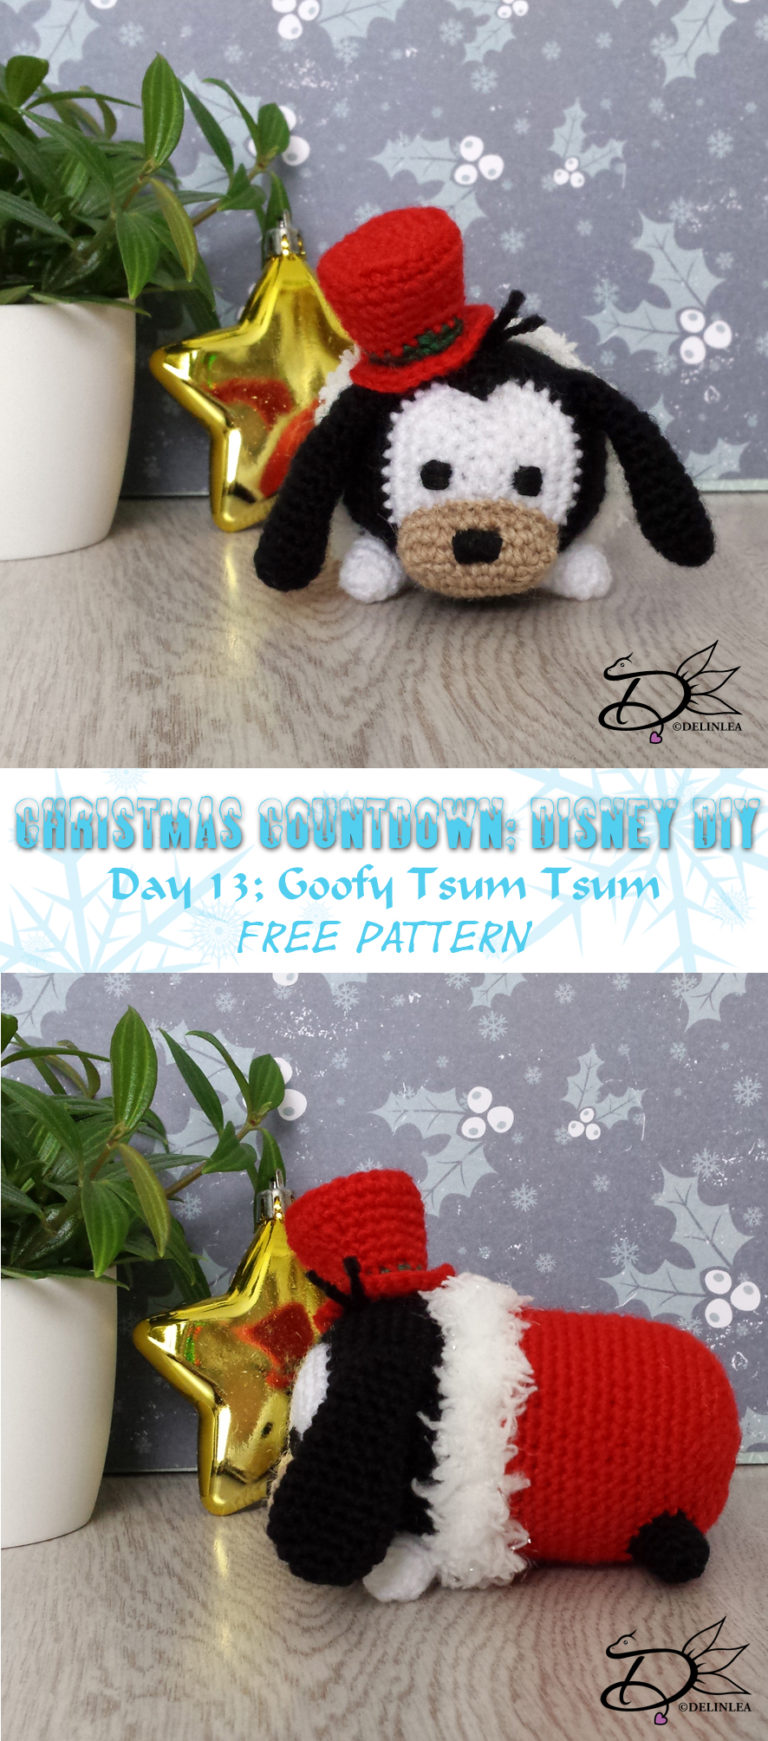
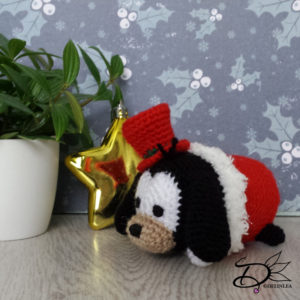
It’s day 13 and that means we are half way through the Countdown! And this day we will make Goofy Tsum Tsum with his cute little hat!
So for this DIY you will need:
♥ Yarn: in the colors White, Black, Beige, Red and Green.
♥ Cloud Yarn in white (optional).
♥ Crochet hook.
♥ Stitch marker.
♥ Fiber fill.
♥ Yarn needle.
♥ Embroidery needle with Black thread or black felt.
♥ Scissors.
Stitches used:
SC = Single Crochet.
ST = Stitch.
Inc = Increase.
Dec = Decrease.
Slst = Slip Stitch.
(…) = Repeat the space in brackets the given number of times.
[…] = Total number of stitches.
♥ Pattern:
Body:
Start with White.
1: 6SC in magic ring. [6]
2: Inc in each st around. [12]
3: (1SC, inc), 6 times. [18]
4: (2SC, inc), 6 times. [24]
5: (3SC, inc) 2 times, 3SC, (1SC White and 1SC Black in the same st) Change back to White, (3SC, inc)3 times. [30]
6: (4SC, inc) 2 times, 3SC, change to Black, 1SC, inc, 1SC, Change back to White, 3SC, inc, (4SC, inc) 2 times. [36]
Change to Black.
7: SC in each st around. [42]
|
14: SC in each st around. [42]
Change to White Cloud Yarn.
15: SC in each st around. [42]
16: SC in each st around. [42]
Change to Red
17: SC in each st around. [42]
|
29: SC in each st around. [42]
30: (5SC, dec), 6 times. [36]
31: (4SC, dec), 6 times. [30]
32: (3SC, dec), 6 times. [24]
33: (2SC, dec), 6 times. [18] Stuff the body here.
34: (1SC, dec), 6 times. [12]
35: Dec around. [6]
Fasten off and weave in tail.
Snout:
In Beige, you won’t work in continues rounds.
1: Ch7, insert in 2nd chain from hook, 5SC, 3SC in the next st, 4SC, inc, slst in the first st. [14]
2: Ch1, inc, 4SC, inc 3 times, 4SC, inc 2 times, slst in the first st. [20]
3: Ch1, 20SC [20]
4: Ch1, 20SC [20]
Fasten off, leave long tail for sewing. Stuff the snout lightly.
Legs: (4)
Make 2 in Black and 2 in White.
1: 4SC in magic ring. [4]
2: Inc in each st around. [8]
3: SC in each st around. [8]
|
5: SC in each st around. [8]
Fasten off and leave a long tail for sewing. You don’t have to stuff the legs.
Ears: (2)
In black.
1: 6SC in magic ring. [6]
2: Inc in each st around. [12]
3: (3SC, inc), 3 times. [15]
4: SC in each st around. [15]
|
6: SC in each st around. [15]
7: (3SC, dec), 3times. [12]
8: SC in each st around. [12]
9: SC in each st around. [12]
10: (2SC, dec), 3 times. [9]
11: SC in each st around. [9]
16: SC in each st around. [9]
Fasten off and leave long tail for sewing. Stuff the ears lightly.
Hat:
Start with Red.
1: 6SC in magic ring. [6]
2: Inc in each st around. [12]
3: (1SC, inc), 6 times. [18]
4: (2SC, inc), 6 times. [24]
5: Work in Back Loops only, SC in each st around. [24]
6: SC in each st around. [24]
7: SC in each st around. [24]
8: (6SC, dec), 3 times. [21]
9: SC in eacht st around. [21]
10: (5SC, dec), 3 times. [18]
11: SC in each st around. [18]
Change to Green.
12: (4SC, dec) 3 times. [15]
13: SC in each st around. [15]
Change to Red.
14: Work in Front loops only, (1SC, inc), 7 times, 1SC [22]
15: (2SC, inc), 6 times, 4SC [28]
Fasten of and leave long tail for sewing, stuff his hat slightly.

♥ Assembling:
To make sure you sew all parts in the right place, you can use some sewing pins to position them. When you are happy with the position, you can sew them on.
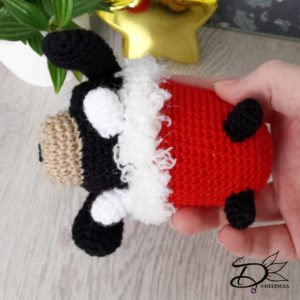
Sew the legs on to the bottom of the body, the front legs are pointing to the front. The back legs are pointing to the side.
His snout you will sew on covering the lower part of the white, which you used for the face. this way you create the shape of the eyes.
Sew his ears to the sides of his head. And sew his hat on top of his head, slightly to the side
For the eyes and nose you can either choose to use felt or you can embroider them on. I chose to embroider them on, cause yeah why choose the easy way haha. But which way you choose, Goofy will look cute.
I had fun making Goofy, and I hope you had to! Don’t forget to show your with the #DelinleaDIY
Have fun and Good luck~
Love
Danielle


