Delinlea - My little fantasy world
  • ♥ Home
  • ♥ About Me
  • ♥ Blogmas 2021
  • ♥ Free Patterns
    • ♥ Amigurumi; Spring/Easter
    • ♥ Amigurumi; Fall/Halloween
    • ♥ Amigurumi; Winter
    • ♥ Amigurumi Tsum Tsum
    • ♥ Amigurumi Ufufy
    • ♥ Amigurumi Others
    • ♥ Christmas Countdown 2017
    • ♥ Blogmas 2018
    • ♥ Blogmas 2020
  • ♥ Tutorials
    • ♥ Easter
    • ♥ Home Deco
    • ♥ Others
  • ♥ Drawing Lessons
  • ♥ FanFic
    • ♥ Chapter 1
    • ♥ Chapter 2
    • ♥ Chapter 3
    • ♥ Chapter 4
    • ♥ Chapter 5
    • ♥ Chapter 6
    • ♥ Chapter 7
  • ♥ Gallery
    • ♥ Crafts
    • ♥ Drawings
    • ♥ Poseable Art Dolls
  • ♥ Links
  • ♥ Contact
    • Privacy Policy

♥ Day 18: Snowflake Clay Ornament

18 december 2017 by Delinlea Leave a Comment

Hey Lovelies!

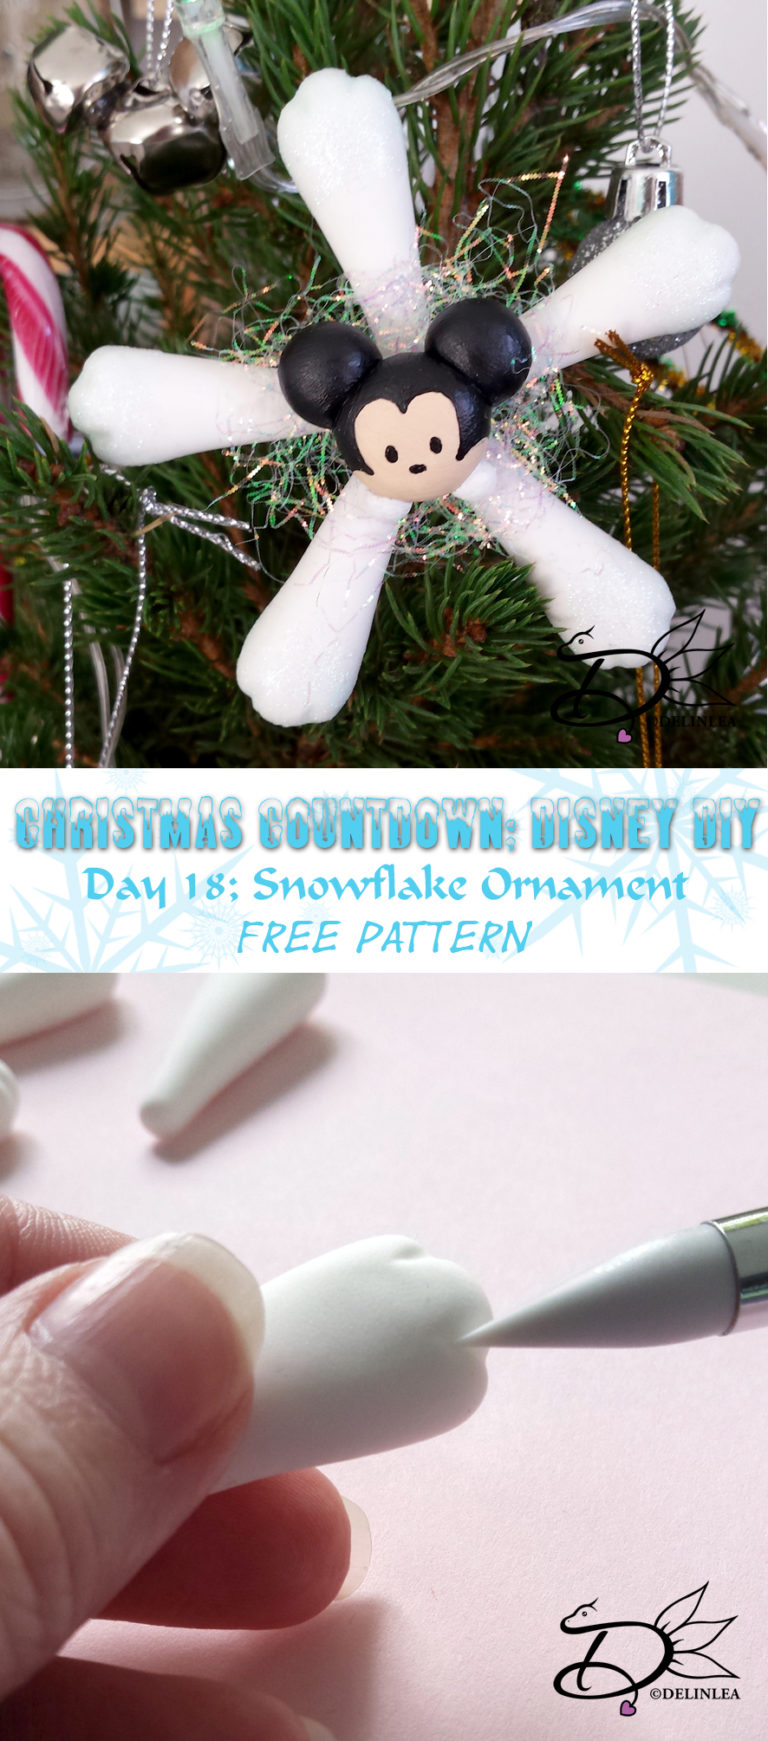
It’s time for a new DIY, let’s make some clay snowflakes with a little Tsum Tsum in the middle. I originally planned to make those with a dragon, but there’s no way I have time for that right now! haha But I will make them after Christmas. I just can’t abandon my dragons.

For this DIY you’ll need:
♥ Air Dry Clay. (Colored is optional)
♥ Acrylic Paint.
♥ Sculpting Tools.
♥ Glitter. (Optional)
♥ Glue. (Optional)

♥ How to make the Ornament

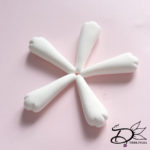
Start with 5 even balls of clay and roll those out into a long, tear drop shape. Flatten widest part a bit and make 2 notches, I used a silicone brush for it. This way you make you snowflake a little bit more interesting! Ofcourse you can make your snowflake however you want.
Now attach the small ends of the tear drop shapes together, evenly spread.


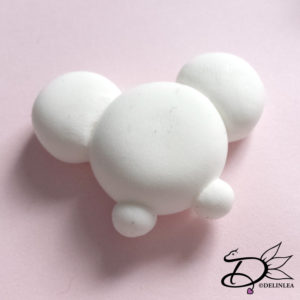
Then make the Tsum Tsum out of clay. I’m not gonna explane how to do that exactly. Tho you make a round shape and add legs. You can add other features too. depends on what Tsum Tsum you wanna make, that’s totally up to you. I chose to make Mickey so I added ears as well.

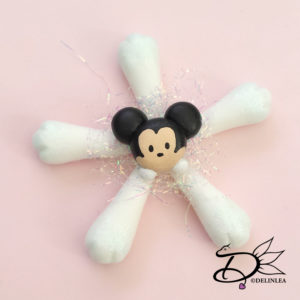
I made it in white clay, so I will paint it with Acrylics. So I let the clay dry first, painted it and glued it to the middle of the snowflake. But if you don’t have to paint anything or just the eyes, you can stick your Tsum straight to the middle and let it dry that way.

Now it’s time for a bit of decorating. This is totally optional, but fun to do. I added some glitter to the ends of the Snowflake. And added some angel hair behind my Tsum Tsum. it’s give just that little extra sparkle that makes it look finished!

I hope you enjoyed this little DIY and that you will have fun creating you own. Oh! And don’t forget to show yours with the #DelinleaDIY

Love
Danielle


Posted in: Christmas, Christmas Countdown 2017, Crafting, Tsum Tsum Tagged: Christmas, Christmas Countdown, clay, Disney, DIY, Free, Mickey, Tsum Tsum

♥ Day 17: Eeyore Tsum Tsum Amigurumi

17 december 2017 by Delinlea Leave a Comment

Hey Lovelies!

The  days are flying! I can’t believe it is already day 17! I have barely time to breath haha. But I enjoy making all these DIYs for you!
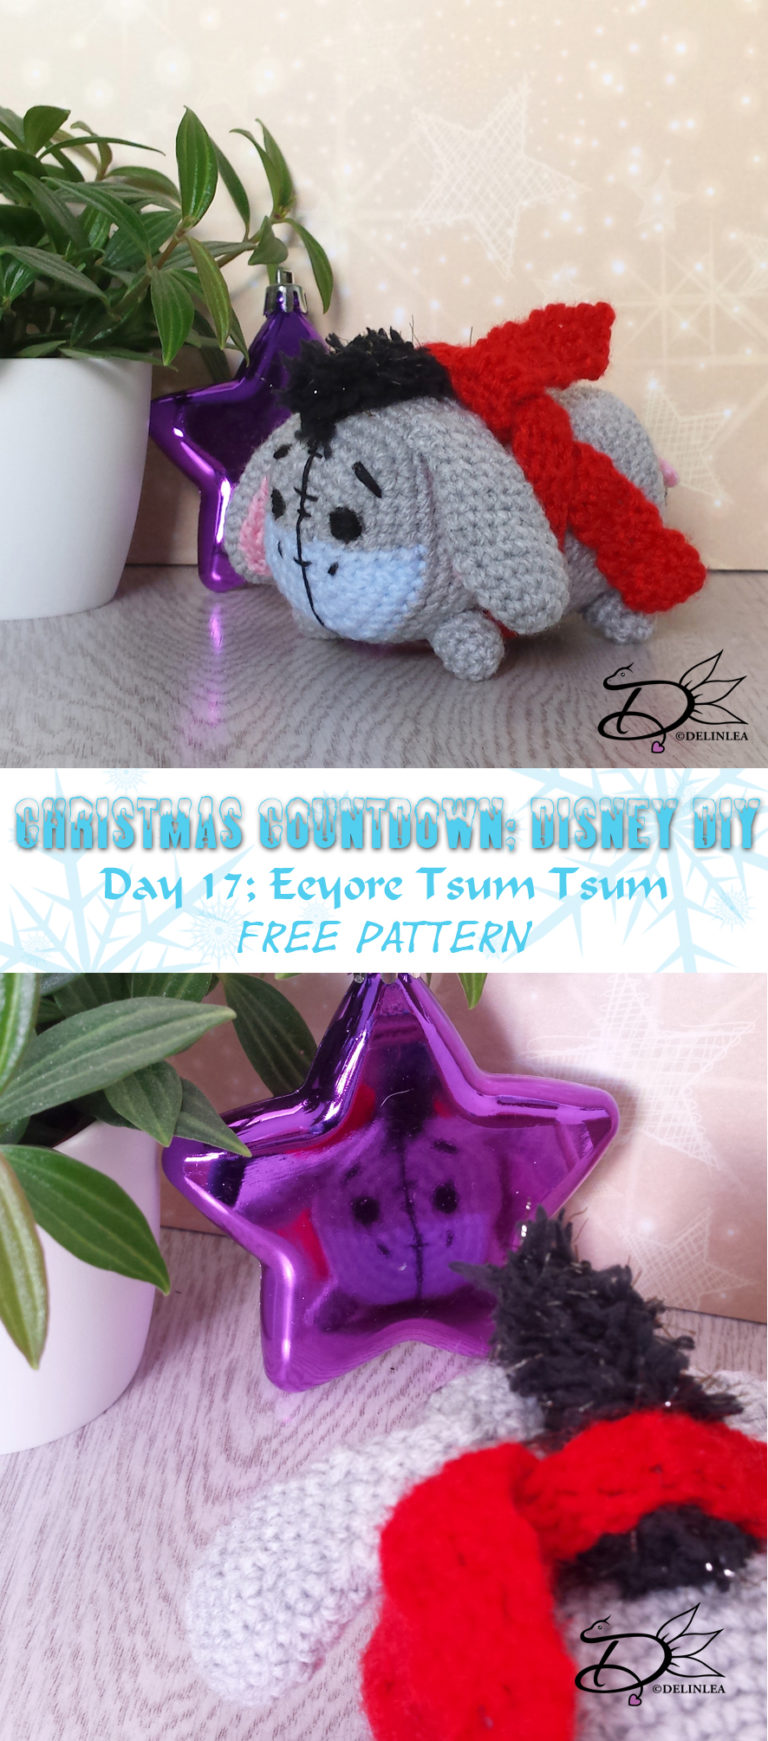
Anyway today we are gonna make a Eeyore Tsum Tsum. I always loved him.

Anyway, let’s go on to the pattern, shall we ^-^

For this DIY you will need:
♥  Yarn: in the colors Grey, Light Blue, Red, Black and Pink.
♥  Cloud Yarn in Black.
♥  Crochet hook.
♥  Stitch marker.
♥  Fiber fill.
♥  Yarn needle.
♥  Embroidery needle with black thread or black felt.
♥  Scissors.

Stitches used:
SC = Single Crochet.
DC = Double Crochet.
ST = Stitch.
Inc = Increase.
Dec = Decrease.
Slst = Slip Stitch.
(…) = Repeat the space in brackets the given number of times.
[…] = Total number of stitches.

♥ Pattern:

Body:

1: 3SC with Grey and 3SC with Light Blue in magic ring. [6]
2: Change to Grey, Inc 3 times, Change to Light Blue, inc 3 times. [12]
3: Change to Grey, (1SC, inc), 3 times, Change to Light Blue, (1SC, inc), 3 times. [18]
4: Change to Grey, (2SC, inc), 3 times, Change to Light Blue, (2SC, inc), 3 times. [24]
5: Change to Grey, (3SC, inc), 3 times, Change to Light Blue, (3SC, inc), 3 times. [30]
6: Change to Grey, (4SC, inc), 3 times, Change to Light Blue, (4SC, inc), 3 times. [36]
7: Change to Grey, (5SC, inc), 3 times, Change to Light Blue, (5SC, inc), 3 times. [42]
8: SC in each st around. [42]
|
29: SC in each st around. [42]
30: (5SC, dec), 6 times. [36]
31: (4SC, dec), 6 times. [30]
32: (3SC, dec), 6 times. [24]
33: (2SC, dec), 6 times. [18] Stuff the body here.
34: (1SC, dec), 6 times. [12]
35: Dec around. [6]
Fasten off and weave in tail.

Hair:
In Black Cloud Yarn.

Chain 9, insert in 2nd chain from hook, 8SC.
Fasten off and leave long tail for sewing.

Legs: (4)
In grey.

1: 4SC in magic ring. [4]
2: Inc in each st around. [8]
3: SC in each st around. [8]
|
5: SC in each st around. [8]
Fasten off and leave a long tail for sewing. You don’t have to stuff the legs.

Ears: (2)
In grey.

1: 6SC in magic ring. [6]
2: Inc in each st around. [12]
3: (3SC, inc), 3 times. [15]
4: SC in each st around. [15]
|
6: SC in each st around. [15]
7: (3SC, dec), 3times. [12]
8: SC in each st around. [12]
9: SC in each st around. [12]
10: (2SC, dec), 3 times. [9]
11: SC in each st around. [9]
16: SC in each st around. [9]
Fasten off and leave long tail for sewing. Don’t stuff the ears, just flatten them.

Inside of the Ears: (2)
In Pink.

1: Chain 4, 3SC, turn. [3]
2: Chain 1, inc, 1SC, inc, turn. [5]
3: Chain 1, SC in each st, turn. [5]
4: Chain 1, dec, 1SC, dec, turn. [3]
5: Chain 1, SC in each st, turn. [3]
6: Chain 1, SC in each st, turn. [3]
7: Chain 1, dec, 1SC, turn. [2]
8: Chain 1, SC in each st, turn. [2]
9: Chain 1, SC in each st, turn. [2]
10: Chain 1, SC in each st. [2]
Fasten off and sew to the ear.

Tail:

Base of the tail: (Grey)
Chain 6, insert in 2nd chain from hook, 5slst.

Furry end of the tail: (Black)
1: 4SC in magic ring. [4]
2: SC in each st around. [4]
3: 2SC, dec. [3]
Fasten off and sew to the end of the base of the tail.

Bow: (Pink)
Chain 4, insert in 2nd chain from hook, 3SC.
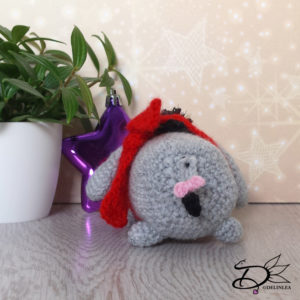
Fasten off and wrap the end of the yarn in the middle, so you get the idea of a bow. And sew this tiny bow to his tail, just above the fur.

Shawl:
In Red.

1: Chain 6, insert in the 3rd CH from hook, 4DC, turn.
2: CH2 (this counts as the first DC), insert in 2nd st, 3DC [4]
Repeat row 2 until you are happy with the length to tie it around his neck.
Fasten off and weave in tails.

♥ Assembling:

To make sure you sew all parts in the right place, you can use some sewing pins to position them. When you are happy with the position, you can sew them on.
Sew the legs on to the bottom of the body, the front legs are pointing to the front. The back legs are pointing to the side.
Sew his hair on top of the body and on the sides of the head you sew the ears.
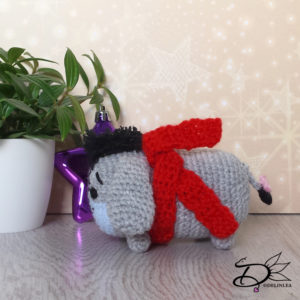
Sew his tail to his but. Wrap his shawl around his body.
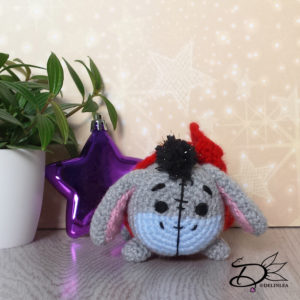
For the eyes and other features you can either choose to use felt or you can embroider them on. I chose to embroider them on, cause yeah why choose the easy way haha. But which way you choose, Eeyore will look cute.

I hope you enjoyed this pattern, I know I love Eeyore ^^ Wanna make more of him haha. Ah! And don’t forget to show yours with the #DelinleaDIY.

Love
Danielle


Posted in: Christmas, Christmas Countdown 2017, Crafting, Tsum Tsum Tagged: Amigurumi, Christmas, Christmas Countdown, Crochet, Disney, DIY, Eeyore, Free Pattern, Winnie the pooh

♥ Day 16: Tigger Tsum Tsum Amigurumi

16 december 2017 by Delinlea Leave a Comment

Hey Lovelies!

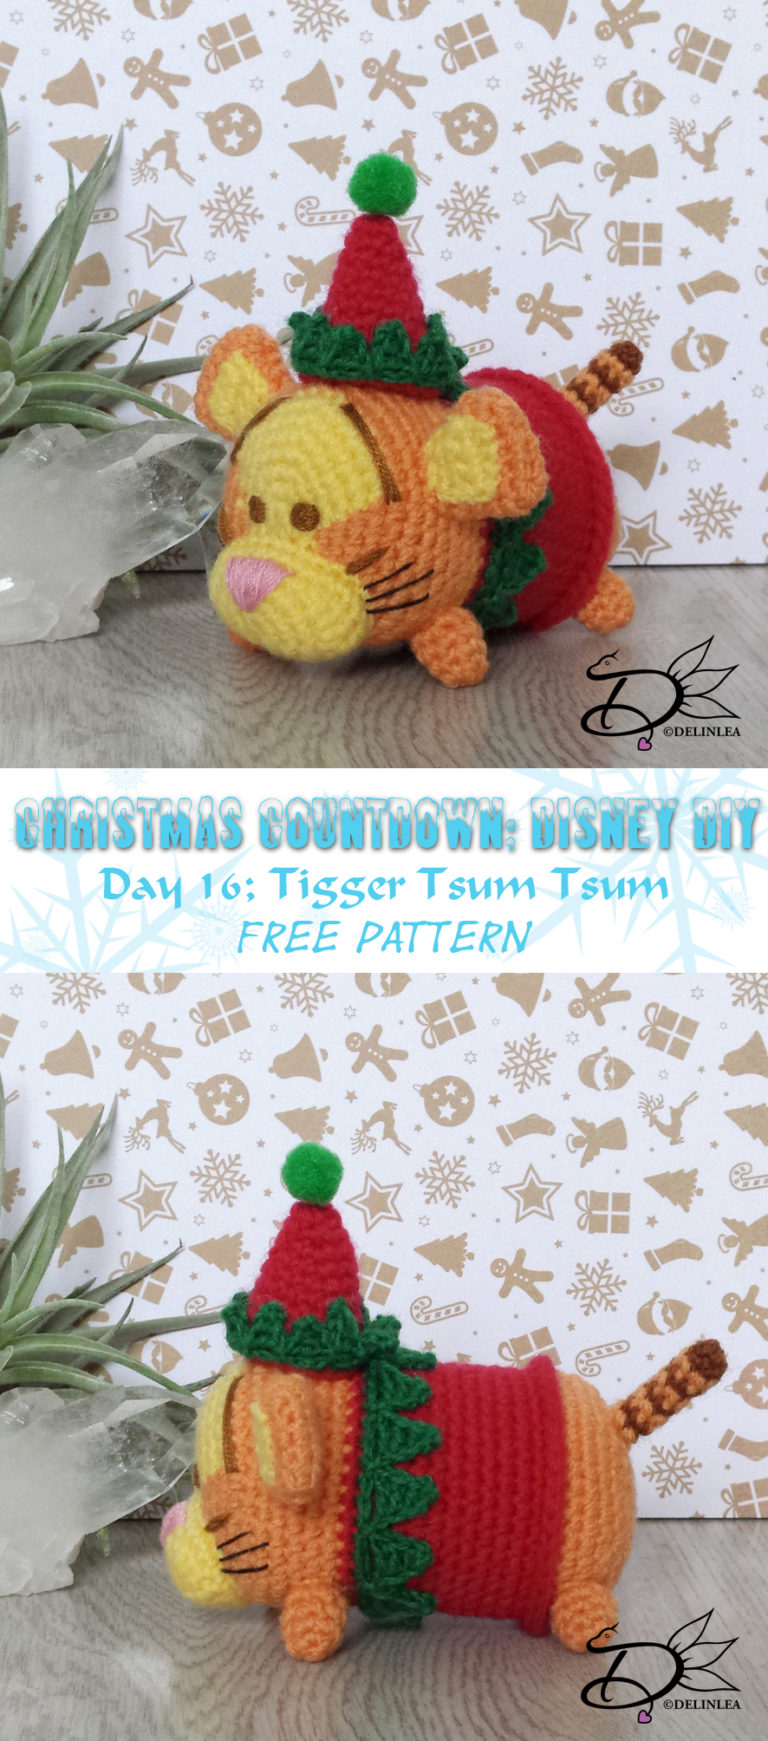
Another day of the Christmas Countdown! Let’s make a Tigger Tsum Tsum. I decided he’s gonna be an elf, I bet he would make a mess tho if he was one for real xD. Can you imagine him bouncing around while others try to get the presents for Christmas done?!

let’s go on to the pattern, before tigger starts to bounce on my key board.
For this DIY you will need:
♥  Yarn: in the colors Orange, Light Yellow, Red, Green and Brown.
♥  Crochet hook.
♥  Stitch marker.
♥  Fiber fill.
♥  Yarn needle.
♥  Embroidery needle with black, brown and pink thread or black, brown and pink felt.
♥  Scissors.

Stitches used:
SC = Single Crochet.
HDC = Half Double Crochet.
DC = Double Crochet.
TR = Treble Crochet.
ST = Stitch.
Inc = Increase.
Dec = Decrease.
Slst = Slip Stitch.
(…) = Repeat the space in brackets the given number of times.
[…] = Total number of stitches.

♥ Pattern:

Body:
Start with light yellow.

1: 6SC in magic ring. [6]
2: Inc 4 times, Change to Orange, inc 2 times. [12]
3: Change to Light Yellow, (1SC, inc), 4 times, Change to Orange, (1SC, inc), 2 times [18]
4: 2SC, Change to Light Yellow, inc, (2SC, inc), 2 times, 2SC, Change to Orange, inc, (2SC, inc), 2 times. [24]
5: 3SC, Change to Light Yellow, inc, (3SC, inc), 2 times, 1SC, Change to Orange, 2SC, inc, (3SC, inc), 2 times. [30]
6: 4SC, Change to Light Yellow, inc, (4SC, inc), 2 times, Change to Orange, (4SC, inc), 3 times [36]
7: 5SC, Change to Light Yellow, inc, 5SC, inc, 6SC, Change to Orange, 1SC in the same st as the last SC, (5SC, inc), 3 times. [42]
8: SC in each st around. [42]
|
14: SC in each st around. [42]
Change to Red.
15: SC in each st around. [42]
16: Work in back loops only, SC in each st around. [42]
17: SC in each st around. [42]
|
26: SC in each st around. [42]
Change to Orange.
27:  Work in back loops only, SC in each st around. [42]
28: SC in each st around. [42]
29: SC in each st around. [42]
30: (5SC, dec), 6 times. [36]
31: (4SC, dec), 6 times. [30]
32: (3SC, dec), 6 times. [24]
33: (2SC, dec), 6 times. [18] Stuff the body here.
34: (1SC, dec), 6 times. [12]
35: Dec around. [6]
Fasten off and weave in tail.

At row 16 you worked in Back loops only, now join in the front loops.
1: SC in each st around, slst. [42]
2: Chain 5, insert in 2nd chain from hook, SC, HDC, DC, TR, skip 2 st, slst. Repeat 14 times.
At row 27 you worked in back loops only, now join in the front loops and make 42SC and fasten off.

Legs: (4)
In orange.

1: 4SC in magic ring. [4]
2: Inc in each st around. [8]
3: SC in each st around. [8]
|
5: SC in each st around. [8]
Fasten off and leave a long tail for sewing. You don’t have to stuff them.
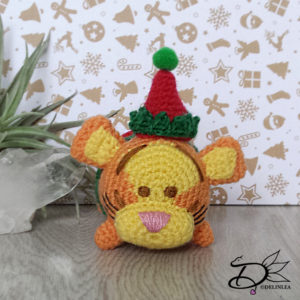
Snout:
In Light Yellow

1: 8SC in magic ring. [8]
2: Inc in each st around. [16]
3: (1SC, inc), 8 times. [24]
4: (4SC, HDC, (2DC in the next st), 2 times, HDC, 4SC), 2 times. [28]
5: SC in each st around. [28]
Fasten off and leave a long tail for sewing. Stuff the snout lightly.

Ears: (2)
In orange.

1: Chain 6, insert in 2nd chain from hook, 4SC, 3SC in the next st, 3SC, inc. [12]
2: 4SC, inc 3 times, 5SC. [15]
3: 5SC, dec 3 times, 4SC. [12]
4: SC in each st around. [12]
5: SC in each st around. [12]
6: (2SC, dec), 3 times. [9]
Fasten off and leave long tail for sewing, don’t stuff

Ears inside: (2)
In light yellow.

1: Chain 4, 3SC, turn. [3]
2: Chain 1, 3SC, turn. [3]
3: Chain 1, 3SC. [3]
Fasten off and sew to the ear.

Tail:
Start with Brown.

1: 6SC in magic ring, slst. [6]
2: Chain 1, 6SC, slst. [6]
Change to Orange.
3: Chain 1, 6SC, slst. [6]
Change to Brown.
4: Chain 1, 6SC, slst. [6]
Change to Orange.
5: Chain 1, 6SC, slst. [6]
Change to Brown.
6: Chain 1, 6SC, slst. [6]
Change to Orange.
7: Chain 1, 6SC, slst. [6]
Change to Brown.
8: Chain 1, 6SC, slst. [6]
Change to Orange.
9: Chain 1, 6SC, slst. [6]
Fasten off and leave long tail for sewing.

Elf Hat:
In red.

1: 6SC in magic ring. [6]
2: (2SC, inc), 2 times. [8]
3: (3SC, inc), 2 times. [10]
4: (4SC, inc), 2 times. [12]
5: (5SC, inc), 2 times. [14]
6: (6SC, inc), 2 times. [16]
7: (7SC, inc), 2 times. [18]
8: (8SC, inc), 2 times. [20]
9: (9SC, inc), 2 times. [22]
10: Work in front loops only, SC in each st around. [22]
11: Chain 4, insert in 2nd chain from hook, SC, HDC, DC, skip 1 st, slst. Repeat 11 times and fasten off.
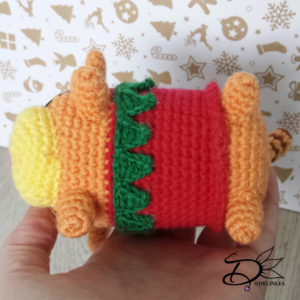
♥ Assembling:

To make sure you sew all parts in the right place, you can use some sewing pins to position them. When you are happy with the position, you can sew them on.
Sew the legs on to the bottom of the body, the front legs are pointing to the front. The back legs are pointing to the side.
Attach the Snout just under the middle of the face.
Sew the ears on both sides of the face, and in the middle you sew on his little Elf Hat.
Dew his tail to his but.
For the eyes and other features you can either choose to use felt or you can embroider them on. I chose to embroider them on, cause yeah why choose the easy way haha. But which way you choose, Tigger will look cute.

Tigger is totally ready for Christmas, are you as well?! I’m not really ready yet, so much stuff to do. But I’m sure I will survive! Have a lovely day ya’ll! And don’t forget to show your Tigger with the #DelinleaDIY.

Love
Danielle


Posted in: Christmas, Christmas Countdown 2017, Crafting, Tsum Tsum Tagged: Amigurumi, Christmas, Christmas Countdown, Crochet, Disney, DIY, Free Pattern, Tigger, Tsum Tsum, Winnie the pooh

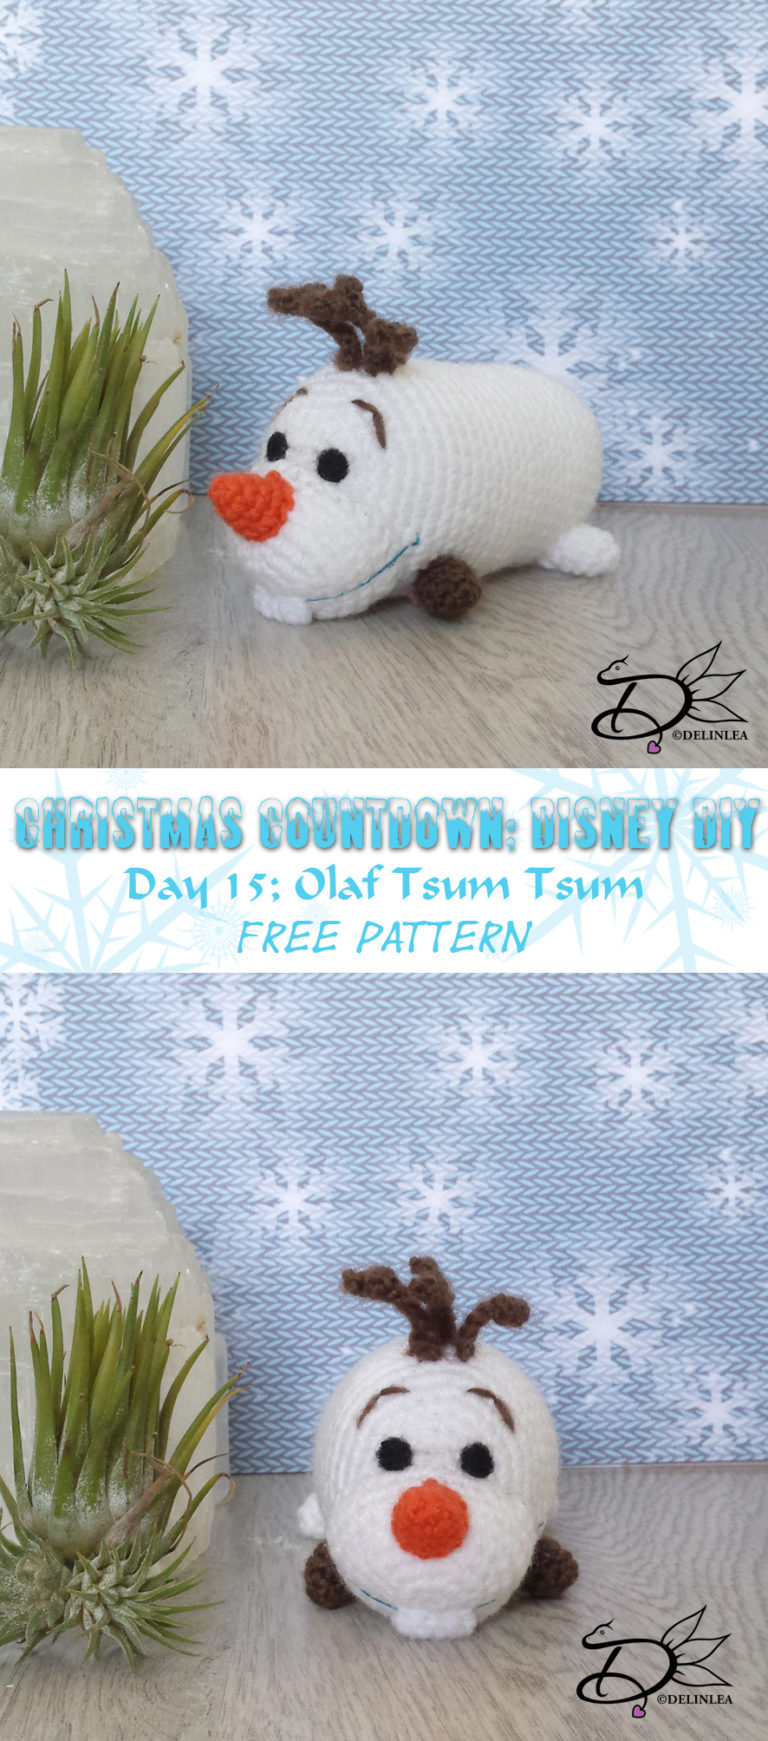
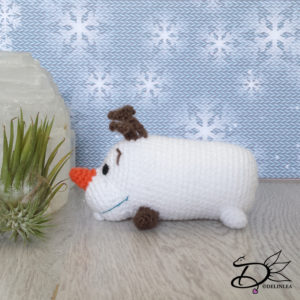
♥ Day 15: Olaf Tsum Tsum Amigurumi

15 december 2017 by Delinlea 2 Comments

Hey Lovelies!

Day 15! And it’s Olaf’s turn! I just had to include them! He’s to cute to be left out. Maybe there are many more tsum’s you would have liked to see in this countdown, but hé, we have only 25 days and there are way~~ more Tsum Tsum’s haha.

Now let go on to the Olaf Tsum Tsum pattern, shall we ^-^

For this DIY you will need:
♥  Yarn: in the colors White, Orange and Brown.
♥  Crochet hook.
♥  Stitch marker.
♥  Fiber fill.
♥  Yarn needle.
♥  Embroidery needle with black thread or black felt.
♥  Scissors.

Stitches used:
SC = Single Crochet.
CH = Chain.
HDC = Half Double Crochet.
DC = Double Crochet.
ST = Stitch.
Inc = Increase.
Dec = Decrease.
Slst = Slip Stitch.
(…) = Repeat the space in brackets the given number of times.
[…] = Total number of stitches.

♥ Pattern:

Body:
Start with White.

1: 6SC in magic ring. [6]
2: Inc in each st around. [12]
3: (1SC, inc), 6 times. [18]
4: (2SC, inc), 6 times. [24]
5: (3SC, inc), 6 times. [30]
6: (4SC, inc), 6 times. [36]
7: (5SC, inc), 6 times. [42]
8: SC in each st around. [42]
|
29: SC in each st around. [42]
30: (5SC, dec), 6 times. [36]
31: (4SC, dec), 6 times. [30]
32: (3SC, dec), 6 times. [24]
33: (2SC, dec), 6 times. [18] Stuff the body here.
34: (1SC, dec), 6 times. [12]
35: Dec around. [6]
Fasten off and weave in tail.

Legs: (4)
Make 2 in White and 2 in Brown.

1: 4SC in magic ring. [4]
2: Inc in each st around. [8]
3: SC in each st around. [8]
|
5: SC in each st around. [8]
Fasten off and leave a long tail for sewing.

Mouth:
In White.

1: 6SC in magic ring. [6]
2: Inc in each st around. [12]
3: (1SC, inc), 6 times. [18]
4: (2SC, inc), 6 times. [24]
5: 4SC, (inc) 4 Times, 8SC, (inc) 4 times, 4SC. [32]
6: SC in each st around. [32]
7: SC in each st around. [32]
8: (4SC, HDC, 6DC, 4SC), 2 times. [32]
Fasten off and leave a long tail for sewing.

Nose:
In Orange.

1: 4SC in magic ring. [4]
2: (1SC inc), 2 times. [6]
3: (2SC, inc), 2 times. [8]
4: (3SC, inc), 2 times. [10]
Fasten off and leave long tail for sewing,

Tooth:
In White.

Chain 5, insert in 2nd chain from hook, 4SC. [4]
Fasten off and leave long tail for sewing.

Hair: (3)
In Brown.

Version 1: Chain 9, insert in 2nd cgain from hook, 3SC, chain 3, insert in 2nd chain from hook, 7SC. Fasten off and leave long tail for sewing.
Version 2: Chain 7, insert in 2nd chain from hook, 1SC, chain 3, insert in 2nd chain from hook, 7SC. Fasten off and leave long tail for sewing.

Make 2 of version 1 and 1 of version 2.

♥ Assembling:

To make sure you sew all parts in the right place, you can use some sewing pins to position them. When you are happy with the position, you can sew them on.
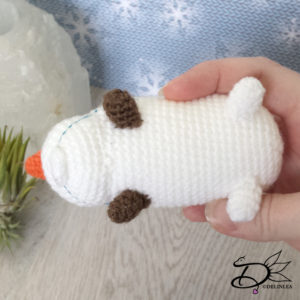
Sew the legs on to the bottom of the body, the front legs are pointing to the front. The back legs are pointing to the side.
Attach the mouth just under the middle of the face. To create the illusion of a mouth, use some thin (blue) thread and place it over the middle, you can pull this pretty tight until you like the result.
Now you know where the teeth go as well and sew them on.
Sew his nose on top of his mouth, just right where it looks cute.
Attach the hairs on top of his head.
For the eyes you can either choose to use felt or you can embroider them on. I chose to embroider them on, cause yeah why choose the easy way haha. But which way you choose, Olaf will look cute.

I hope you liked this pattern and don’t forget to show yours with the #DelinleaDIY!

Love Danielle


Posted in: Christmas, Christmas Countdown 2017, Crafting, Tsum Tsum Tagged: Amigurumi, Christmas, Christmas Countdown, Crochet, Disney, DIY, Free Pattern, Frozen, Olaf

♥ Day 14: Tsum Tsum Money Bank

14 december 2017 by Delinlea Leave a Comment

Hey Lovelies!

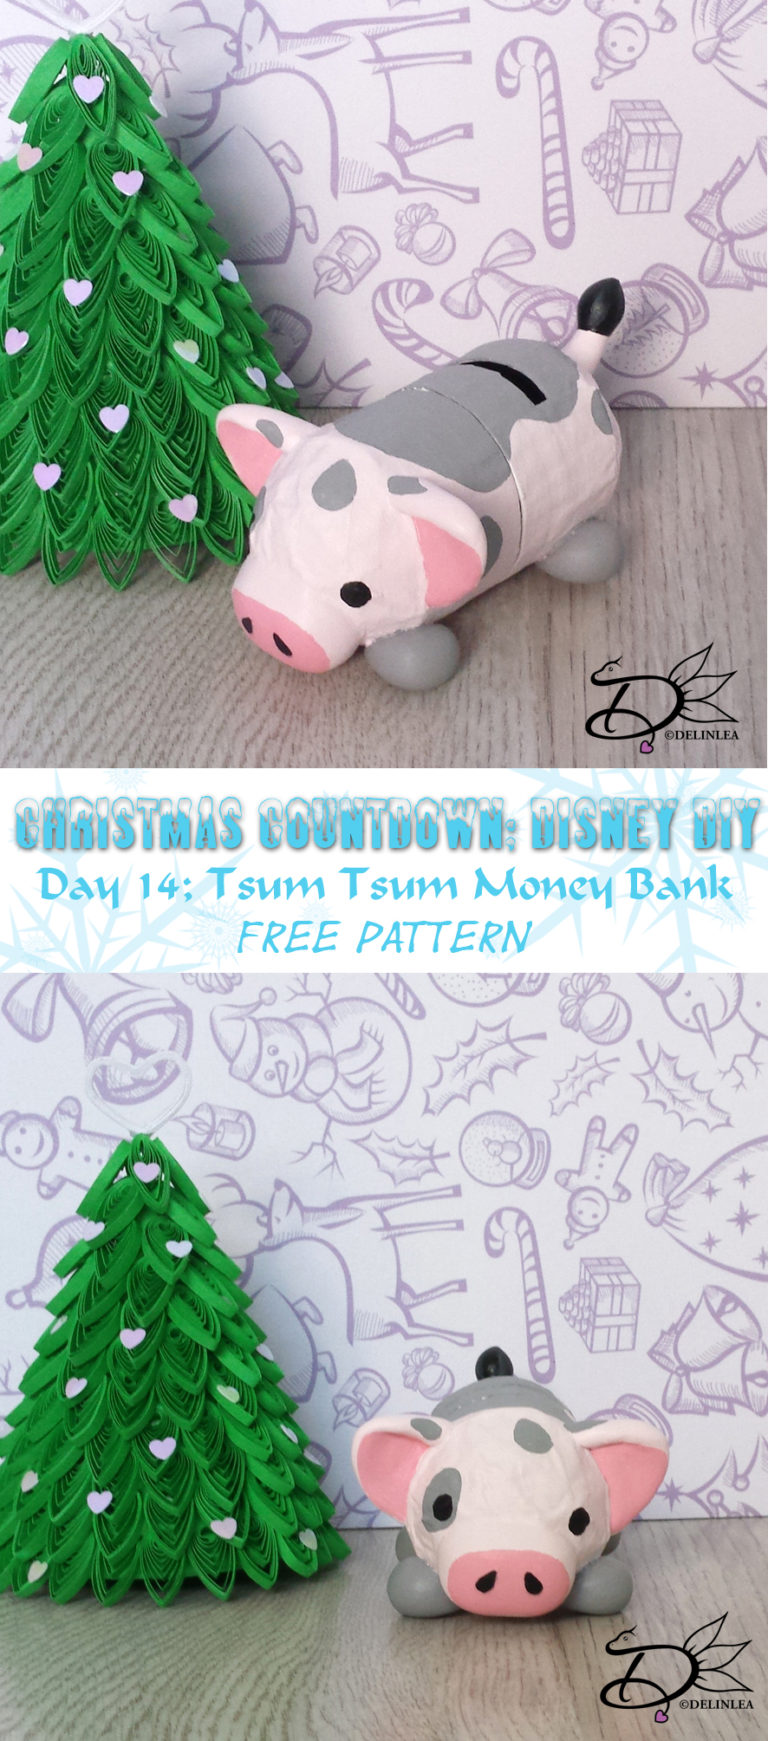
A new day a new DIY, are you ready?! Today we will make a Tsum Tsum Money Bank! Even tho it’s not really Christmassy, I thought it would be a cute gift. OR as a new years resolution, to safe money? haha. Use it however you want, it’s cute anyways. Hope you have fun making this one! Oh! And you can ofcourse choose yourself which tsum tsum you wanna make, I chose to make Pua of Moana. ^-^

For this DIY you’ll need:
♥ Toilet roll tube.
♥ 2 Waterballoons.
♥ Glue.
♥ Acrylic Paint.
♥ Gesso or White Piant.
♥ Black Cardboard.
♥ Air Dry Clay.
♥ Varnish.
♥ Newspaper.
♥ Pencil.
♥ Ruler.
♥ X-acto knive.
♥ Brush.

♥ How to start.

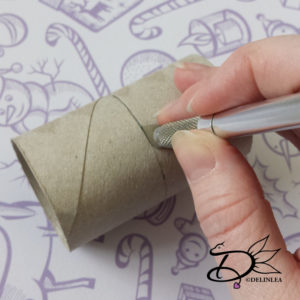
Take the toilet roll tube and measure with a ruler about 5,5cm in length. You can ofcourse make it longer or shorter, just how you want your Tsum Tsum to look like. Now cut it down to the disired length with a X-acto knive. Be careful, don’t cut yourself. (I made made mine 7,5 cm at first so my pics are looking different at the beginning.)
When you have done that, devide the roll in 2 even parts, this is the place where your moneybank will open and close.

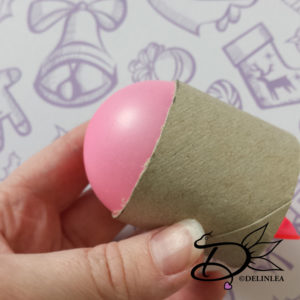
Take your waterballoons and blow them up, don’t make them too big cause they need to fit in the toilet roll tube, but make them big enough that it’s sticking out a bit on both sides. This way the balloon will stay in place without any tape. One of these sides, the one without the knot, will be the rounded shape of your tsum tsum.

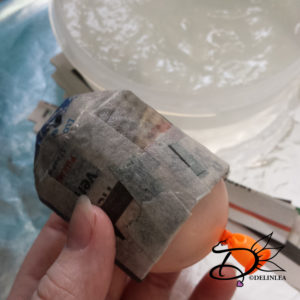
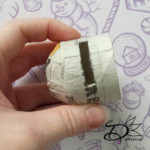
Now on to the paper maché part, get the glue ready and make small strokes of the newspaper. Glue the strokes on to both parts of the body. Don’t cover the part where the balloon has the knot. That’s the part where the body connects again to make a full tsum tsum. Make about 4/5 layers so it’s strong enough when you remove the balloons after drying. When you are ready let the parts dry over night.

♥ The next day.

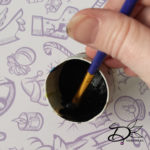
Remove the balloons when the are completly dry! Now it’s time to make the opening to put the coins in. I took one part of the body and measured it about 1cm from the edge, then made it about 0,5cm wide and 3cm in length. You can make it bigger or smaller, depending on the coins in your country. Use an X-acto knive to carefully cut the opening. When you have done that, paint the inside black and the outside white with gesso or acrylic paint.

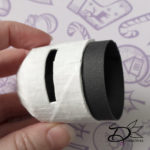
Make from black cardboard a stroke of 1,5cm by 14cm and draw a line in length at 0,5cm from the edge. Glue this in the the part of the body where you made the opening for the coins in. Glue only the 0,5cm part in length. Now you can put the body together.


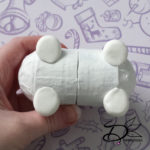
Make 4 balls out of clay for the legs. And make all other body parts of clay if needed, depends on which tsum tsum you chose. Glue the clay parts to the body and let them dry.


♥ Painting.

Now on to the last part of making the tsum tsum money bank! Let’s paint! Use acrylic paint in the colors you need. If you find it hard to paint the design straight on, draw it on with a pencil first. This way it gets less frustrating. If you want you can also varnish the whole thing when you are done painting. This will protect your tsum.

And I guess we are ready! I hope your Tsum Tsum money bank turned out cute! Let’s hope they safe a lot money for us haha (will they be magical?!) Don’t forget to show yours with the #DelinleaDIY I would love to see yours.

Have a lovely day all!

Love
Danielle
Posted in: Christmas, Christmas Countdown 2017, Crafting, Tsum Tsum Tagged: Christmas, Christmas Countdown, Disney, DIY, Free, moana, pua, Tsum Tsum
« Vorige 1 2 3 4 5 … 44 45 46 47 48 49 50 51 52 53 Volgende »

What are you looking for?!

My Socials

Ko-Fi

I love making all these free things for you, tho it would be very helpfull if you can support me on Ko-Fi! (You don’t have to tho, totally up to you!)

Ko-Fi Shop!!

In my Ko-Fi shop you can find PDF Amigurumi Patterns!! You can pay easily with PayPal.
Go to the shop here!!

Recent Blog Posts

  • ♥ Happy 2022!
  • ♥ Day 12; Lights
  • ♥ Day 11; Flower Deco
  • ♥ Day 10; Snowman
  • ♥ Day 9; Gingerbread Houses

Recent Comments

  • Delinlea op ♥ Pietje Gnome Amigurumi
  • Delinlea op ♥ Toy Story Alien TsumTsum Amigurumi
  • Delinlea op ♥ Pua Tsum Tsum Amigurumi
  • Charli op ♥ Free Pattern; CNY Mouse Amigurumi
  • Peter Pesch op ♥ Pietje Gnome Amigurumi

Categories

  • animation
  • Beadwork
  • Blogmas 2018
  • Blogmas 2020
  • Blogmas 2021
  • Books
  • Bujo
  • Christmas
  • Christmas CAL 2019
  • Christmas Countdown 2017
  • Contest
  • Crafting
  • Crochet
  • Drawing
  • Drawing Lesson
  • Easter
  • Geen categorie
  • Life
  • Miniature
  • Nail Art
  • New Year
  • Paper
  • plush
  • Pokemon
  • Poseable Art Doll
  • Recipe
  • Sewing
  • Shop Pattern
  • Sinterklaas
  • Social Media
  • Tsum Tsum
  • Ufufy

Copyright © 2025 Delinlea - My little fantasy world.

Family WordPress Theme by themehall.com