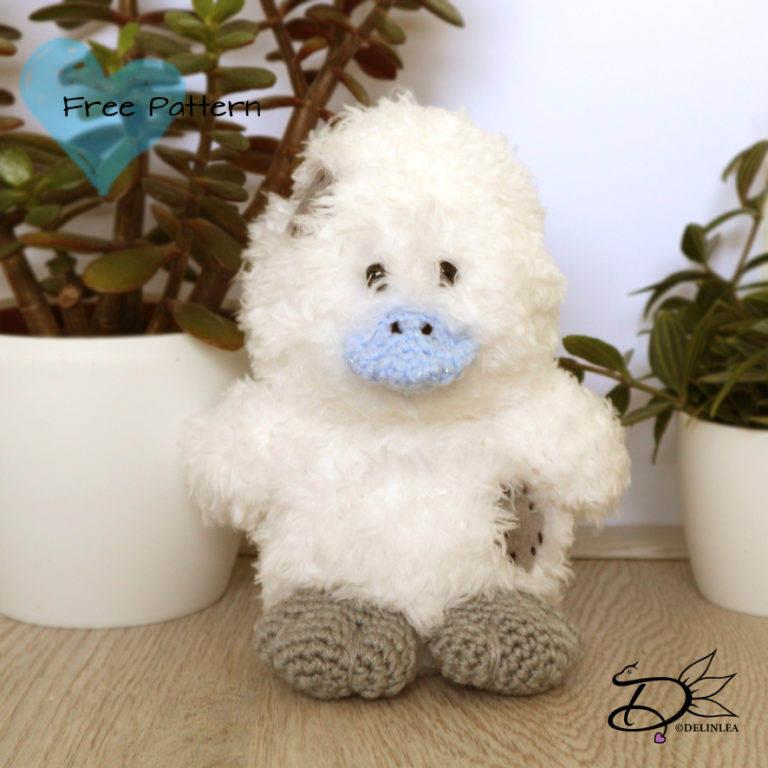
♥ Amigurumi Dilly Duck
Hey Lovelies!
It’s about time to make something cute again, right?! Well I was brainstorming a bit of what to make for upcoming blogs, and I saw one of my Blue Nose Friends plushies. I got it long ago and I remembered there are more around. When I looked them up on the internet, I found out that there are so many now! I only don’t know where to get them. The store I got this one, long ago, is now closed. So, what I can’t buy, I’ll make myself haha. Also a good reason to use my plush yarn!
Let’s make Dilly Duck of My Blue Nose Friends. I believe it’s No 4 of these series.
For this DIY you’ll need:
♥ Acryllic Yarn, in Light Blue and Grey.
♥ Plush Yarn in White.*
♥ Crochet hook, 2 sizes.
♥ Stitch marker.
♥ Yarn needle.
♥ Sewing pins. (optional)
♥ Scissors.
♥ Fiber Fill.
♥ Grey Felt.
♥ Safety Eyes.
♥ Glue (optional).
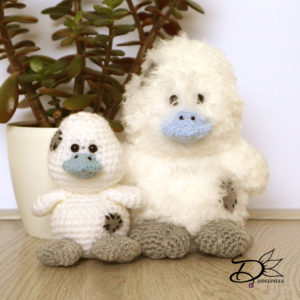
*Note: You can use regular yarn as well, but just make sure you have 2 sizes of yarn, White must be thick and the light blue and grey thin. This was you’ll be able to make him too without the plush yarn. (Scroll down for a picture)
Stitches used:
CH = Chain.
SC = Single Crochet.
ST = Stitch.
Inc = Increase.
Dec = Decrease.
Slst = Slip Stitch.
(…) = Repeat the space in brackets the given number of times.
[…] = Total number of stitches.
Pattern:
Body
In White Plush Yarn.
1: 6SC in Magic Ring [6]
2: 2SC in each st around. [12]
3: (1SC, inc) 6 times. [18]
4: (2SC, inc) 6 times. [24]
5: (3SC, inc) 6 times. [30]
6: SC in each ST around. [30]
|
10: SC in each ST around. [30]
11: (3SC, dec) 6 times. [24]
12: SC in each ST around. [24]
13: (2SC, dec) 6 times. [18]
14: (1SC, dec) 6 times. [12]
Fasten off and leave long tail for sewing. Don’t forget to stuff the body!
Head
In White Plush Yarn.
1: 1: 6SC in Magic Ring [6]
2: 2SC in each st around. [12]
3: (1SC, inc) 6 times. [18]
4: (2SC, inc) 6 times. [24]
5: (3SC, inc) 6 times. [30]
6: (9SC, inc) 3 times. [33]
7: SC in each ST around. [33]
8: SC in east ST around. [33]
9: (9SC, dec) 3 times. [30]
10: SC in each ST around. [30]
11: (3SC, dec) 6 times. [24]
12: SC in each ST around. [24]
13: (2SC, dec) 6 times. [18]
14: SC in each ST around. [18]
15: SC in each ST around. [18]
16: (1SC, dec) 6 times. [12] Stuff the head here, and if you use Safety Eyes, place them inbetween row 10 and 11.
17: Dec all around. [6]
Fasten off and weave in tail.
Wings (2)
In White Plush Yarn.
1: 6SC in Magic Ring. [6]
2: 2SC in each ST around. [12]
3: SC in each ST around. [12]
|
7: SC in each ST around. [12]
Fasten off and leave a long tail for sewing. You don’t have to stuff the wings.
Beak
In Light Blue.
1: 4SC in Magic Ring. [4]
2: 2SC in each ST around. [8]
3: (1SC, inc) 2 times. [12]
4: SC in each ST around. [12]
5: (5SC, inc) 2 times. [14]
6: (6SC, inc) 2 times. [16]
7: SC in each ST around. [16]
8: SC in each ST around. [16]
Fasten off, leave an extra long tail for sewing. Now flatten the beak and sew around the edge, about 0,5CM of the edge, this way you make a rim in the beak. When you have done that, stuff the remaining middle part.
Feet (2)
In Grey.
1: 6SC in Magic Ring. [6]
2: 2SC in each ST around. [12]
3: (inc) 2 times, 4SC, (inc) 2 times, 4SC. [16]
4: (inc) 4 times, 4SC, (inc) 4 times, 4SC. [24]
5: SC in each ST around. [24]
6: (3SC, dec, 7SC) 2 times. [22]
7: (2SC, dec, 7SC) 2 times. [20]
8: (2SC, dec, 6SC) 2 times. [18]
9: SC in each ST around. [18]
Fasten off and leave long tail for sewing. Stuff lightly.
Cut of some extra grey yarn and tie a knot on one side. With a yarn needle your gonna devide the foot in 3 toes. Skip the last 3 rows, and insert the needle from the inside, wrap the yarn around the foot (make sure it’s 1/3 and 2/3), and go in the foot and out at the place you started, pull tight and fasten it off. Do this on the other side, of the foot, again. Repeat for the other foot.
Assembling.
Sew the head to the body. With some sewing pins you can place the wings in the right place, just were you’ve sewn the head to the body. When you are happy, sew those one as well.
Do the same for the feet, and sew them on tightly.
Sew the beak on as well, just under the eyes. Make some markings with black yarn on top of his beak.
Now cut 3 Squares from grey felt. You can make them as big as you want, but don’t over do. Now, with some black yarn, sew one on his head, one on the side of his belly and one on his back.
And you are done! Yay!
I hope you enjoyed this pattern! I certainly did, I love how he looks! If you made one or more too, show me with #DelinleaDIY I love to see how yours turned out! Now, enjoy the rest of your day!
Love
Danielle


