Hey Lovelies!
I’m sorry, I’m a bit late with today’s post, had a lot to do. I also went to the opening of Pipoos Alkmaar today, only due to traffic jam we missed the ribbon cutting *cries*. But I love how the store looks, maybe a bit more ‘gezelligheid’ needs to be added, ha I don’t know a word for that in English! Anyway, I didn’t buy to much, only things I needed now. But I’m sure I’ll go there more often haha. RIP wallet.
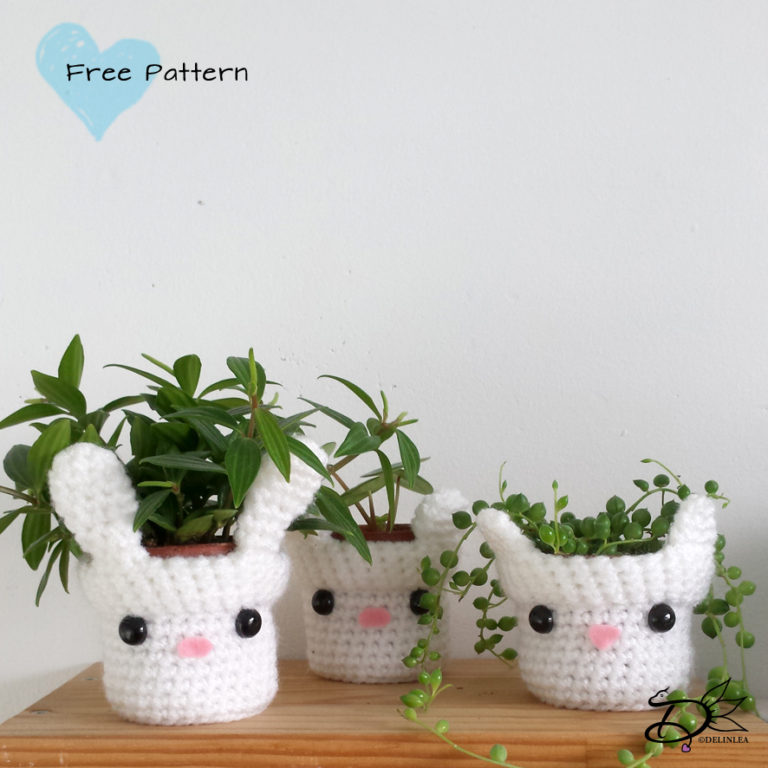
For today’s DIY I split it up in parts. So today we will crochet some plant pots, you can use them like this as plant pot covers, but in some follow up DIYs I will explane how you can crochet plants for them as well, not sure how many it gonna be for now, but we will see.
For this DIY you’ll need.
♥ Wool, in white. (I used Royal from the Zeeman, 100g/241m.)
♥ Crochet hook.
♥ Stitch marker.
♥ Yarn needle.
♥ Scissors.
♥ (Safety) Eyes. (I cutted of the pins and glued them on).
♥ Pink Felt.
♥ (Hot) Glue (+ Glue Gun.)
Stitches used:
SC = Single Crochet.
ST = Stitch.
Inc = Increase.
Dec = Decrease.
Slst = Slip Stitch.
(…) = Repeat the space in brackets the given number of times.
[…] = Total number of stitches.
Pattern:
Pot Base:
1: 6SC in magic ring. [6]
2: SC in each ST around. [12]
3: (1SC, inc), 6 times. [18]
4: (2SC, inc), 6 times. [24]
5: (3SC, inc), 6 times. [30]
6: 30 SC in Back Loops only. [30]
7: 30 SC in each ST around. [30]
|
20: 30 SC in each ST around. [30]
Fasten off and weave in tail. Now fold about 3 rows back, so you’ll get that pot idea.
I made 3 different sets of ears, you can either make them all of choose which you like the most. You can choose from, Bunny, Bear or Cat.
Bunny Ears: (2)
1: 6SC in magic ring. [6]
2: (1SC, inc), 3 times. [9]
3: SC in each ST around. [9]
|
5: SC in each ST around. [9]
5: (1SC, dec), 3 times. [6]
6: SC in each ST atound. [6]
|
9: SC in each ST around. [6]
Fasten off and leave long tail for sewing.
Bear Ears: (2)
1: 6SC in magic ring. [6]
2: Inc in each ST around. [12]
3: SC in each ST around. [12]
4: (1SC, dec), 4 times. [9]
Fasten off and leave long tail for sewing.
Cat Ears: (2)
1: 4SC in magic ring. [4]
2: (1SC, inc), 2 times. [6]
3: (2SC, inc), 2 times. [8]
4: (3SC, inc), 2 times. [10]
Fasten off and leave long tail for sewing.
Assembling:
When you are done with making all the parts, you can now sew on the ears on top of the place where the fold is, on top of the pot. You can use safety pins to check if you like the position before you sew them on.
Glue on the eyes where you like them best and cut a nose from the fabric, glue those on as well! Now you have a cute plant pot cover. Or you can wait for my blog next week, to make a fake and easy plant to put in.
I hope you enjoyed this weeks DIY. And see you next week.
Love
Danielle.

