Hey Lovelies!
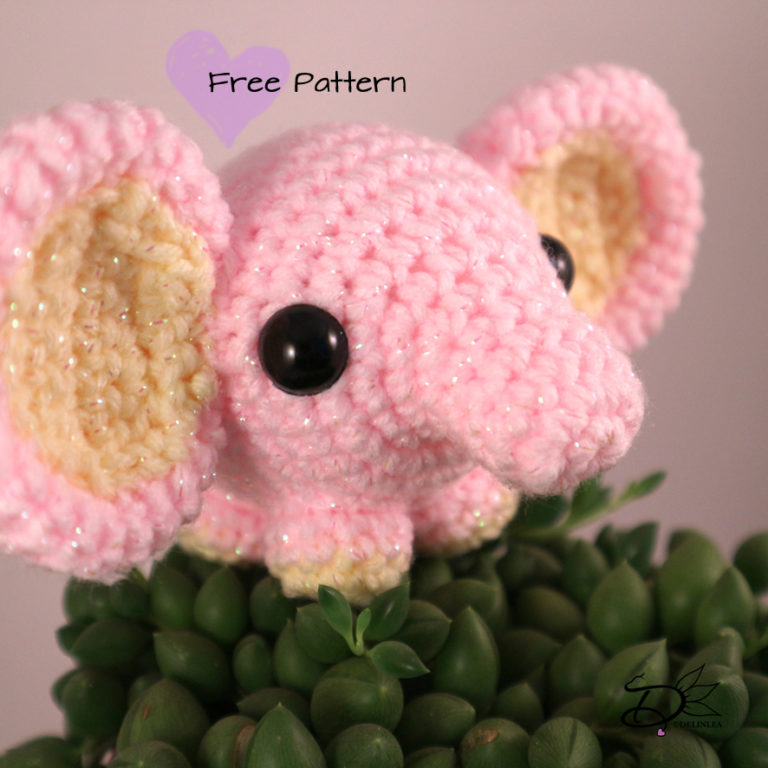
I don’t know why, but I suddenly felt like making an elephant amigurumi haha. Even tho I struggled a lot to get the shape I wanted, I love how she turned out! I hope you will enjoy this pattern as much as I do! I definitely gonna make some more, and probably gonna make a teeny tiny one! Let’s make it hard for myself, since why not! I can imagine them in so many colors possible. So, yeah, let’s make a whole bunch of them.
For this DIY you will need:
♥ Yarn, in Pink and Yellow, but ofcourse you can use any color you like.
♥ Crochet hook.
♥ Stitch marker.
♥ Yarn Needle.
♥ Sewing Pins. (optional)
♥ Fiber fill.
♥ Safety Eyes.
♥ Scissors.
Stitches used:
CH = Chain.
SC = Single Crochet.
ST = Stitch.
Inc = Increase.
Dec = Decrease.
Slst = Slip Stitch.
(…) = Repeat the space in brackets the given number of times.
[…] = Total number of stitches.
* = Read note below
Pattern
Body
In Pink.
1: 6SC in magic ring. [6]
2: 2SC in each st around. [12]
3: SC in each st around. [12]
|
5: SC in each st around. [12]
6: (3SC, inc) 3 times. [15]
7: (4SC, inc) 3 times. [18]
8: 5SC, (1SC, inc) 4 times, 5SC. [22]*
9: (1SC, inc) 10 times. [33]
10: SC in each st around. [33]*
|
18: SC in each st around. [33]
19: (9SC, dec) 3 times. [30]
20: (3SC, dec) 6 times. [24]
21: (2SC, dec) 6 times. [18] Stuff the body here.
22: (1SC, dec) 6 times. [12]
23: Dec all around. [6]
Fasten off and weave in tail.
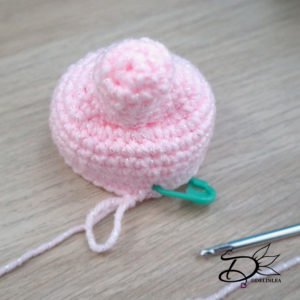
*When you have finished about row 12, you wanna sew around a cm together. Squeez row 8 and 10 together and sew it. this will be the mouth part, make sure it is around the place your rows start.
Add the safety eyes at this point as well, if you are using them.
Legs (4)
Start with Yellow.
1: 6SC in magic ring. [6]
2: 2SC in each st around. [12]
Change to Pink.
3: SC in each st around. [12]
4: SC in each st around.
Fasten off and leave a long tail for sewing. Stuff them lightly.
Ears (2)
In Pink.
1: 6SC in magic ring. [6]
2: 2SC in each st around. [12]
3: (1SC, inc) 6 times. [18]
4: (2SC, inc) 6 times. [24]
5: (3SC, inc) 6 times. [30]
6: SC in each st around. [30]
|
9: SC in each st around. [30]
10: (3SC, dec) 6 times. [24]
11: (2SC, dec) 6 times. [18]
12: (1SC, dec) 6 times. [12]
Fasten off and leave a long tail for sewing. Don’t stuff the ears, just flatten them.
Inside of the Ears (2)
In Yellow.
1: CH5, insert in second CH from hook, 4SC, turn. [4]
2: CH1, inc, 2SC, inc, turn. [6]
3: CH1, inc, 4SC, inc, turn. [8]
4: CH1, SC in each st, turn. [8]
5: CH1, dec, 4SC, dec, turn. [6]
6: CH1, dec, 2SC, dec. [4]
Fasten off and leave a long tail for sewing.
Assembling
First sew the inside of the ears to the outside of the ears.
Then place both ears to the sides of her head, using sewing pins. This way you can easily move them around until you are happy. When you are sew them on.
Position the legs as well, using the same method as the ears. I put them all together on her belly. And then, just sew them on one by one, it can be a bit fiddly, but I am sure you can do it!
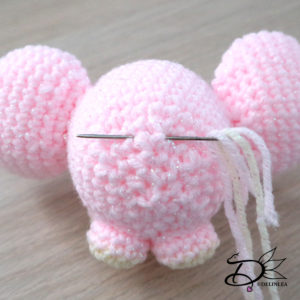
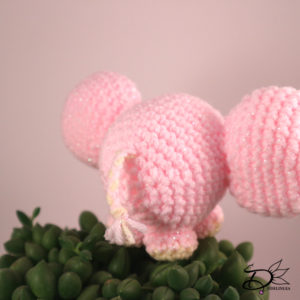
Last but not least, add 3 pieces of yarn on a yarn needle, and get those about half way through at his butt (see picture). Make a braid with them and finish off with a knot, cut the remaining bits off and you have finished your elephant!
Isn’t she adorable!? I love to see yours, share it with #DelinleaDIY on twitter/instagram!
Love
Danielle


