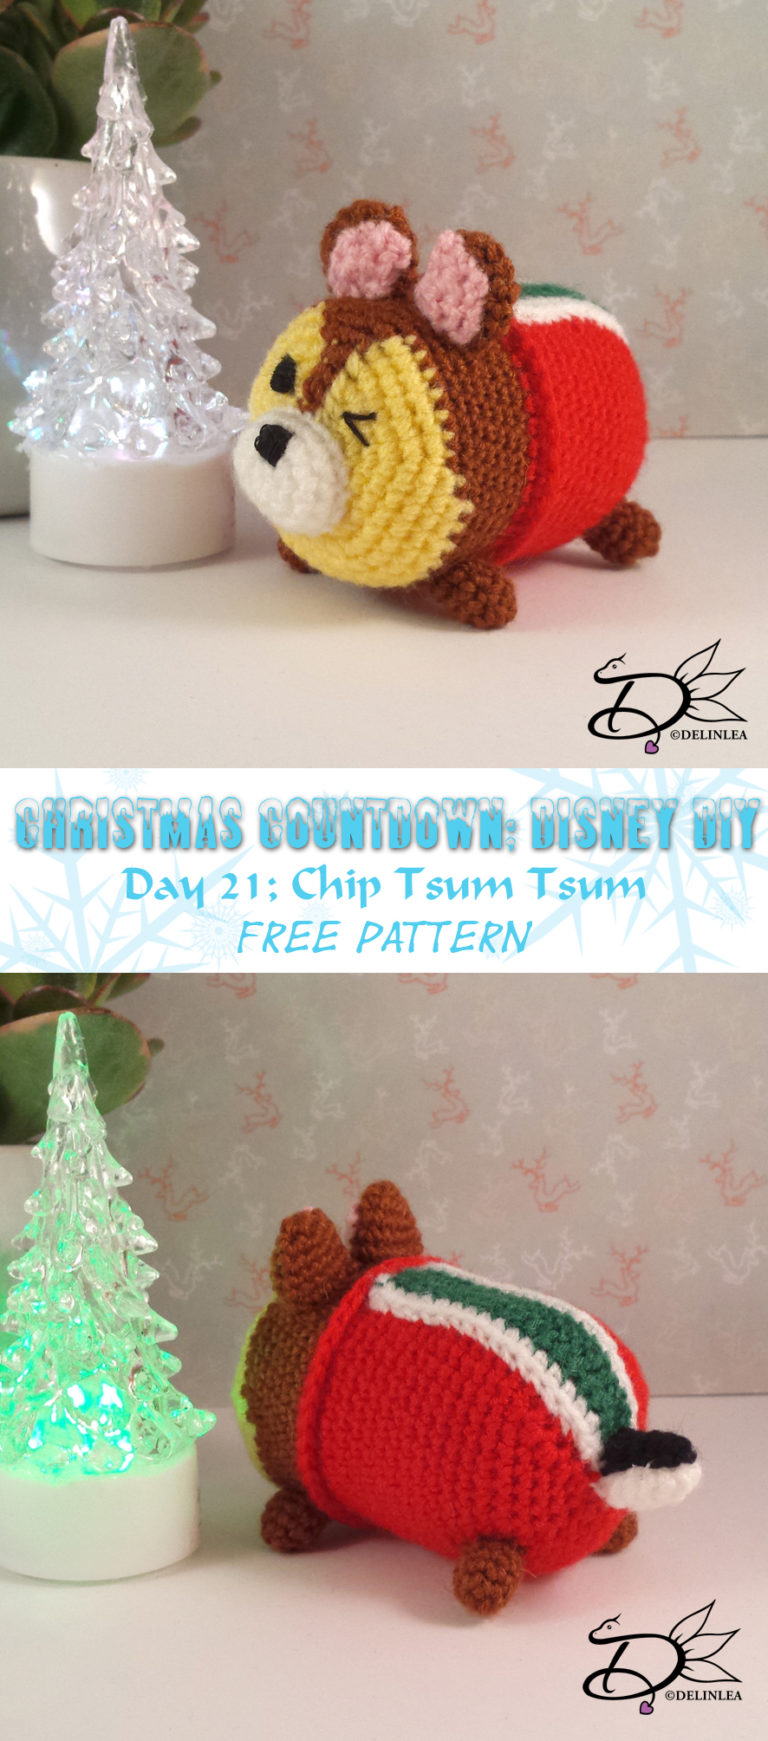
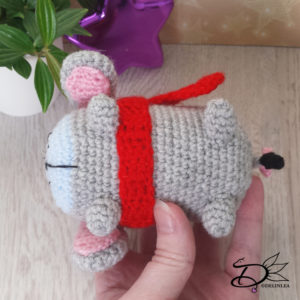
♥ Day 21: Chip Tsum Tsum Amigurumi
Hey Lovelies,
I feel like I’m running behind facts. But I am trying to get my Countdown Finished! Just a few days left! I can do it! But I know I am ready for some days off. ^^
Today we will make a Chip Tsum Tsum amigurumi. I hope you’ll enjoy! ^^
Now let’s go to the pattern.
For this DIY you will need:
♥ Yarn: in the colors Light Yellow, Dark Brown, White, Green, Red, Pink and Black.
♥ Crochet hook.
♥ Stitch marker.
♥ Fiber fill.
♥ Yarn needle.
♥ Embroidery needle with black thread or black felt.
♥ Scissors.
Stitches used:
SC = Single Crochet.
DC = Double Crochet.
ST = Stitch.
Inc = Increase.
Dec = Decrease.
Slst = Slip Stitch.
(…) = Repeat the space in brackets the given number of times.
[…] = Total number of stitches.
♥ Pattern:
Body:
Start with Dark Brown
1: 6SC in magic ring. [6]
2: Change to Light Yellow, Inc 3 times, Change to Dark Brown, inc, Change to Light Yellow, inc 2 times. [12]
3: (1SC, inc), 3 times, Change to Dark Brown, 2SC, Change to Light Yellow, 1SC in the same st as the last SC, (1SC, inc), 2 times. [18]
4: (2SC, inc), 3 times, Change to Dark Brown, 2SC, Change to Light Yellow, inc, (2SC, inc), 2 times. [24]
5: (3SC, inc), 3 times, Change to Dark Brown, 2SC, Change to Light Yellow,1SC, inc, (3SC, inc), 2 times. [30]
6: (4SC, inc), 2 times, 5SC, Change to Dark Brown, 1SC in the same st as the last SC, 3SC, Change to Light Yellow,1SC, inc, (4SC, inc), 2 times. [36]
7: (5SC, inc), 2 times, 5SC, Change to Dark Brown, inc, 4SC, Change to Light Yellow, 1SC,inc, (5SC, inc), 2 times. [42]
8: 12SC, Change to Dark Brown, 21SC, Change to Light Yellow, 9SC. [42]
9: 11SC, Change to Dark Brown, 23SC, Change to Light Yellow, 8SC. [42]
10: 2SC, Change to Dark Brown, 40SC. [42]
11: SC in each st around. [42]
|
14: SC in each st around. [42]
Change to Green.
15: SC in each st around. [42]
16: Work in Back Loops only, SC in each st around. [42]
17: SC in each st around. [42]
|
29: SC in each st around. [42]
30: (5SC, dec), 6 times. [36]
31: (4SC, dec), 6 times. [30]
32: (3SC, dec), 6 times. [24]
33: (2SC, dec), 6 times. [18] Stuff the body here.
34: (1SC, dec), 6 times. [12]
35: Dec around. [6]
Fasten off and weave in tail.
At row 16 you worked in Back Loops, now join with Red in the front loops and make 42SC, Fasten off and weave in tail.
Legs: (4)
In Dark Brown
1: 4SC in magic ring. [4]
2: Inc in each st around. [8]
3: SC in each st around. [8]
|
5: SC in each st around. [8]
Fasten off and leave a long tail for sewing. You don’t have to stuff the legs.
Nose:
In White.
1: 6SC in magic ring. [6]
2: Inc in each st around. [12]
3: (1SC, inc), 6 times. [18]
4: SC in each st around. [18]
Fasten off and leave long tail for sewing. Stuff the nose lightly.
Ears: (2)
In Dark Brown.
1: 6SC in magic ring. [6]
2: inc 3 times, 3SC. [9]
3: (1SC, inc), 3 times, 3SC. [12]
4: SC in each st around. [12]
5: SC in each st around. [12]
6: (2SC, dec), 3 times. [9]
Fasten off and leave long tail for sewing. Don’t stuff the ears, just flatten them.
Inside of the ears: (2)
In Pink
1: Chain 4, insert in 2nd chain from hook, 3SC, turn. [3]
2: Chain 1, 1SC, dec, turn. [2]
3: Chain 1, dec. [1]
Fasten off and sew to the ear.
Stripe on his back.
Start with Green.
1: Chain 20, insert in 3rd chain from hook, 18DC, turn. [18]
Change to White.
2: SC in each st around. (First in 18DC st and then in 20 Chain st). [38]
Fasten off and leave long tail for sewing.
Tail:
In white.
1: 4SC in magic ring. [4]
2: (1SC, inc), 2 times. [6]
3: (1SC, inc), 3 times. [9]
4: SC in each st around. [9] Stuff lightly.
5: (1SC, dec), 3 times. [6]
Fasten off and leave long tail for sewing.
Make with black a chain of 6, insert in 2nd chain from hook and make 2 Slst, 3SC, fasten off and sew this to the tail.
♥ Assembling:
To make sure you sew all parts in the right place, you can use some sewing pins to position them. When you are happy with the position, you can sew them on.
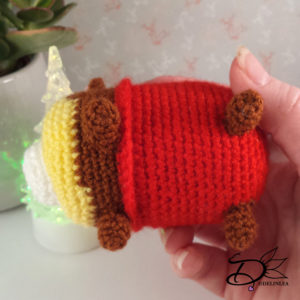
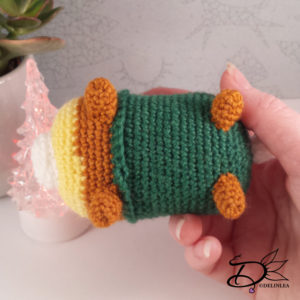
Sew the legs on to the bottom of the body, the front legs are pointing to the front. The back legs are pointing to the side.
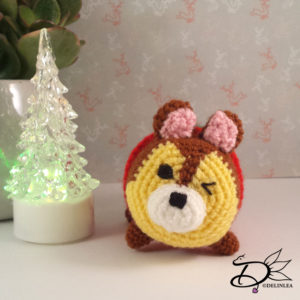
Sew the nose on just under the middle of the face.
Place the ears on top of his head, right beside each other and sew them on.
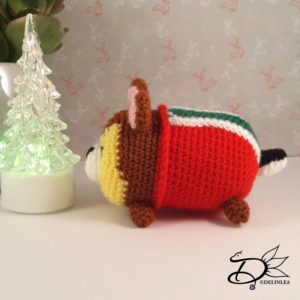
Place the stripe over the middle of the green part of the body, and sew it on, where the stripe ends, sew the tail on to his but.
For the eyes and nose you can either choose to use felt or you can embroider them on. I chose to embroider them on, cause yeah why choose the easy way haha. But which way you choose, Chip will look cute.
I hope you liked this pattern anyway and don’t forget to show yours with the #DelinleaDIY!
Love Danielle

