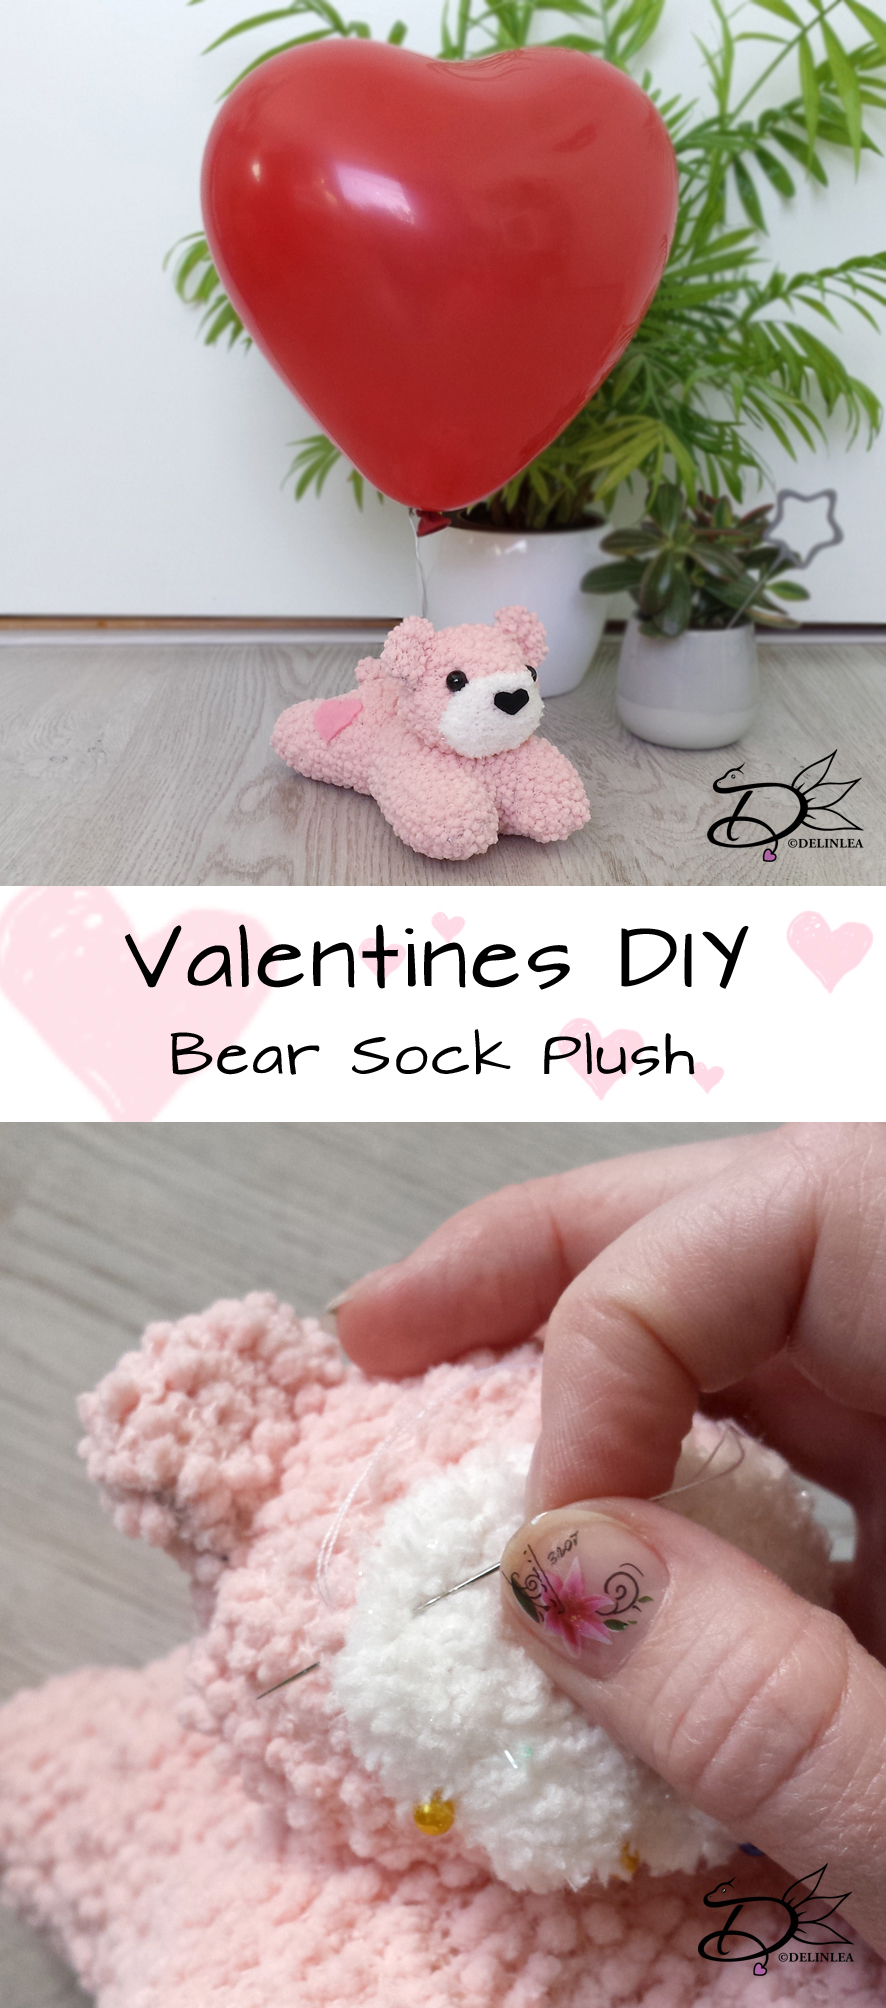
♥ Crochet Plant Pots, Senecio rowleyanus part 3
Hey Lovelies!
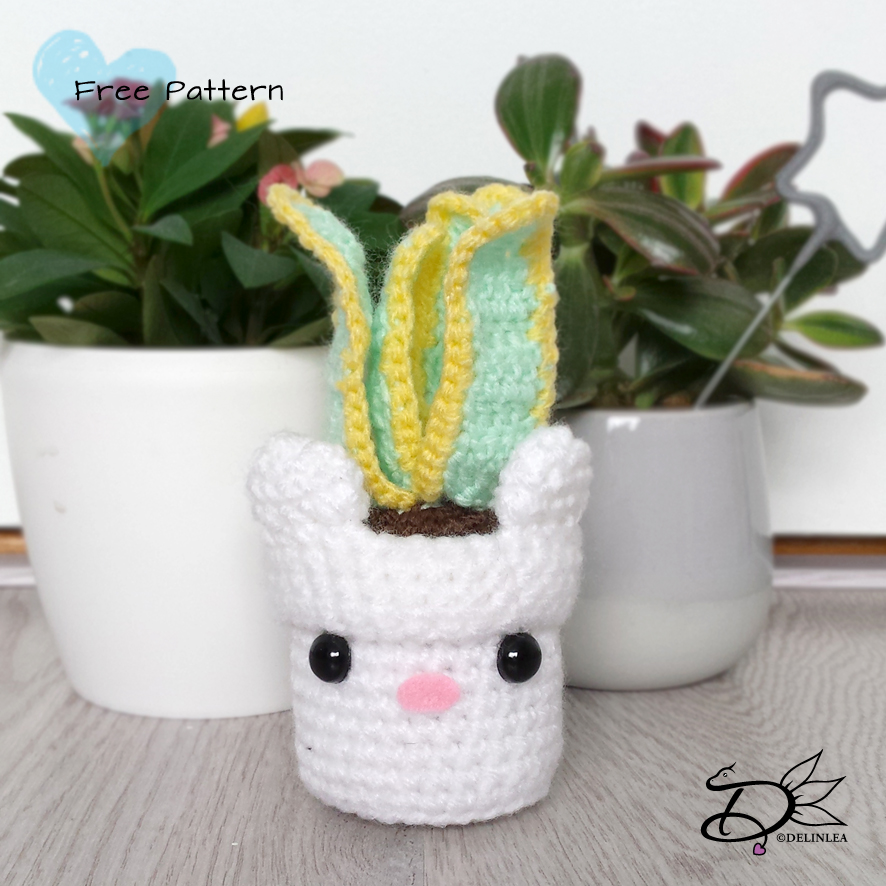
A new week for a new DIY! For this weeks DIY I will continue the plant pots! We will make a Senecio rowleyanus plant! I always loved these succulents, but I thought I never would own a real one. Never saw one in our stores.. until, some time ago! I bought a tiny plant, it will grow bigger soon I hope! haha I just love these! Anyway I wanted to crochet one as well so here we go!
Oh BTW, before we start, here you can find how to make the plant pot itself, and here you can find how to make a Sanseviera Plant.
For this DIY you’ll need.
♥ Wool, in Green and Brown.
♥ Crochet hook.
♥ Stitch marker.
♥ Yarn needle.
♥ Scissors.
♥ Toilet roll tube. (optional)
Stitches used:
CH = Chain.
SC = Single Crochet.
ST = Stitch.
Inc = Increase.
Dec = Decrease.
Slst = Slip Stitch.
(…) = Repeat the space in brackets the given number of times.
[…] = Total number of stitches.

Pattern:
Soil/ground:
in Brown.
1: 1: 6SC in magic ring. [6]
2: SC in each ST around. [12]
3: (1SC, inc), 6 times. [18]
4: (2SC, inc), 6 times. [24]
5: SC in each st around. [24]
Fasten off and leave long tail for sewing.
Senecio rowleyanus small chain: (5)
In Green.
1: Chain 20
2: Insert hook in 2nd chain, 4SC, insert hook in 1st ST. [4]
3: Inc in each ST around. [8]
4: SC in each ST around. [8]
5: Dec all around. [4]
Fasten Off and weave in tail. Now, repeat row 2-5, two more times. Space them evenly on the chain. I did them in about every 5th chain. You will end up with 3 balls/leaves on the chain.
To make different lengths of the leave chains. I have used a count of 25CH and 35CH. For the 25CH I have 4 balls/leaves, make these 4 times. For the 35CH I have 6 balls/leaves, make these 3 times.
Assembling
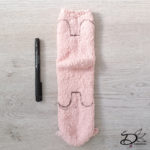
Cut down your toilet roll tube to about 4 cm long, and place this inside you plant pot. I did this, so the pot will keep it’s shape. This is optional, you don’t have to do it.
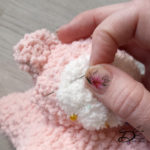
Sew all of the Leave chains one by one to the soil/ground. I spaced them kinda evenly in the middle, but you can do it however you like them best.
Now sew in your soil/ground just above the toilet roll tube, or if you didn’t use it, just a bit under the edge of the pot. Make Sure to stuff the pot lightly before you entirly closed it with the soil/ground.
And you are done with your adorable plant pot with plant. Next week I will teach you how to make another plant, the last one. After we are done with the plant pots I will come up with something new! ^-^ And don’t forget to share your Senecio rowleyanus plant with the #DelinleaDIY
Have a nice day everyone!
Love
Danielle