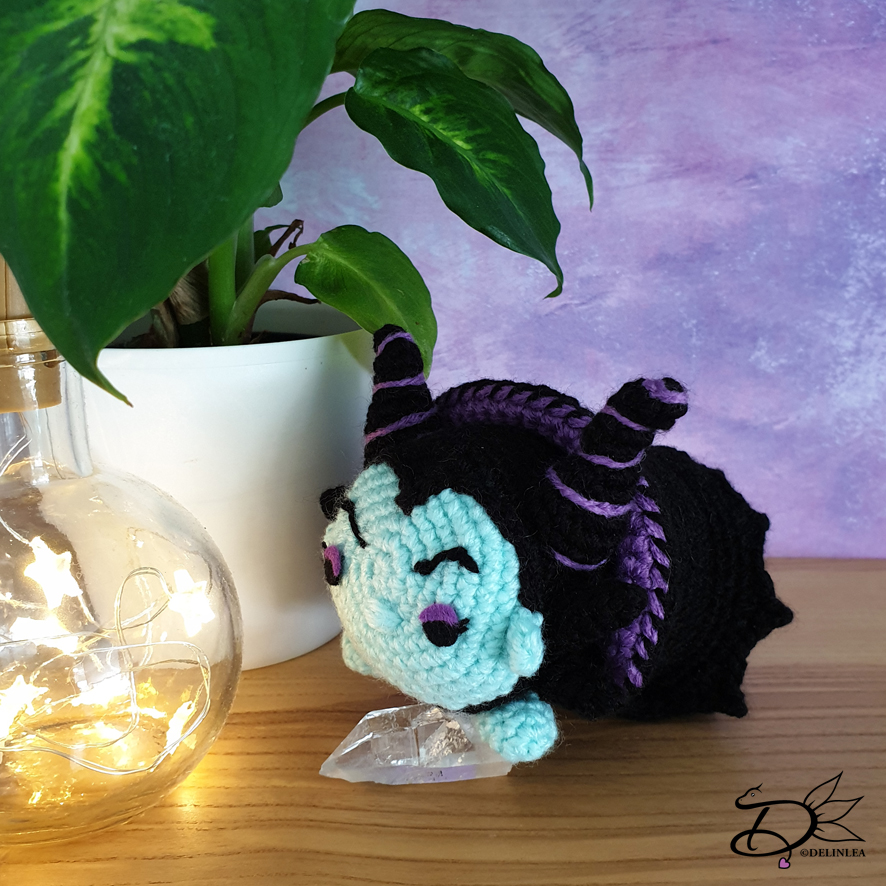
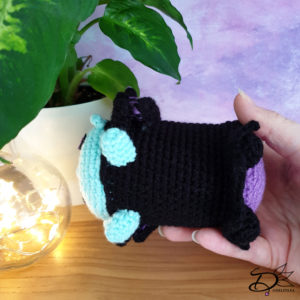
♥ Free Pattern; Maleficent Tsum Tsum Amigurumi
Hey Lovelies! How are you all doing?! I hope better as that
I am. As you might have noticed, I haven’t uploaded a blog post for the last two weeks. I wanna apologize for that. Due to
some health problems it’s hard for me to create things. I hope those problems
will be solved very soon and can go back to my regular uploading schedule. I’ll
try to start with next weeks entry right away after posting this one.
Enough babbling, today it’s time for a new free Tsum Tsum Pattern. I wanted to
make Maleficent for quit some time now, and I finally did! It was quit
challenging tho. I had to redo some parts regularly, which is not usual for me.
Hopefully you’ll like the pattern, let’s get to it.
For this DIY you will need:
♥ Yarn: in the colors Black, Mint Green and Purple. (I used budgetyarn.com)
♥ Crochet hook. (I used a 2,5mm hook)
♥ Stitch marker.
♥ Stuffing
♥ Yarn needle.
♥ Sewing Pins.
♥ Felt in Black and Purple.
♥ Scissors.
♥ (Fabric) Glue.
Stitches used (US Terms):
Magic Ring.
CH = Chain.
SC = Single Crochet.
ST = Stitch.
FSC = Foundation Single Crochet. (Optional)
BL = Back Loops.
FL = Front Loops.
Picot = Chain 3, and SlSt in the 3rd loop of the first CH.
Inc = Increase.
Dec = Decrease.
Slst = Slip Stitch.
(…) = Repeat the space in brackets the given number of times.
[…] = Total number of stitches.
Pattern
This pattern will be worked in continues rounds, unless stated otherwise.
Body
start with the color Mint Green.
Before you start, keep about 1meter of black yarn apart.
1: 6SC in Magic Ring. [6]
2: : 2SC in each st around. [12]
3: (1SC, inc) 6 times. [18]
4: (2SC, inc) 6 times. [24]
5: (3SC, inc) 2 times, 3SC, (1SC Mint Green and 1SC Black in the same st)
Change to Mint Green, (3SC, inc)3 times. [30]
6: (4SC, inc) 2 times, 3SC, change to Black, 1SC, inc, 1SC, Change to Mint
Green, 3SC, inc, (4SC, inc) 2 times. [36]
7: (5SC, inc) 2times, 3SC, Change to Black, 2SC, inc, 1SC, Change to Mint
Green, 4SC, Inc, (5SC, inc) 2 times. [42]
8: 13SC, Change to Black, 13SC, Change to Mint Green, 16SC. [42]
9: 10SC, Change to Black, 19SC, Change to Mint Green, 13SC. [42]
10: 8SC, Change to Black, 23SC, Change to Mint Green, 11SC. [42]
11: Change to Black, 42SC. [42]
|
14: 42SC.
The edge of the face looks a bit rough this way, you can neaten it up by using
Surface Crochet. This means, SlSt around the edge of the face with the meter of
black yarn you kept apart.
15: 42SC. [42]
|
26: 42SC. [42]
Change to Purple
27: Work in back loops only, 42SC. [42]
28: 42SC. [42]
29: 42SC. [42]
30: (5SC, dec), 6 times. [36]
31: (4SC, dec), 6 times. [30]
32: (3SC, dec), 6 times. [24]
33: (2SC, dec), 6 times. [18] Stuff the body here.
34: (1SC, dec), 6 times. [12]
35: Dec around. [6]
Fasten off and weave in tail.
Skirt
Use the color Black.
At row 27 of the body you worked in the back loops only.
Rejoin your yarn now in the front loops.
1: 42SC. [42]
2: 42SC. [42]
3: (1SC, 1HDC, 1DC + Picot + 1DC in the next st, 1HDC) 10 times, 1SC, SLST.
[62]
Fasten off and weave in tail.
Ears (Make 2)
Use the color Mint Green.
Crochet 6SC in a Magic Ring, fasten off and leave a long tail for sewing.
Legs (Make 4)
Make 2 in the color Mint Green and 2 in the color Black.
1: 4SC in Magic Ring. [4]
2: 2SC in each st around. [8]
3: 8SC. [8]
|
4: 8SC. [8]
Fasten off and leave a long tail for sewing.
You don’t have to stuff the legs, but you can if you want.
Horns (Make 2)
Use the color Black.
1: 4SC in Magic Ring. [4]
2: 4SC. [4]
3: (1SC, inc) 2 times. [6]
4: 6SC. [6]
5: (2SC, inc) 2 times. [8]
6: 8SC. [8]
7: 3SC, (inc) 2 times, 3SC. [10]
8: 4SC, (inc) 2 times, 4SC. [12]
9: 12SC. [12]
10: 12SC. [12]
Fasten off and leave a long tail for sewing.
Stuff the horns nicely.
Spikes (Make 4)
Use the color Black.
1: 4SC in Magic Ring. [4]
2: 4SC. [4]
3: (1SC, inc) 2 times. [6]
4: 6SC. [6]
Fasten off and leave a long tail for sewing.
Collar (Make 2)
Make 1 in Black and 1 in Purple.
You won’t work this one in continues rounds but turn your work after every row.
1: 27FSC, turn. [27] (Or chain 28, insert in the second ch
from hook and make 27SC.)
2: Inc, 25SC, inc, turn. [29]
3: Inc, 27SC, inc. [31]
Fasten off and leave a long tail for sewing.
Sew Both parts together so you have 1 colar in the end.
Assembling
By using sewing pins to position all of the parts, before sewing on, you can move around all parts until you are happy with the result. I recomment you doing that as well.
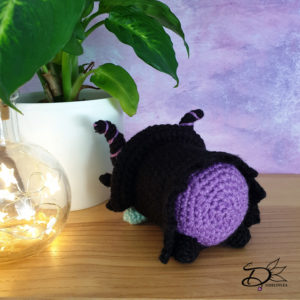
Start with sewing on the legs/arms first. The Black ones are the legs, those go on the purple part of the body, behind the skirt. The Mint Green ones are the arms and face slightly forward.
Sew the ears to both sides of the face.
The horns go on next, if you have sewn those on, atach some purple yarn to the tip and swirl it down and fasten off. Now you can slightly shape them as well, by folding a bit (I hope you get what I mean).
Now the horns are in place, you sew on the spikes, 2 under each horn.
Last you sew on the collar. Mine is placed around the 16th row of the body.
With some left over Mint Green yarn, I made her nose, slightly lower as the start of the body. From felt, cut our the eyes and eyebrows, and glue those on!
Tip; if you still have some mint green parts showing in the black part around the face, use a waterproof black marker and simply color them. If you are planning to give this to a kid who possibly sticks it in the mouth, you might not wanna do this.
Maleficent is done! She has a lot of individual parts, but we made it to the end! I hope you like how she turned out, will you show me if you made her? I would love to see what you made with my pattern!
Love
Danielle

