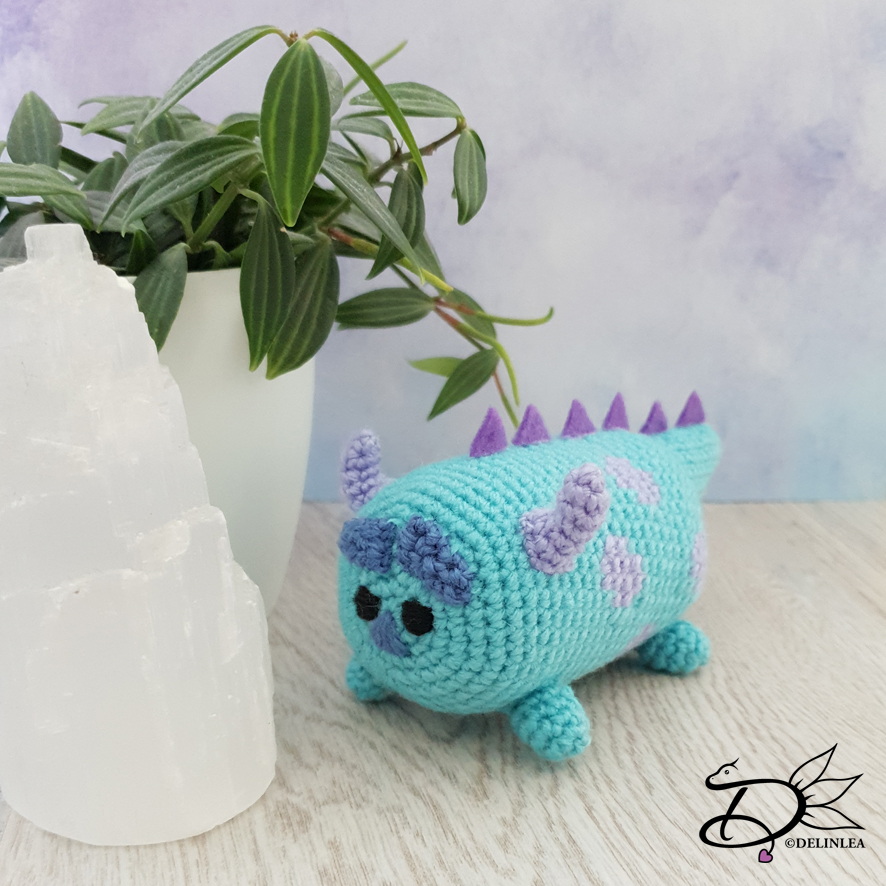
♥ Free Pattern; Sulley Tsum Tsum Amigurumi
Hey Lovelies! How are you doing? I’m doing okay, I made a to
do list till the end of June, and it’s quite a bit XD. Also because I wanna
join 2 contests, 1 by Hahnemuhle for their 2020 calendar and 1 by WayV. They
both include a lot of drawing, so I really I hope I can get that done on time
besides all the other stuff. Do you like to join contests?!
Anyway on to today’s post, it’s time for a new Tsum Tsum pattern! I was so
excited to make a Tsum again, so expect a few more these weeks haha. It’s
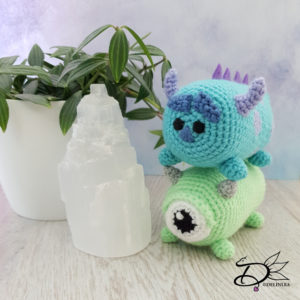
Monsters Inc. Sulley’s turn today. This one was requested by someone a while
ago, but I can’t remember who. *hides. But here it is, have fun.
For this DIY you’ll need:
♥ Yarn in the colors; Turquoise, Purple and Dark Blue. (I used Zeeman Supersoft)
♥ Crochet Hook (I used a 2mm hook).
♥ Stuffing.
♥ Scissors.
♥ Sewing Pins.
♥ Yarn Needle.
♥ Embroidery Needle with black floss.
♥ Felt in Purple.
♥ (Fabric) Glue. (Optional)
Stitches used (US Terms):
Magic Ring.
Color Changing.
Ch = Chain.
SC = Single Crochet.
ST = Stitch.
FSC = Foundation Single Crochet
FHDC = Foundation Half Double Crochet
FDC = Foundation Double Crochet
Inc = Increase.
Dec = Decrease.
(…) = Repeat the space in brackets the given number of times.
[…] = Total number of stitches.
Pattern
This pattern will be worked in continues round, unless stated otherwise.
Body
Start with the color Turquoise.
1: 6SC in Magic Ring. [6]
2: 2SC in each st around. [12]
3: (1SC, inc) 6 times. [18]
4: (2SC, inc) 6 times. [24]
5: (3SC, inc) 6 times. [30]
6: (4SC, inc) 6 times. [36]
7: (5SC, inc) 6 times. [42]
8: 42SC. [42]
|
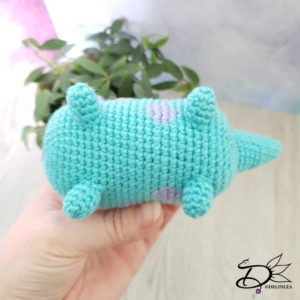
16: 10SC, Change to Purple, 2SC, Change to Turquoise, 19SC, Change to Purple,
2SC, Change to Turquoise, 9SC. [42]
17: 9SC, Change to Purple, 4SC, Change to Turquoise, 17SC, Change to Purple, 4SC,
Change to Turquoise, 8SC. [42]
18: Repeat row 17.
19: Repeat row 16.
20: 42SC. [24]
21: 5SC, Change to Purple, 2SC, Change to Turquoise, 9SC, Change to Purple,
2SC, Change to Turquoise, 6SC, Change to Purple, 2SC, Change to Turquoise, 9SC,
Change to Purple, 2SC, Change to Turquoise, 5SC [42]
22: 4SC, Change to Purple, 4SC, Change to Turquoise, 7SC, Change to Purple, 4SC,
Change to Turquoise, 4SC, Change to Purple, 4SC, Change to Turquoise, 7SC,
Change to Purple, 4SC, Change to Turquoise, 4SC [42]
23: Repeat row 22.
24: Repeat row 21.
25: 42SC. [42]
26: 11SC, Change to Purple, 2SC, Change to Turquoise, 19SC, Change to Purple, 2SC,
Change to Turquoise, 8SC. [42]
27: 10SC, Change to Purple, 4SC, Change to Turquoise, 17SC, Change to Purple, 4SC,
Change to Turquoise, 7SC. [42]
28: Repeat row 27.
29: Repeat row 26.
30: (5SC, dec) 6 times. [36]
31: (4SC, dec) 6 times. [30]
32: (3SC, dec) 6 times. [24]
33: (2SC, dec) 6 times. [18] Make sure to stuff the body around here.
34: (1SC, dec) 6 times. [12]
35: dec all around. [6]
Fasten off and weave in the tail.
Legs (Make 4)
Use the color Turquoise.
1: 4SC in magic ring. [4]
2: Inc in each st around. [8]
3: SC in each st around. [8]
|
5: SC in each st around. [8]
Fasten off and leave a long tail for sewing.
Tail
Use the color Turquoise.
1: 6SC in Magic Ring. [6]
2: (1SC, inc) 3 times. [9]
3: 9SC. [9]
4: (2SC, inc) 3 times. [12]
5: 12SC. [12]
6: (3SC, inc) 3 times. [15]
7: 15SC. [15]
8: 15SC. [15]
9: (4SC, inc) 3 times. [18]
10: 18SC. [18]
11: 18SC. [18]
Fasten off and leave a long tail for sewing. Stuff the tail lightly.
Horns (make 2)
Use the color Purple.
1: 4SC in Magic Ring. [4]
2: (1SC, inc) 2 times. [6]
3: 6SC. [6]
4: 6SC. [6]
5: (2SC, inc) 2 times. [8]
6: (3SC, inc) 2 times. [10]
Fasten off and leave a long tail for sewing. You don’t stuff the horns, you
will bend them later and if you stuff them they won’t hold shape.
Eyebrows
Use the color Dark Blue.
Make 2 FSC, for 1 eyebrow you finish with a FHDC and for the
other with a FDC.
Fasten off and leave a long tail for sewing.
Assembling
For assembling I always use pins first to place all the parts, this way I can easily move them around until I am happy with how it looks!
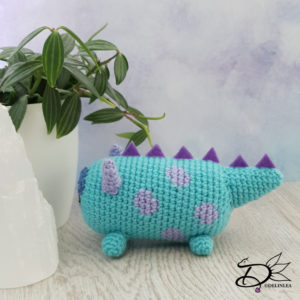
First place the legs, the 2 in front, slightly forward. two at the back, facing outward, sew them on. Make sure that both sides of the body have about 4 purple dots.
Sew on his tail, it’s not centered, slightly more up. Sew on his horns as well.
For his face, you can embroider it on like I did, or use felt, just what you prefer. For his nose I used the same yarn to embroider on as the eyebrows. Last you sew on the Eyebrows, since you know now where they need to go!
Cut out of Purple felt 6 or 7 small triangle to go on his back and tail. Glue those on.
And you have finished Sulley! I hope you like how he turned out and make our collection of Tsum Tsum’s a bit bigger! If you wanna make Mike as well, here can you find the pattern! Show me yours when you made it, on twitter or instagram with the #DelinleaDIY.
Love
Danielle

