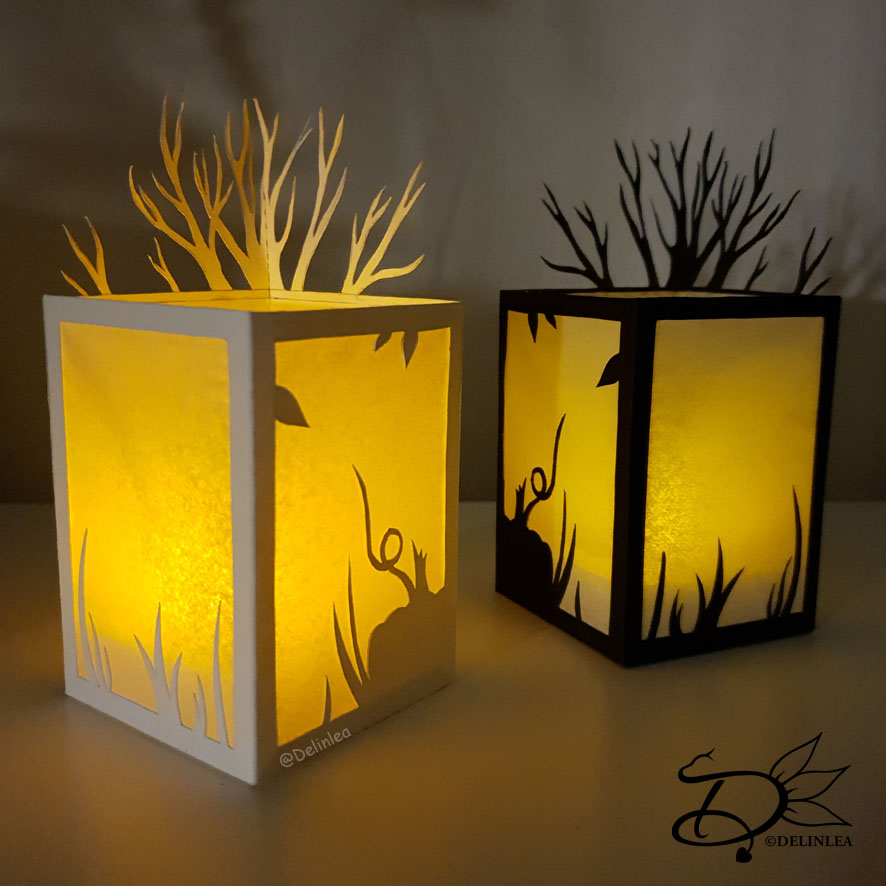
♥ Paper Autumn Lantern DIY
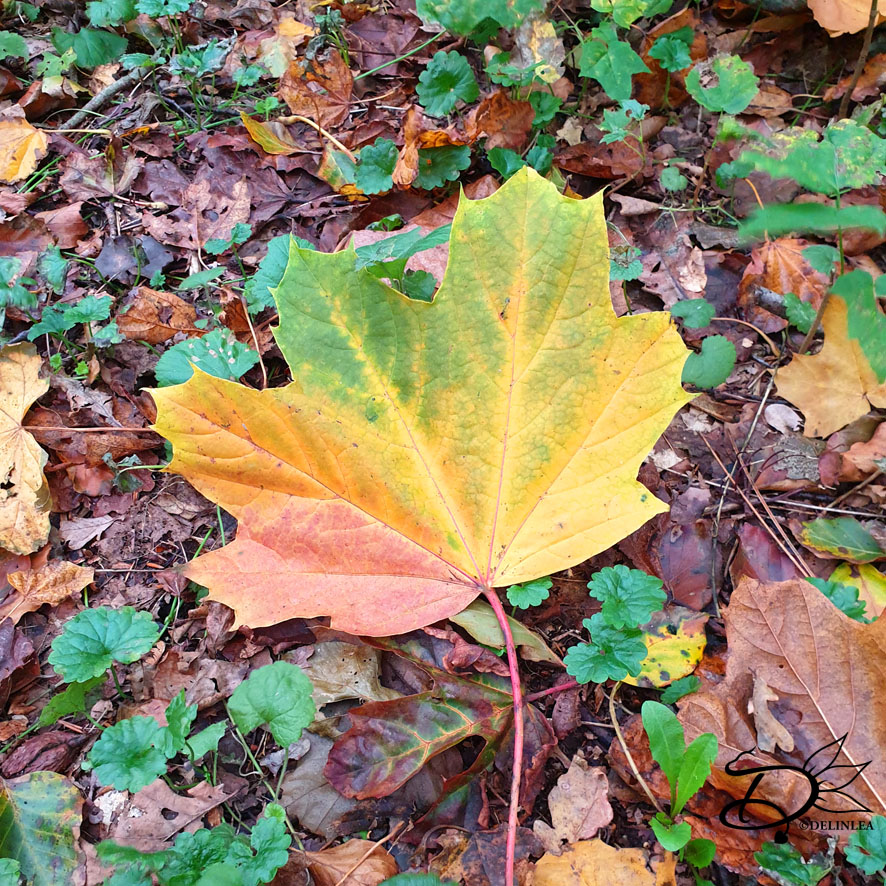
Hey Lovelies! Today it’s November 11th, and there are a bunch of celebrations today, one of the things we celebrate is St. Maarten. Kids go door to door, at night, with a lantern and sing to get candy. It’s a bit similar to trick or treating. It’s also Singles day, but that has nothing to do with today’s blog haha. Maybe a bit, just take time for yourself and craft you own lantern. Cause today we will make this fun paper lantern that you can decorate your house with!
For this DIY you’ll need:
♥ Paper in a color of choice (about 200 gr/m2)
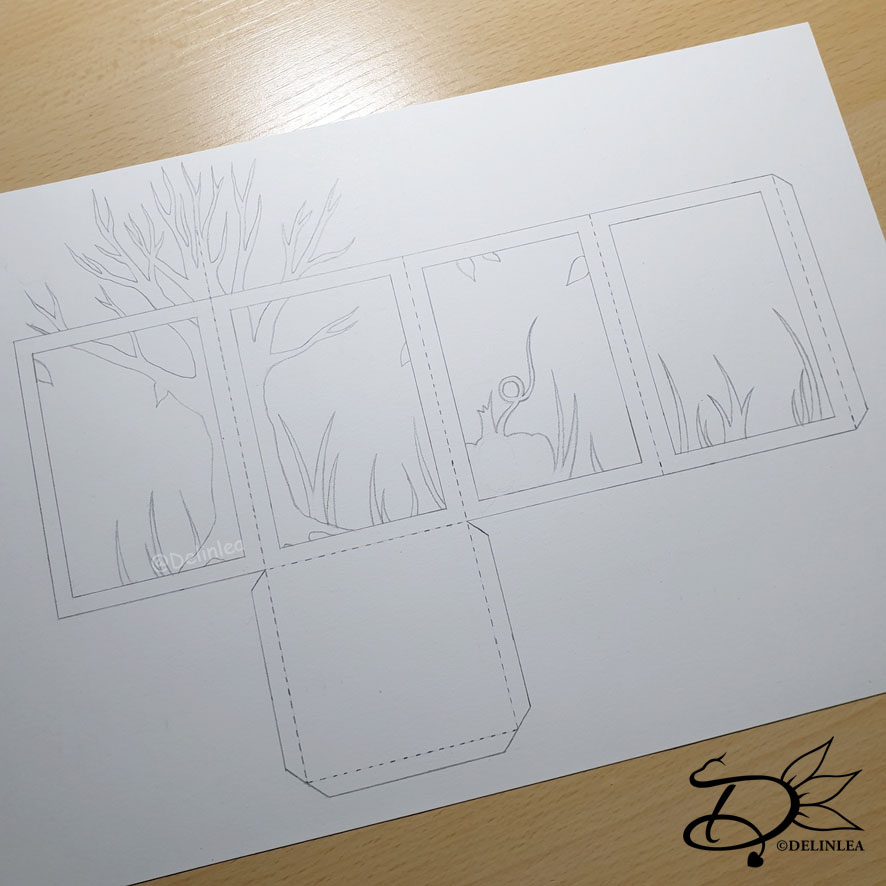
♥ This Template.
♥ Semi-Translucent Paper.
♥ Printer or Pencil.
♥ X-acto knife.
♥ Cutting Mat.
♥ Glue.
♥ Bone Folder.
DIY Lantern
Print out this template, you can use regular printer paper and tape it to your thick paper. Printers sometimes don’t like thick paper. You can use any color of paper I used black and white, but it’s totally up to you.
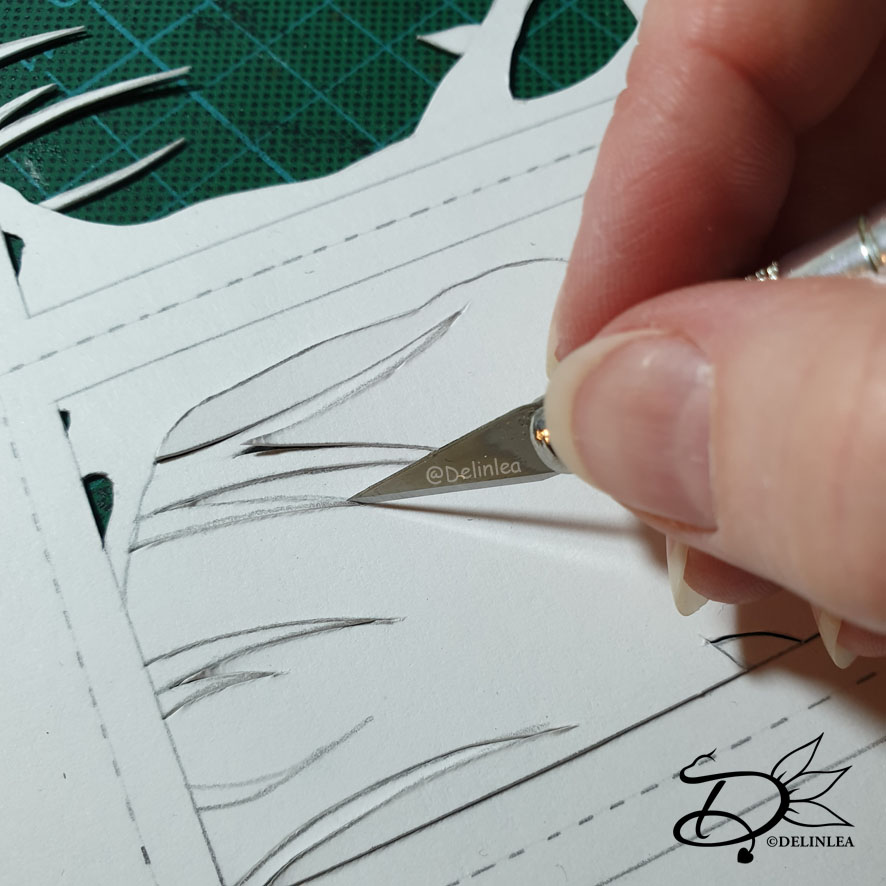
Cutting out
Start cutting out all the solid lines with an x-acto knife. Make sure to put an cutting mat under your work, you don’t wanna damage your workspace. All the dotted lines you leave alone for now. Easiest is to do the insides/windows first.
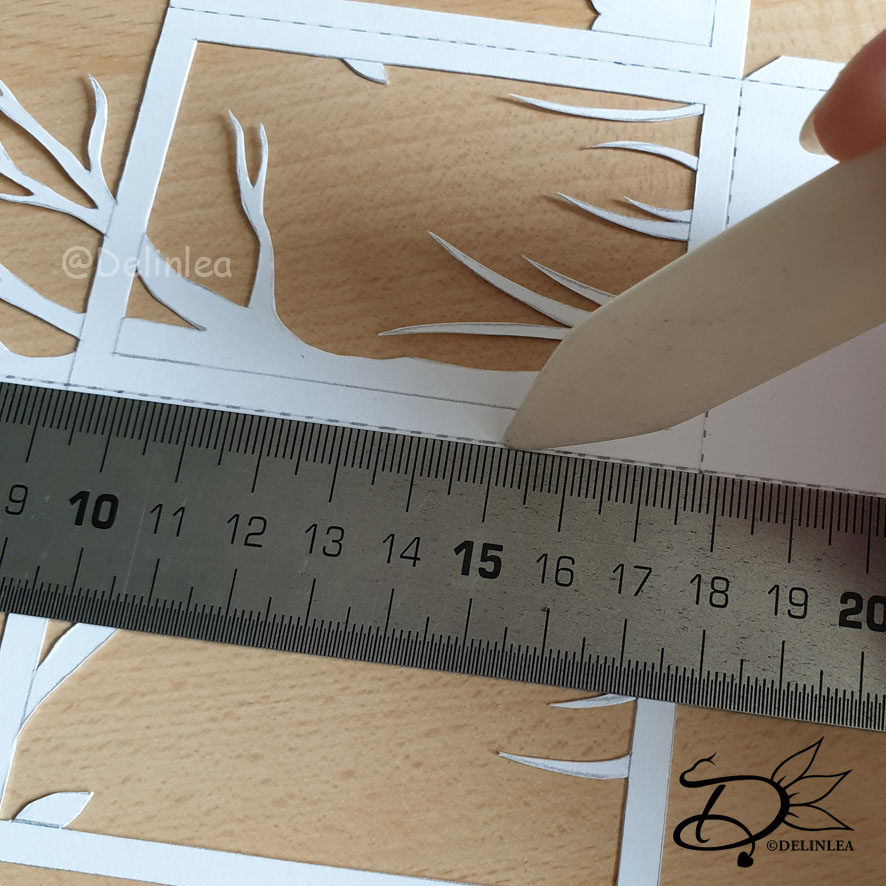
Now score all the dotted lines with a bone folder or anything else you can make an indent with.
Making Windows
Cut out a rectangle of the semi translucent paper, for the windows, slightly smaller as the paper outlines. (the bottom of the lantern you can ignore). Mine was about 23,7cm by 8,25cm. Glue this neatly to the inside and let it dry well.

!! Just a slight warning, if you use white glue and your paper is not thick enough, it can warp. I prefer to use clear glue for this reason, it doesn’t contain water. !!

Folding and Glueing
When all has dried well, it’s time to folded all the dotted lines that you have scored before. I used a bone folder to make them neat. After that you can glue everything together.
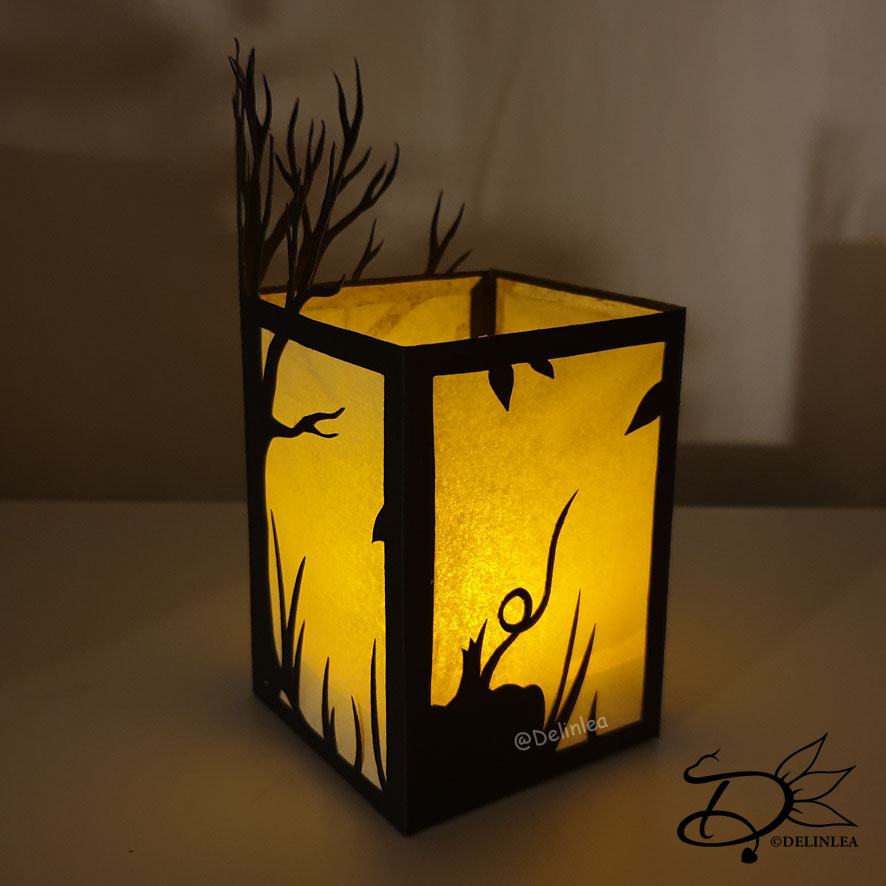
Your paper lantern is done! Isn’t it adorable?! I love them, and I already know so many more designs for them, wanna see those too?! Anyway, if you made some as well, please show me on Twitter or Instagram, I’d love to see what you made!
Have a wonderful day!
Love
Danielle
PS. if you love those DIY’s, maybe you’d like to support me on Ko-Fi?! So I can keep making content like this!
// ©2021 Delinlea / Danielle Kaal // Items made with this DIY may be sold in a limited number. Credit to ‘Delinlea’ is appreciated. Not allowed for mass production or commercial purposes. You may not reproduce, translate, share, freely distribute or sell this DIY as your own in digital or printed from.