Hey Lovelies!
I’m sorry that I am a little late with this weeks post, but hé! it’s up now haha! I had some pretty scary stuff going on earlier this week, not as in bad, but as in something good, don’t worry! It involved camera’s and I had to be in front of them. And if there’s one thing I hate is to be in front of a camera haha. Much more I can’t tell you right now. But I will tell what’s going on, when I am allowed to =).
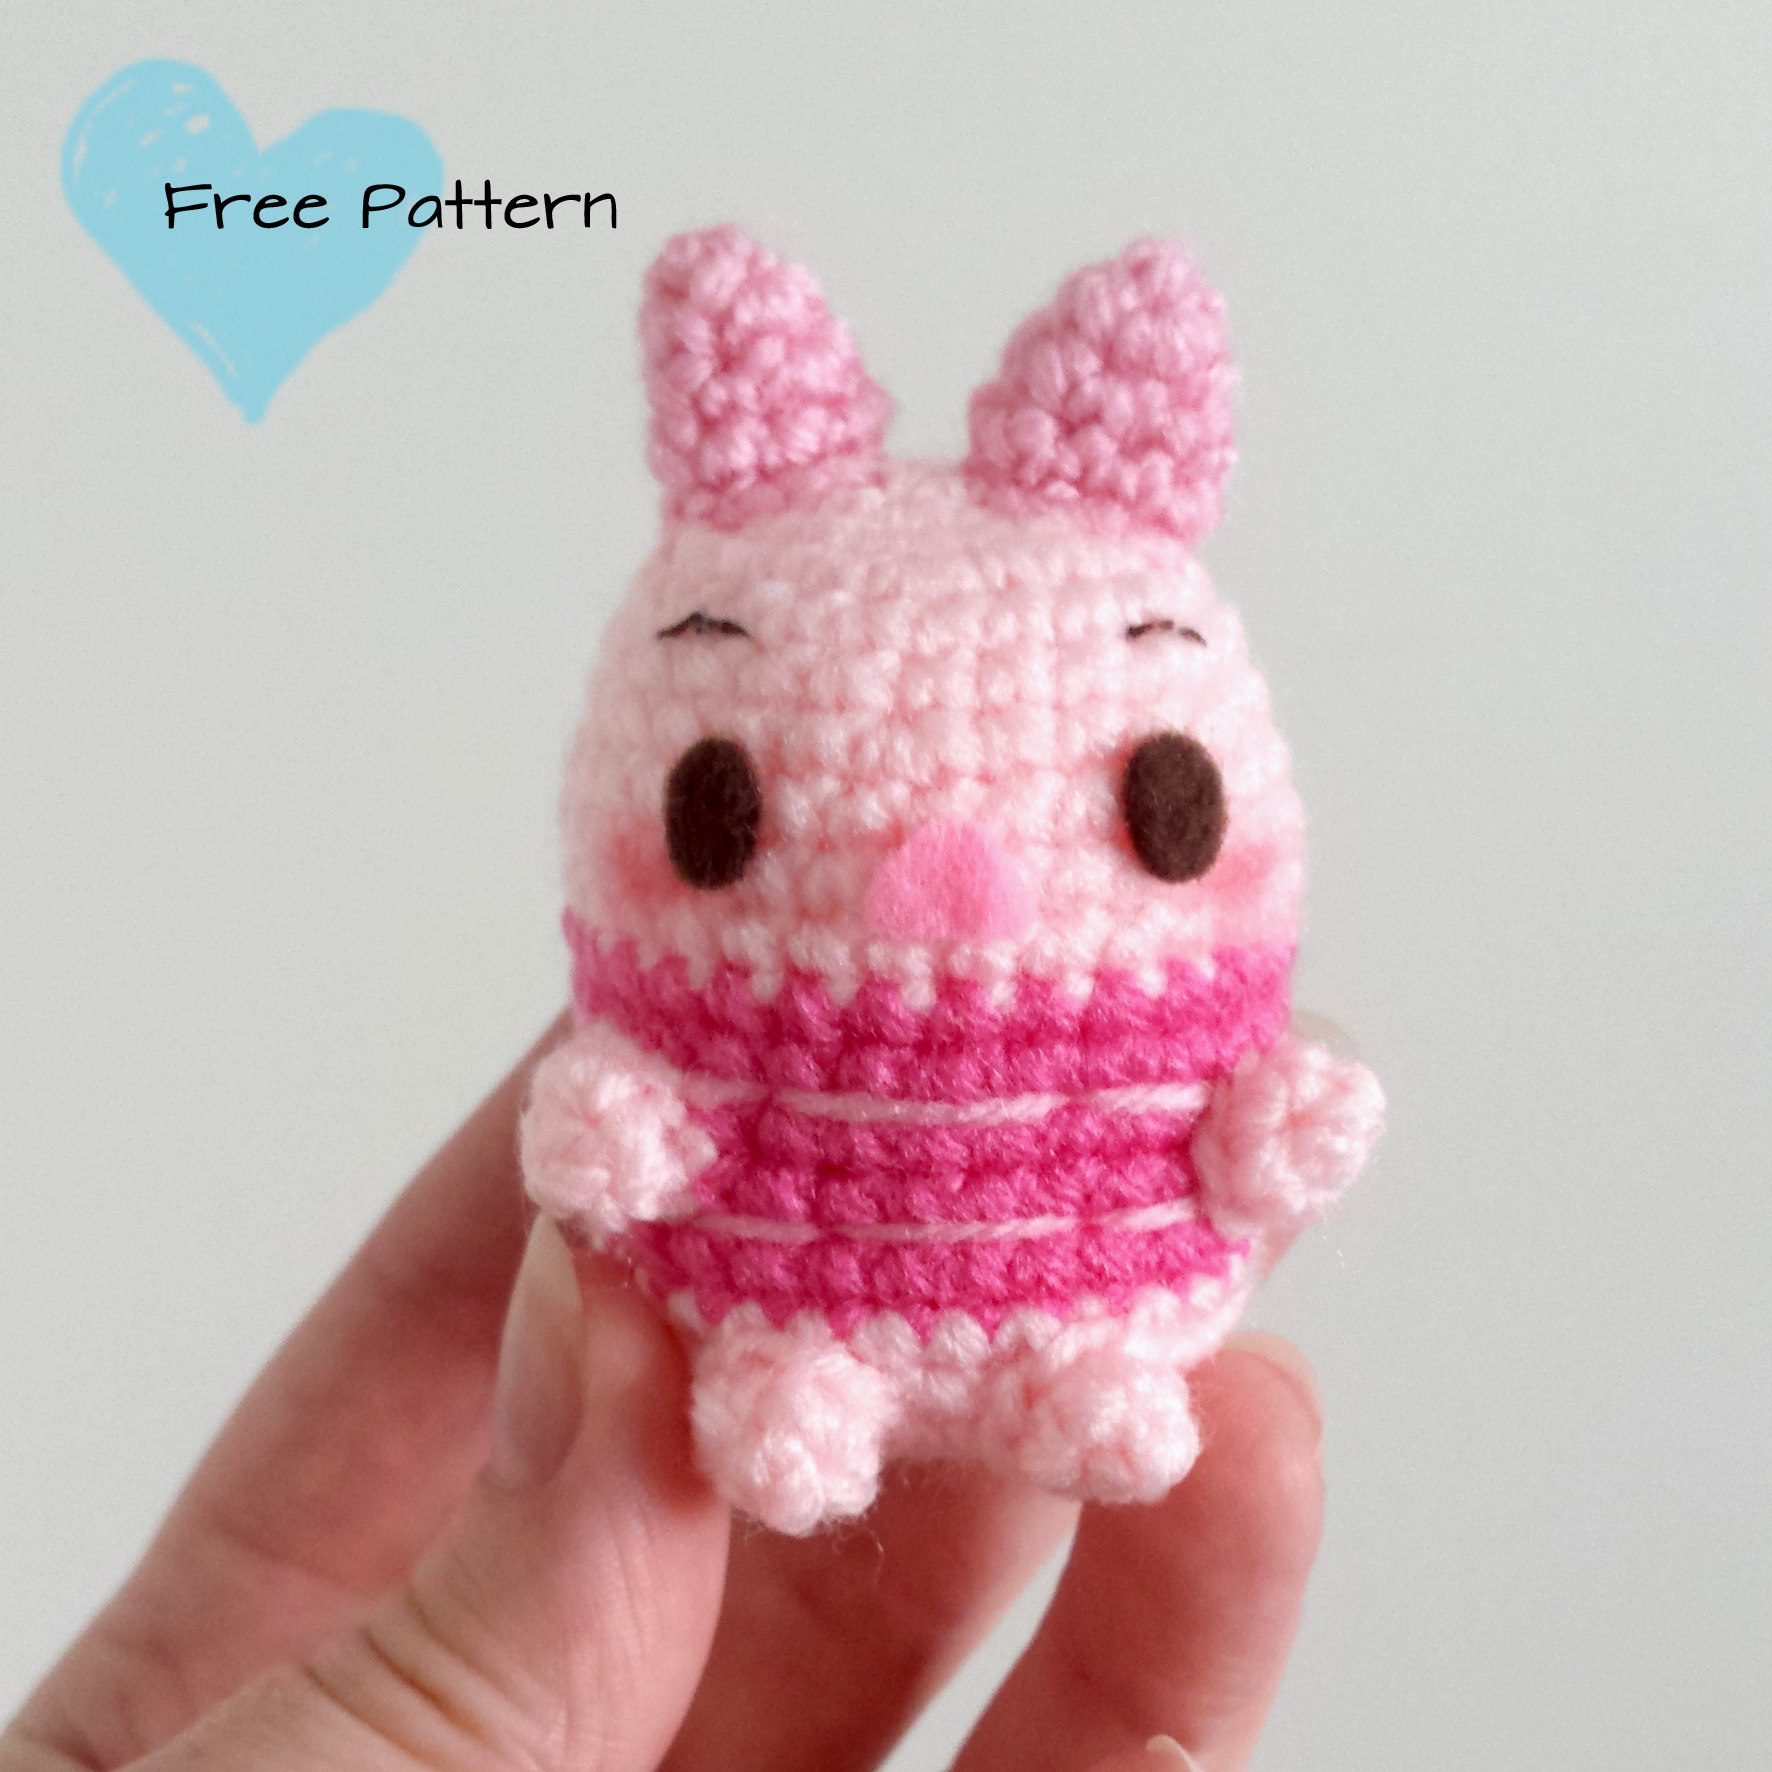
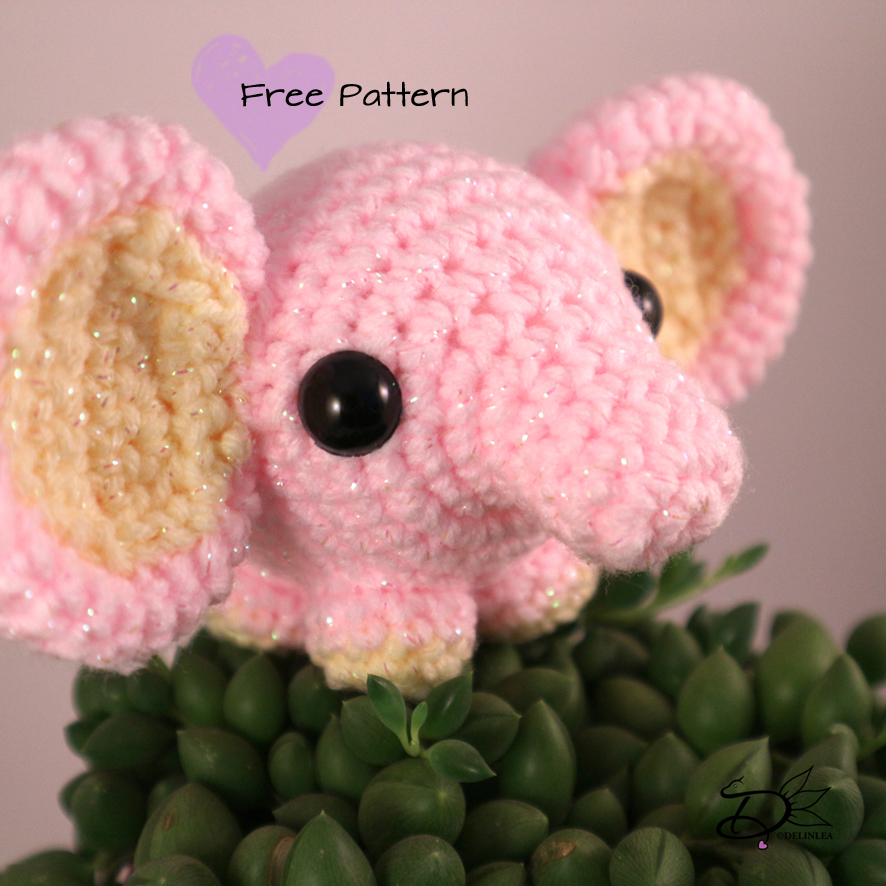
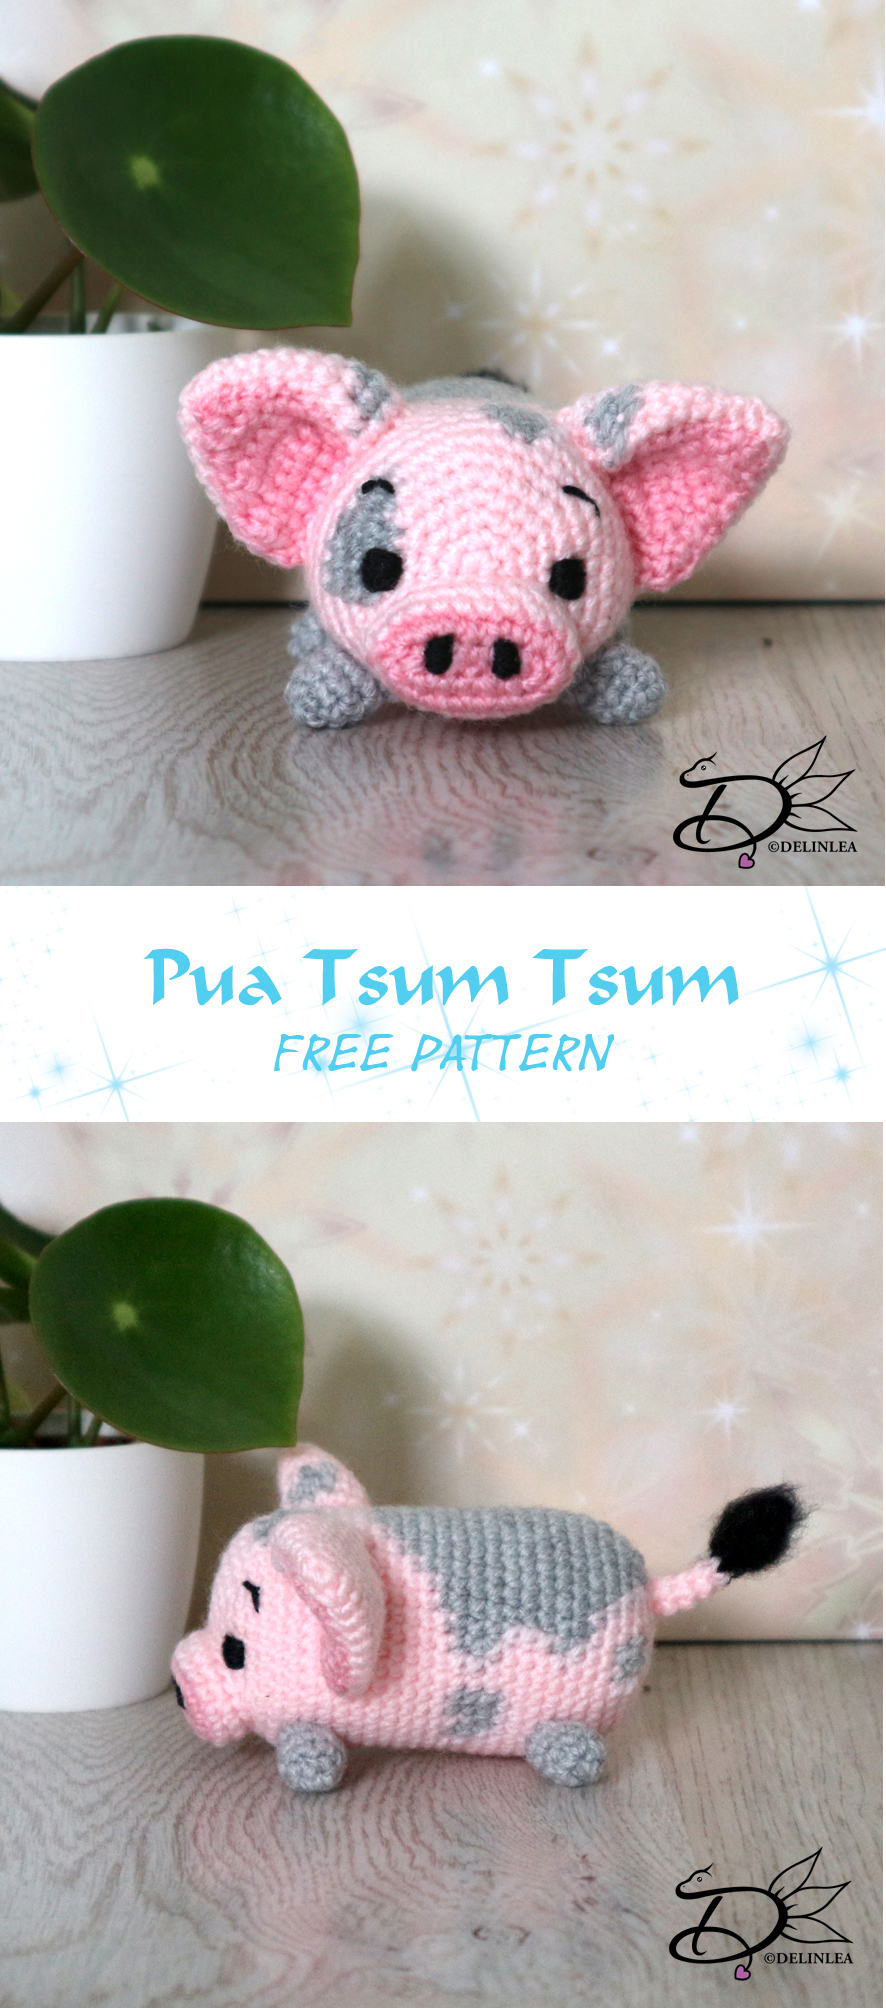
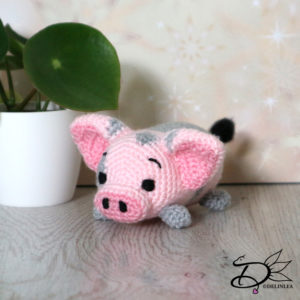
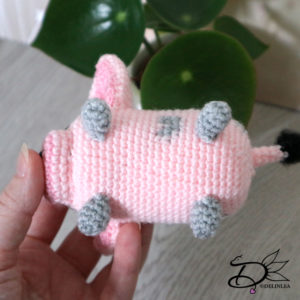
Anyway, I didn’t make a tsum tsum pattern for a while and Pua of Moana was on my list for quit a while, so I made him now for you today~~! Have fun~!
For this DIY you will need:
♥ Yarn: in the colors Pink, Hot Pink, Grey and Black
♥ Crochet hook.
♥ Stitch marker.
♥ Yarn Needle.
♥ Sewing Pins. (optional)
♥ Fiber fill.
♥ Embroidery needle with black thread or black felt.
♥ Scissors.
Stitches used:
CH = Chain.
SC = Single Crochet.
ST = Stitch.
Inc = Increase.
Dec = Decrease.
Slst = Slip Stitch.
(…) = Repeat the space in brackets the given number of times.
[…] = Total number of stitches.

Pattern
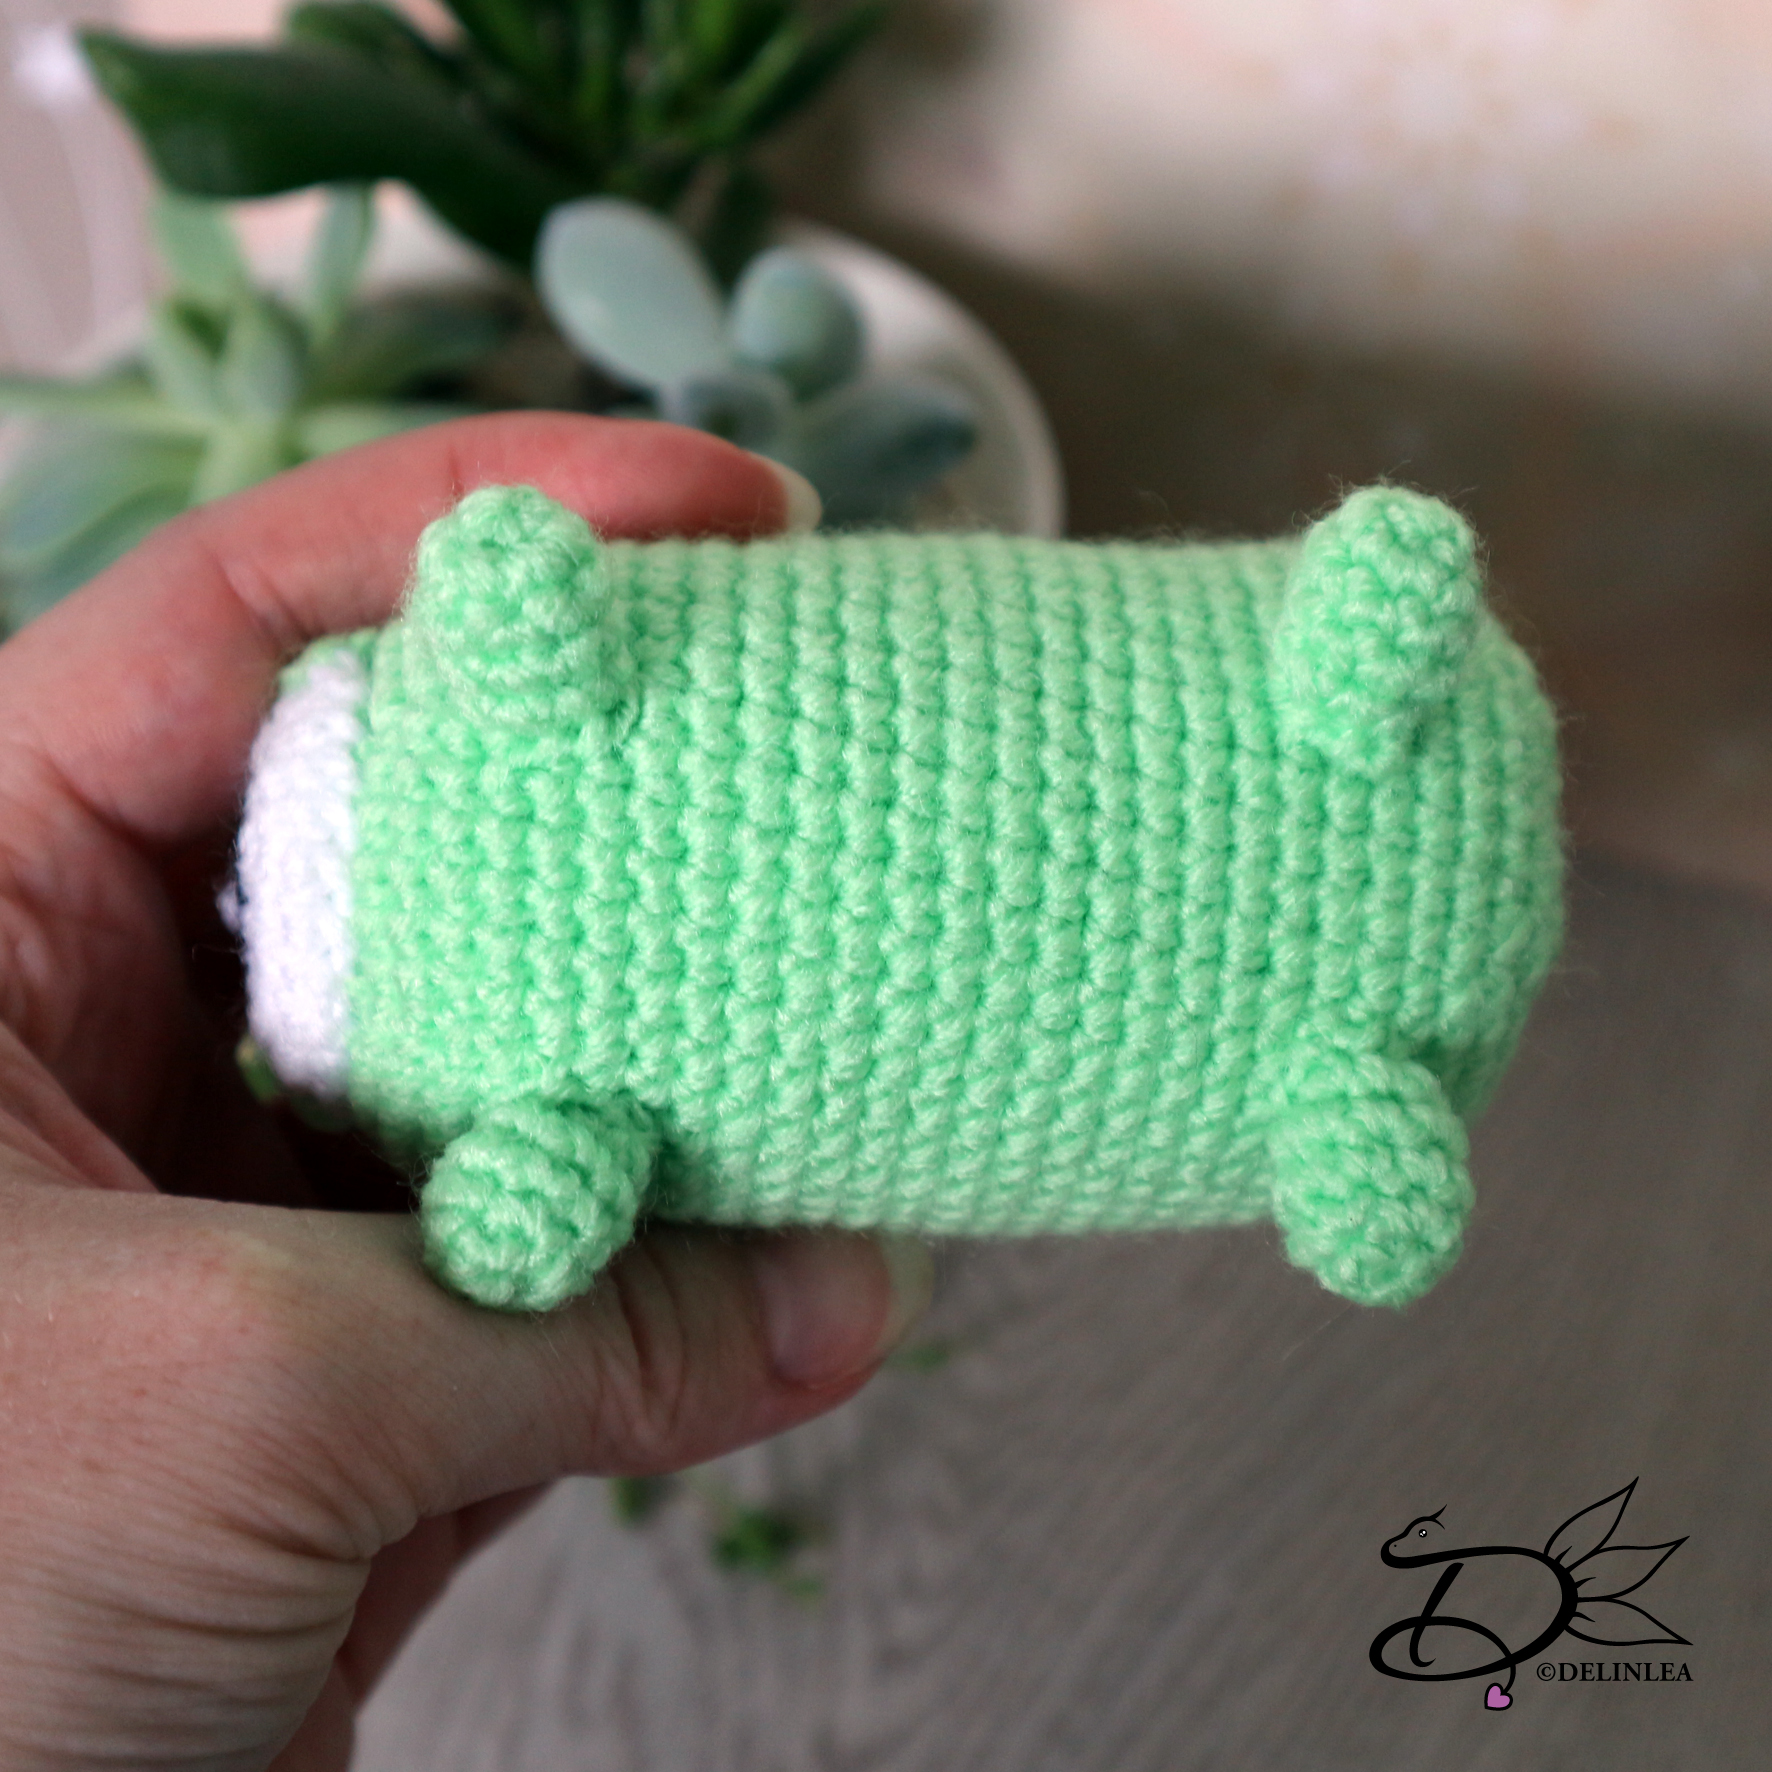
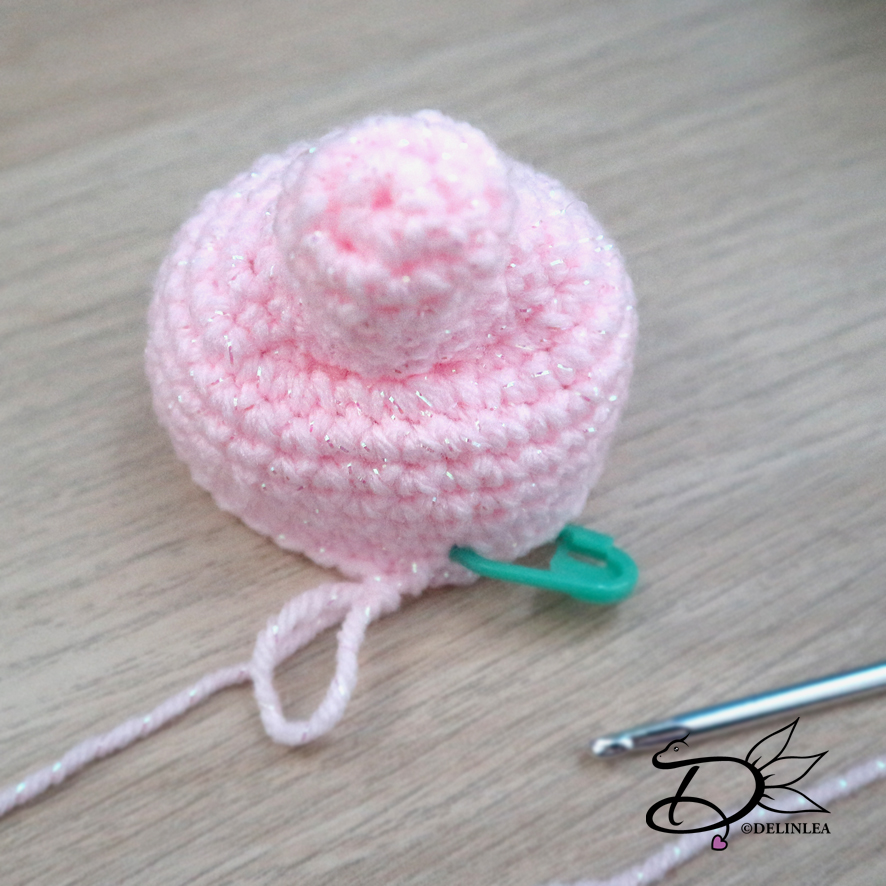
Body
Start with Pink.
1: 6SC in magic ring. [6]
2: Inc in each st around. [12]
3: (1SC, inc) 6 times. [18]
4: (2SC, inc) 6 times. [24]
5: (3SC, inc) 3 times, 4SC, change to Grey, 1SC in the same ST as the last SC, 2SC, change to Pink, 1SC, inc, 3SC, inc. [30]
6: (4SC, inc) 3 times, 3SC, change to Grey, 1SC, inc, 3SC, change to Pink, 1SC, inc, 4SC, inc. [36]
7: (5SC, inc) 3 times, 3SC, change to Grey, 2SC, inc, 3SC, change to Pink, 2SC, inc, 5SC, inc. [42]
8: 16SC, change to Grey, 2SC, change to Pink, 9SC, change to Grey, 4SC, change to Pink, 11SC. [42]
9: 16SC, change to Grey, 3SC, change to Pink, 23 SC. [42]
10: 16SC, change to Grey, 3SC, change to Pink, 23SC. [42]
11: 17SC, change to Grey, 2SC, change to Pink, 23SC. [42]
12: SC in each ST around. [42]
|
14: SC in each ST around. [42]
15: 18SC, change to Grey, 3SC, change to Pink, 21SC. [42]
16: 17SC, change to Grey, 5SC, change to Pink, 20SC. [42]
17: 16SC, change to Grey, 7SC, change to Pink, 19SC. [42]
18: 15SC, change to Grey, 9SC, change to Pink, 18SC. [42]
19: 13SC, change to Grey, 13SC, change to Pink, 16SC. [42]
20: 5SC, change to Grey, 1SC, change to Pink, 1SC, change to Grey, 2SC, change to Pink, 2SC, change to Grey, 17SC, change to Pink, 2SC, change to Grey, 2SC, change to Pink, 10SC. [42]
21: 5SC, change to Grey, 4SC, change to Pink, 2SC, change to Grey, 17SC, change to Pink, 2SC, change to Grey, 3SC, change to Pink, 9SC. [42]
22: 6SC, change to Grey, 3SC, change to Pink,3SC, change to Grey, 15SC, change to Pink, 4SC, change to Grey, 2SC, change to Pink, 9SC. [42]
23: 13SC, change to Grey, 13SC, change to Pink, 16SC. [42]
24: 13SC, change to Grey, 13SC, change to Pink, 16SC. [42]
25: 13SC, change to Grey, 13SC, change to Pink, 16SC. [42]
26: 12SC, change to Grey, 15SC, change to Pink, 5SC, change to Grey, 4SC, change to pink, 6SC. [42]
27: 13SC, change to Grey, 13SC, change to Pink, 7SC, change to Grey, 3SC, change to pink, 6SC. [42]
28: 15SC, change to Grey, 9SC, change to Pink, 10SC, change to Grey, 2SC, change to pink, 6SC. [42]
29: 16SC, change to Grey, 7SC, change to Pink, 19SC. [42]
30: 5SC, dec, 4SC, change to Grey, 1SC, dec, change to Pink, 3SC, change to Grey, 2SC, dec, 1SC, change to Pink, 4SC, dec, (5SC, dec) 2 times. [36]
31: 4SC, dec, 4SC, change to Grey, dec, 1SC, change to Pink, 3SC, change to Grey, dec, 1SC, change to Pink, 3SC, dec, (4SC, dec) 2 times. [30]
32: (3SC, dec), 6 times. [24]
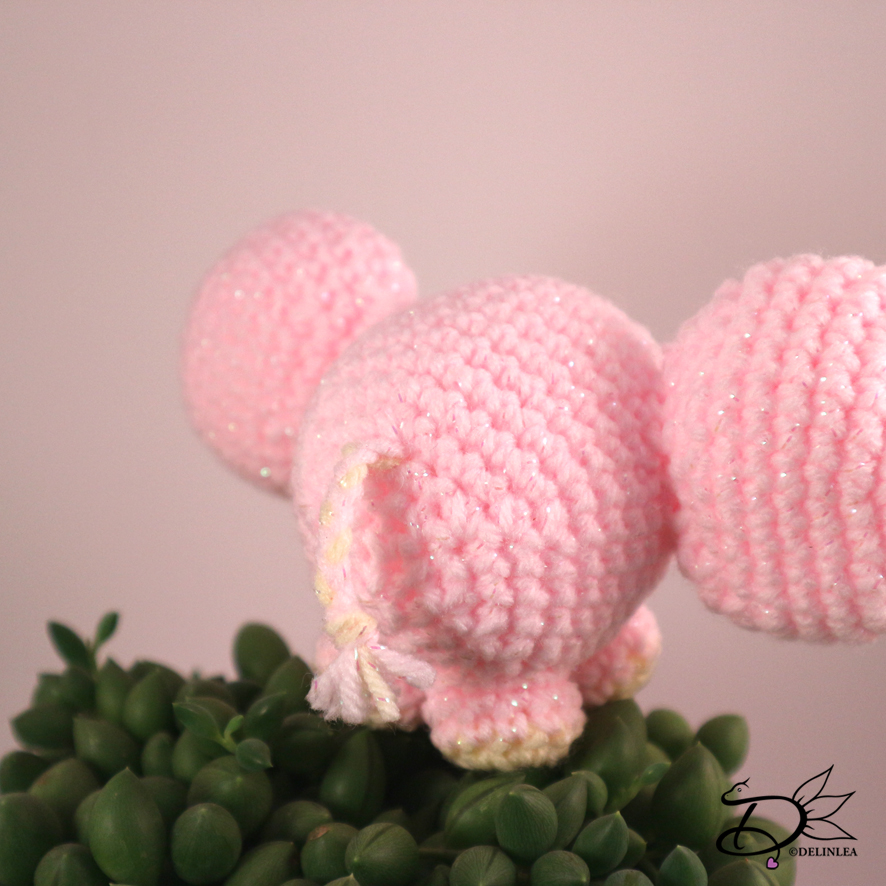
33: (2SC, dec), 6 times. [18] Stuff the body here.
34: (1SC, dec), 6 times. [12]
35: Dec around. [6]
Fasten off and weave in tail.
Legs (4)
In Grey.
1: 4SC in magic ring. [4]
2: Inc in each st around. [8]
3: SC in each st around. [8]
|
5: SC in each st around. [8]
Fasten off and leave a long tail for sewing.
Snout
Start with Hot Pink, you won’t work in continues rounds.
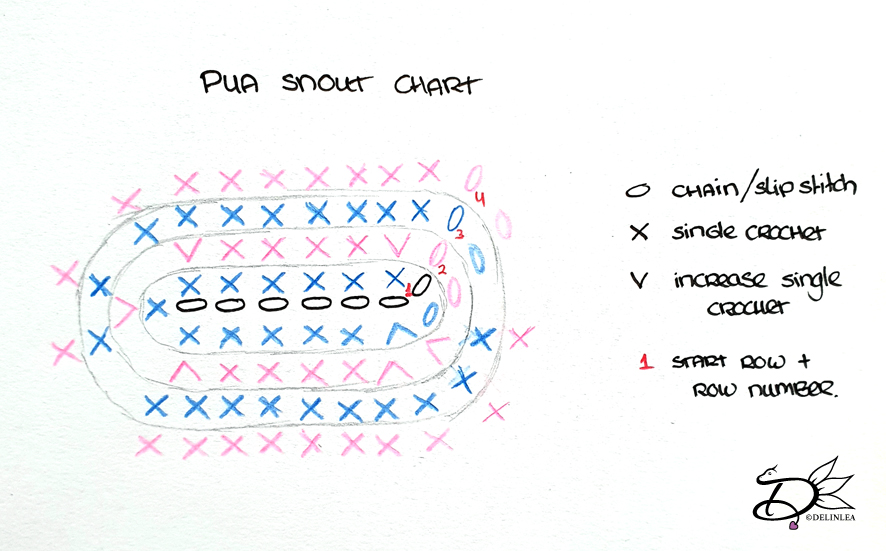
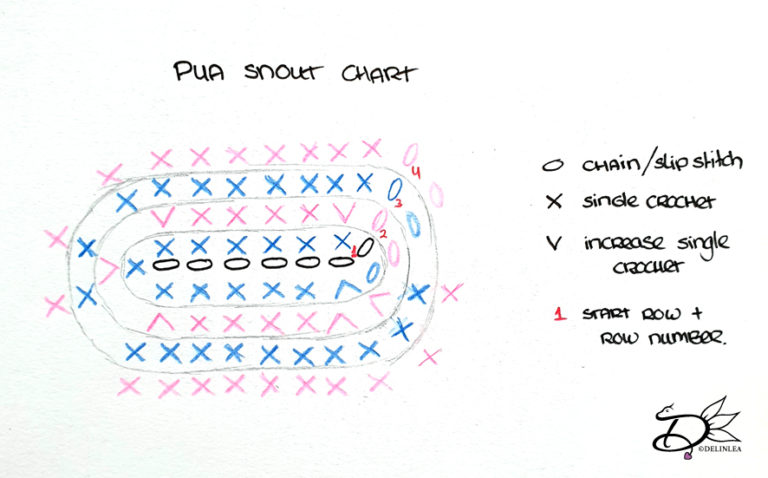
Since some people experienced trouble with the written pattern, I made a crochet chart for the snout down below.
Chain7 (The black row in the chart)
1: Insert in 2nd chain from hook, 5SC, 3SC in the next st, 4SC, inc, slst in the first st. [14]
2: Ch1, inc, 4SC, inc 3 times, 4SC, inc 2 times, slst in the first st. [20]
Change to Pink.
3: Ch1, 20SC [20]
4: Ch1, 20SC [20]
Fasten off, leave long tail for sewing. Stuff the snout lightly.
Tail
Start with Black.
1: 4SC in Magic Ring. [4]
2: (1SC, inc) 2 times. [6]
3: 2SC in each st around. [12]
4: (1SC, dec) 4 times. [8]
5: (1SC, dec) 2 times, dec. [5]
Change to Pink.
6: SC in each ST around. [5]
|
11: SC in each ST around. [5]
Fasten off and leave a long tail for sewing.
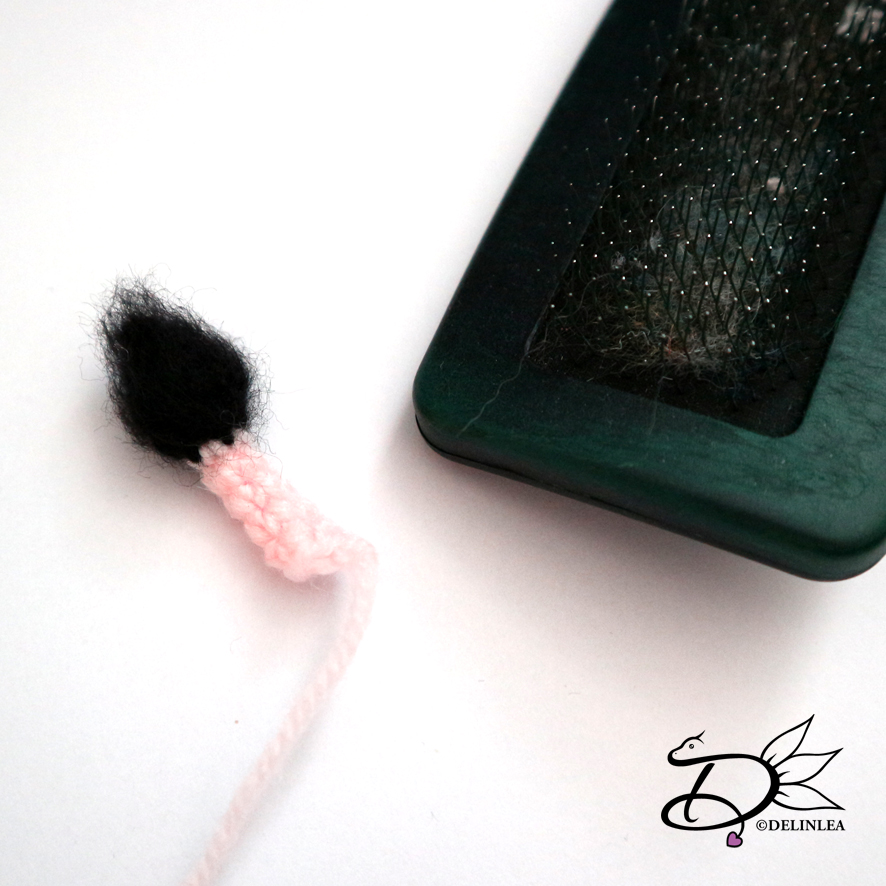
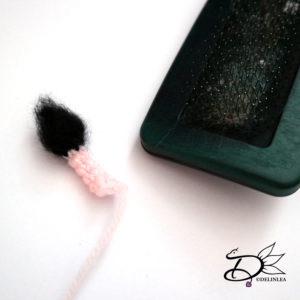
You can brush out the black part of the tail for a fluffy look. The best wat is to use some kind of animal brush, like I showed in the picture.
Ears (2)
In Pink.
1: 6SC in Magic Ring. [6]
2: (1SC, inc) 3 times. [9]
3: (2SC, inc) 3 times. [12]
4: (3SC, inc) 3 times. [15]
5: (4SC, inc) 3 times. [18]
6: (5SC, inc) 3 times. [21]
7: (6SC, inc) 3 times. [24]
8: (7SC, inc) 3 times. [27]*
9: (8SC, inc) 3 times. [30]*
10: SC in each ST around. [30]
Fasten off and leave a long tail for sewing.
Optional:
8* in this round you have the option to add 2 grey SC. For the spot on his ears.
9* in this round you have the option to add 3 grey SC, do this in the same place where you added the grey SC in the previous round.
Inside of the Ears (2)
In Hot Pink.
1: CH12, insert in 2nd CH from hook, 11SC, turn. [11]
2: CH1, dec, 7SC, dec, turn. [9]
3: CH1, dec, 5SC, dec, turn. [7]
4: CH1, dec, 3SC, dec, turn. [5]
5: CH1, dec, 1SC, dec, turn. [3]
6: CH1, 1SC, dec, turn. [2]
7: CH1, dec. [1]
Fasten off and leave a long tail for sewing.
Assembling
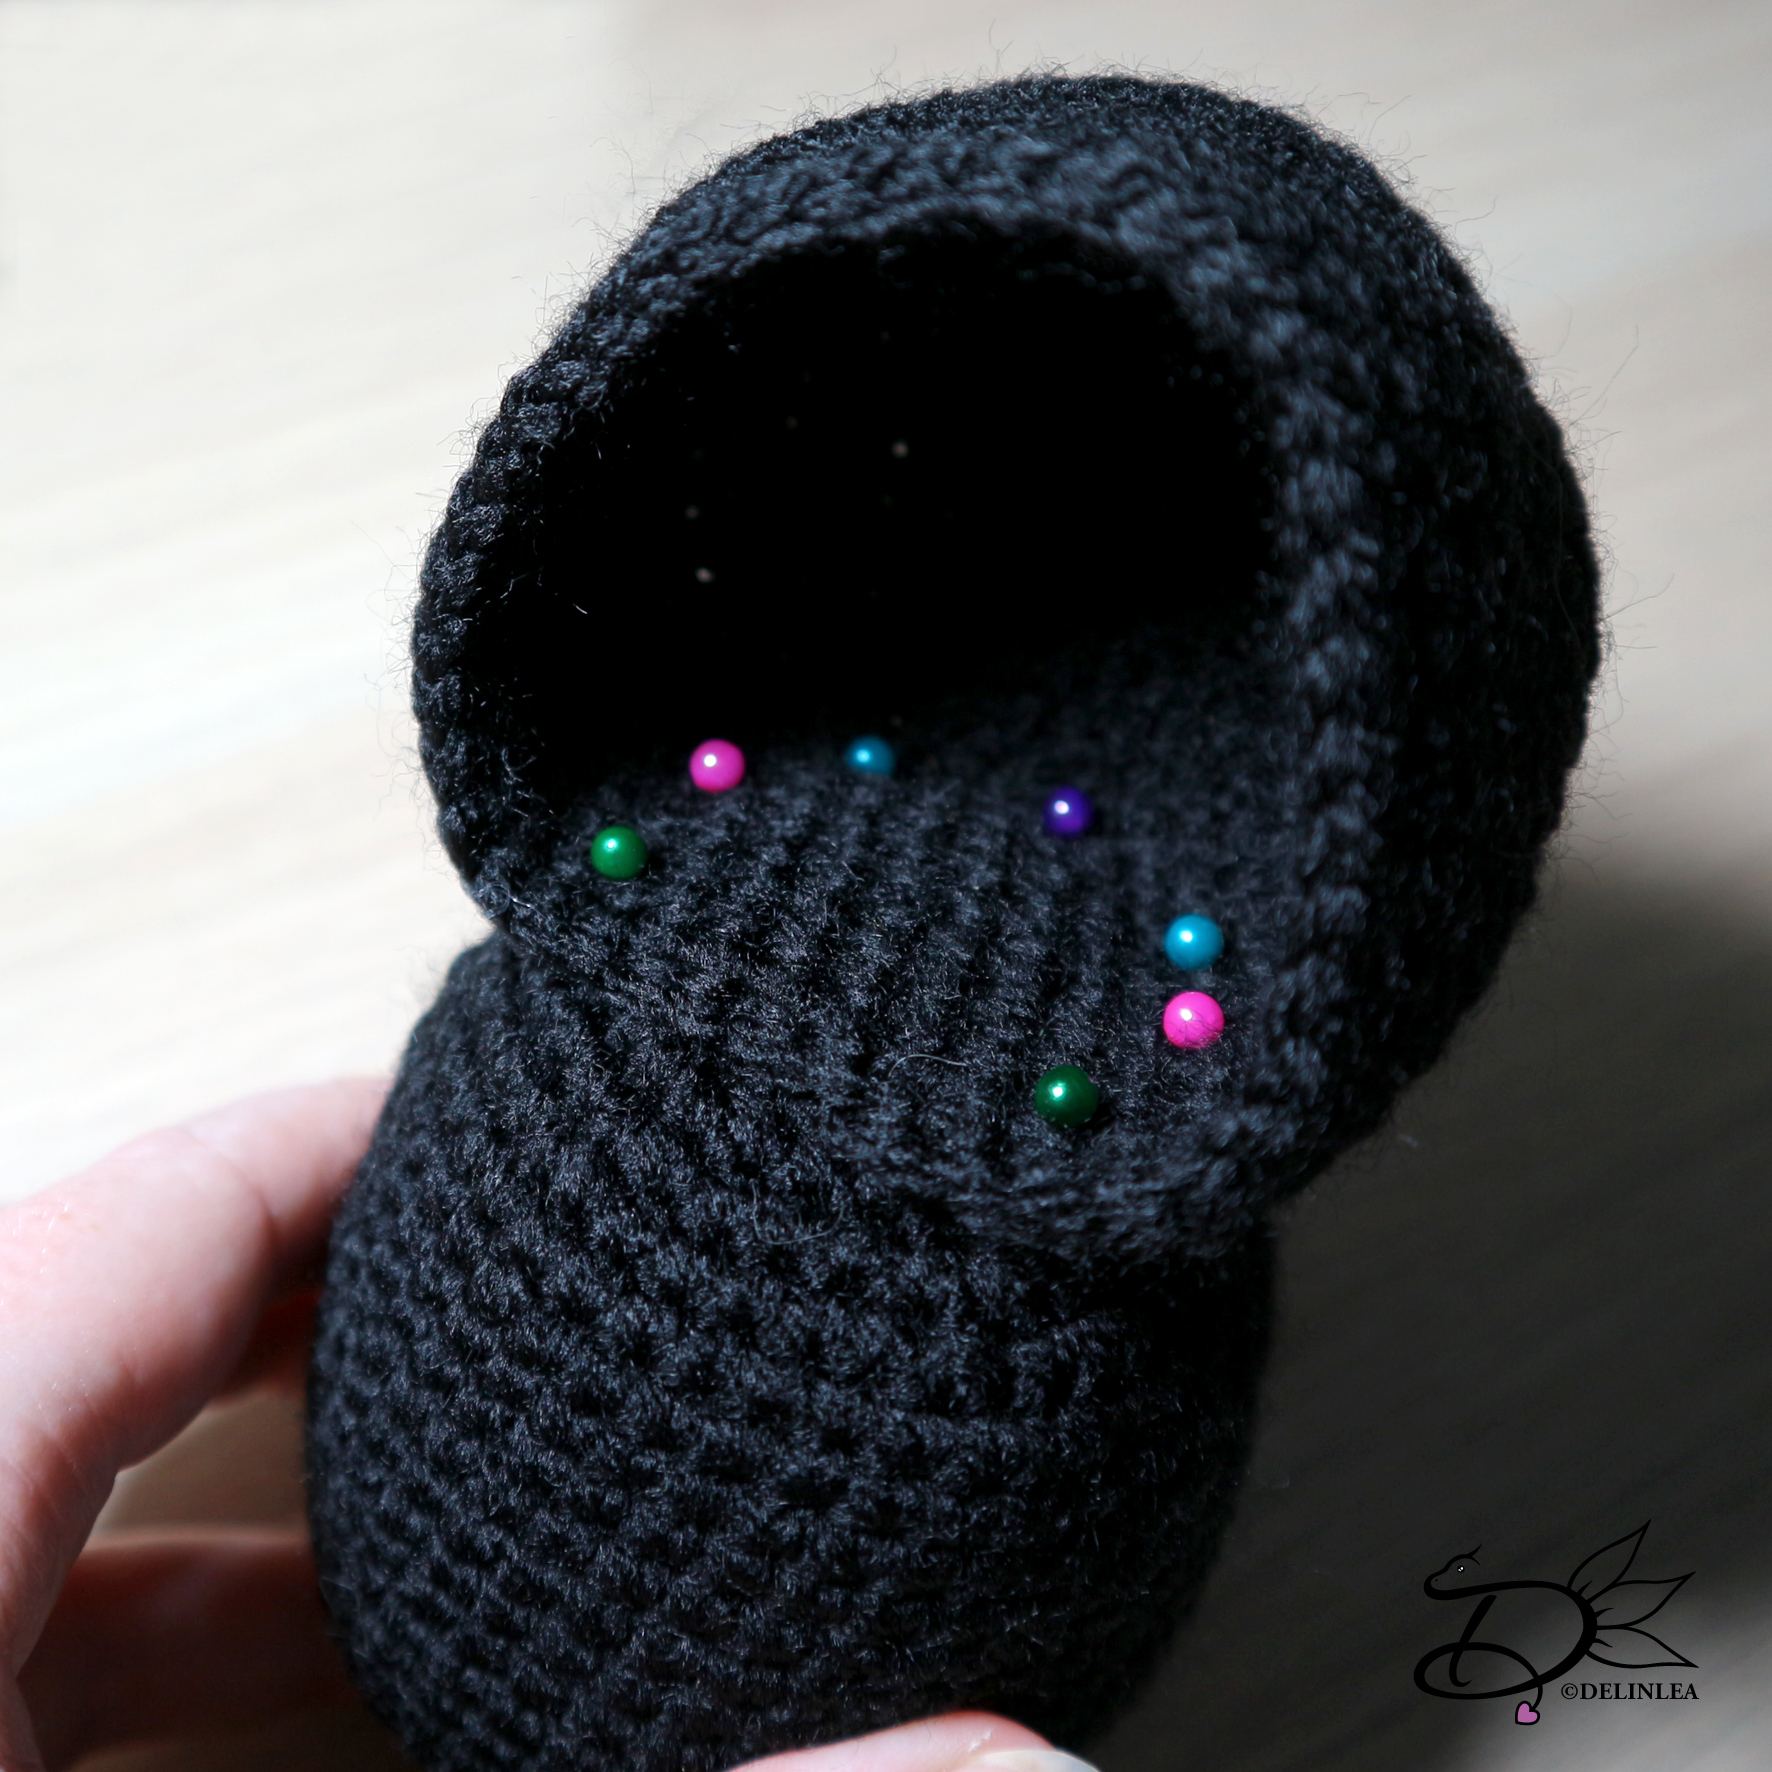
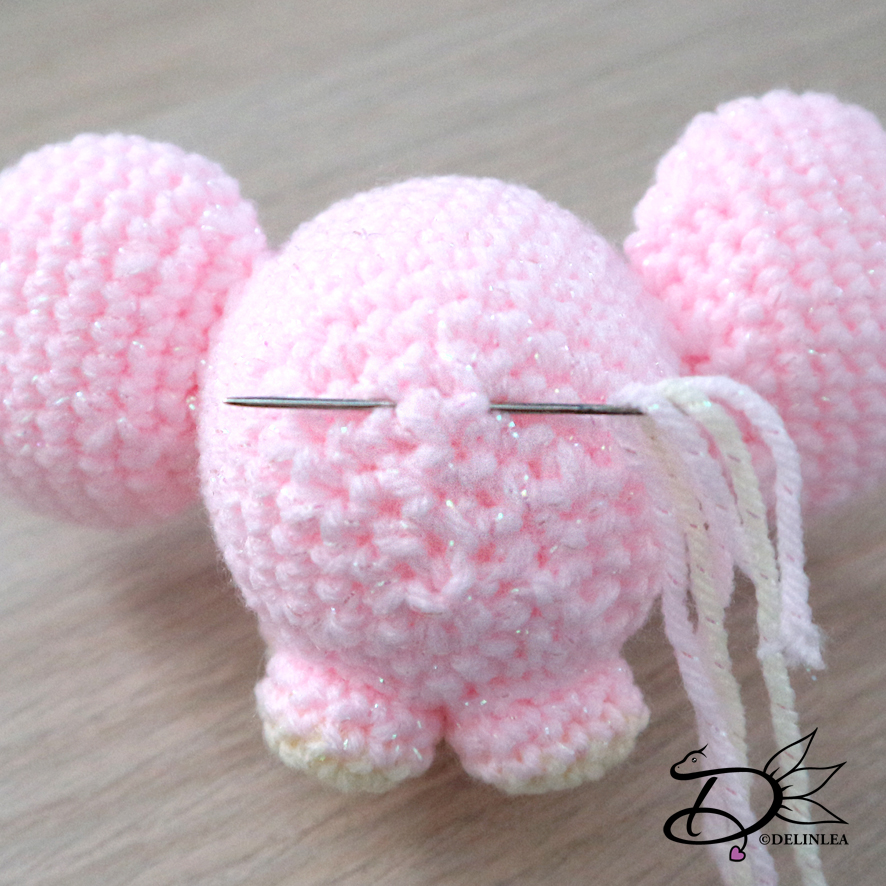
With some Sewing Pins you place the snout just under the grey spot around his eye. Use my pictures as a guideline. When you are happy with the position, you can sew it on.
Flatten the ears first, and sew the inside of the ears to it. When you have done that, fold a small part of the side of the ear over to get these cute Pua ears.
Now you are able to position the legs, ears and tail in the right place. Just like the snout, use sewing pins first, so you can easily move them around until you are happy. Then you can sew them on.
It’s time to give him eyes and other features, I chose to embroider them on, but you can also use felt. Simply cut it out and glue it on. Just what works best for you.
I hope you enjoyed this Tsum Tsum pattern of Pua from Moana. I loved making him. Hmm let’s see who to make next. You can always comment down below (or message me on Instagram/Twitter) if there’s a character you want a pattern of. And don’t forget to show yours with the #DelinleaDIY
Have a lovely day everyone~
Love
Danielle