Delinlea - My little fantasy world
  • ♥ Home
  • ♥ About Me
  • ♥ Blogmas 2021
  • ♥ Free Patterns
    • ♥ Amigurumi; Spring/Easter
    • ♥ Amigurumi; Fall/Halloween
    • ♥ Amigurumi; Winter
    • ♥ Amigurumi Tsum Tsum
    • ♥ Amigurumi Ufufy
    • ♥ Amigurumi Others
    • ♥ Christmas Countdown 2017
    • ♥ Blogmas 2018
    • ♥ Blogmas 2020
  • ♥ Tutorials
    • ♥ Easter
    • ♥ Home Deco
    • ♥ Others
  • ♥ Drawing Lessons
  • ♥ FanFic
    • ♥ Chapter 1
    • ♥ Chapter 2
    • ♥ Chapter 3
    • ♥ Chapter 4
    • ♥ Chapter 5
    • ♥ Chapter 6
    • ♥ Chapter 7
  • ♥ Gallery
    • ♥ Crafts
    • ♥ Drawings
    • ♥ Poseable Art Dolls
  • ♥ Links
  • ♥ Contact
    • Privacy Policy

Ufufy

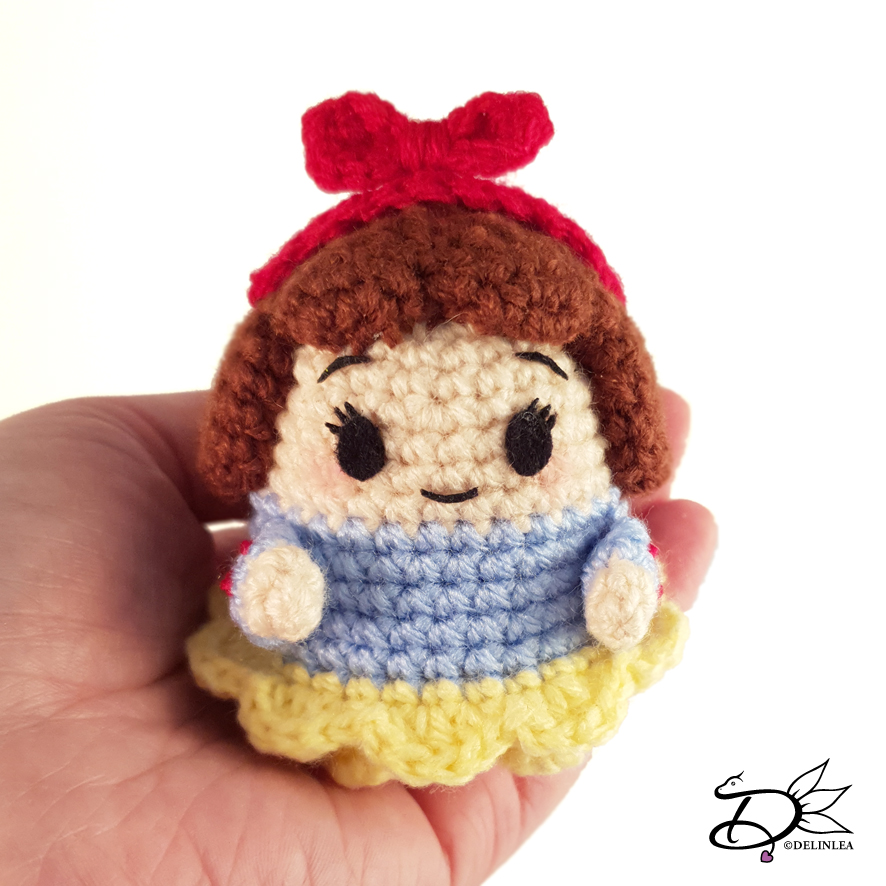
♥ Free Pattern; Snow White Ufufy

20 februari 2020 by Delinlea 11 Comments

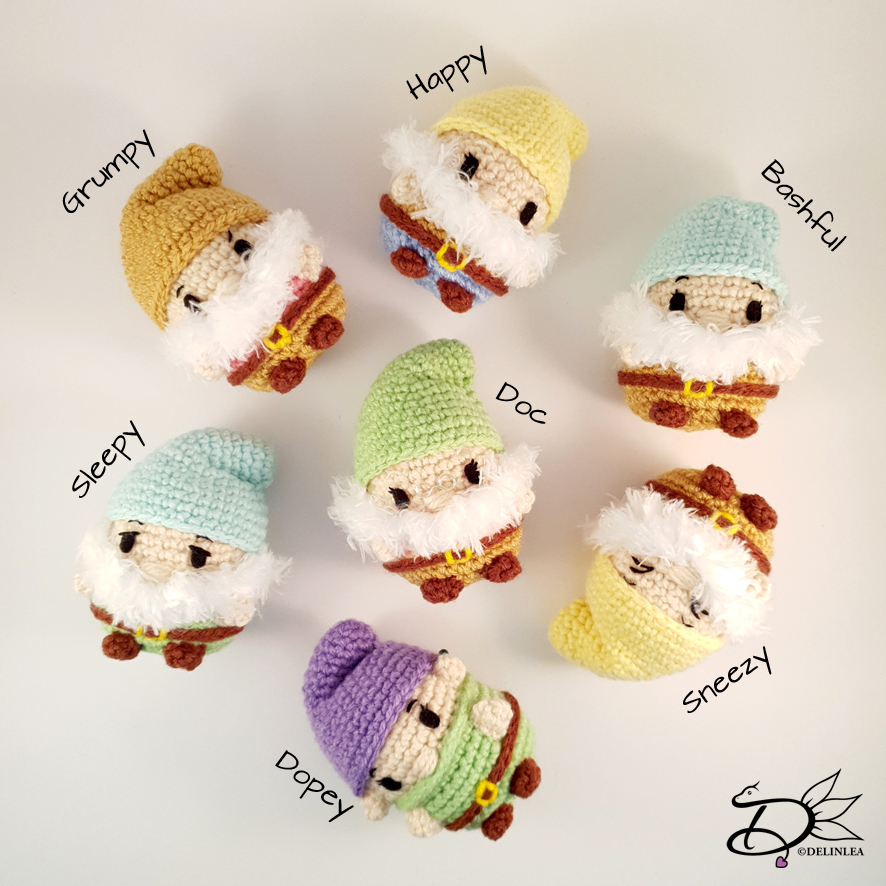
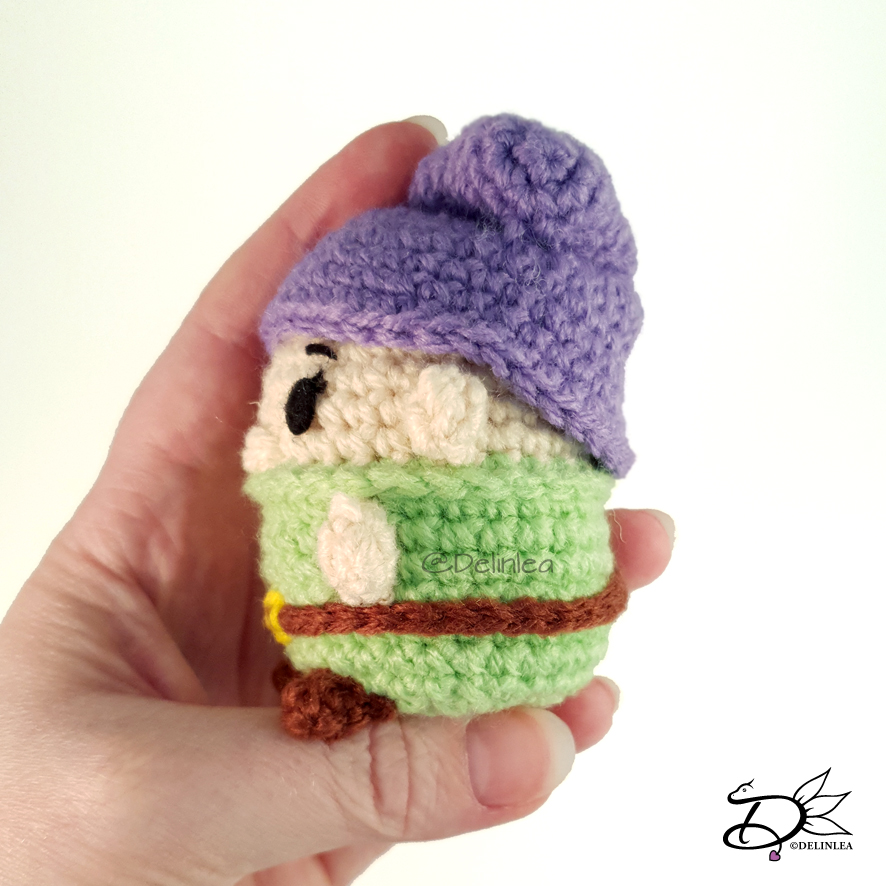
Hey Lovelies! Are you ready for a new Ufufy Amigurumi Pattern?! I hope you are cause today I have a Snow White pattern for you. I thought the 7 dwarfs I made before should be joined by her finally.

Snow White Ufufy

For this Pattern you’ll need:
♥ Yarn in the colors;  Brown, Red, Light Blue, Beige, White and Light Yellow. (I used Budgetyarn.com and Stylecraft Special)
♥ Crochet Hook (I used a 2,5mm hook).
♥ Stuffing.
♥ Scissors.
♥ Sewing Pins.
♥ Yarn Needle.
♥ Felt in Black.
♥ (Fabric) Glue.

Stitches used (US Terms):
Magic Ring.
BL = Back Loops.
FL = Front Loops.
CH = Chain.
SLST = Slip Stitch.
SC = Single Crochet.
FSC = Foundation Single Crochet.
ST = Stitch.
Inc = Increase.
Dec = Decrease.
(…) = Repeat the space in brackets the given number of times.
[…] = Total number of stitches.

Pattern Snow White

Work in continues rounds, use a stitch marker to mark your first stitch of every row. This is for every part, unless stated otherwise.

Body
Start with the color Beige.

1: 6SC in magic ring. [6]
2: 2SC in each ST around. [12]
3: (1SC, inc) 6 times. [18]
4: (2SC, inc) 6 times. [24]
5: 24SC. [24]
6: 24SC. [24]
7: (3SC, inc) 6 times. [30]
8: 30SC. [30]
|
10: 30SC. [30]
Change to the color Light Blue.
11: 30SC. [30]
|
15: 30SC. [30]
Change to the color white
16: Work in Back Loops only, 30SC. [30]
|
17: 30SC. [30]
18: (3SC, dec) 6 times. [24]
19: (2SC, dec) 6 times. [18] Stuff the body here.
20: (1SC, dec) 6 times. [12]
21: Dec all around. [6]
Fasten off and  weave in tail.

Skirt
Use the color Yellow.

You will work this directly on the body, find row 15, you only used the back loops of this row, now we are gonna use the front loops.

1: 30SC. [30]
2: (SLST & HDC in the next st, 2DC in the next st, HDC & SC in the next st) 10 times.
Fasten off and weave in tail.

Legs/Hands (make 4)
Make 2 using the color Yellow and 2 using the color Beige.

1: 4SC in Magic Ring. [4]
2: (1SC, inc) 2 times. [6]
Fasten off and leave long tail for sewing. You don’t have to stuff them, just flatten.

Sleeves (Make 2)
Use the color Light Blue.

Crochet 6FSC (Or Ch7, insert in 2nd Ch from hook, 6SC). Fasten off and leave a long tail for sewing. Make round but keep the tail.
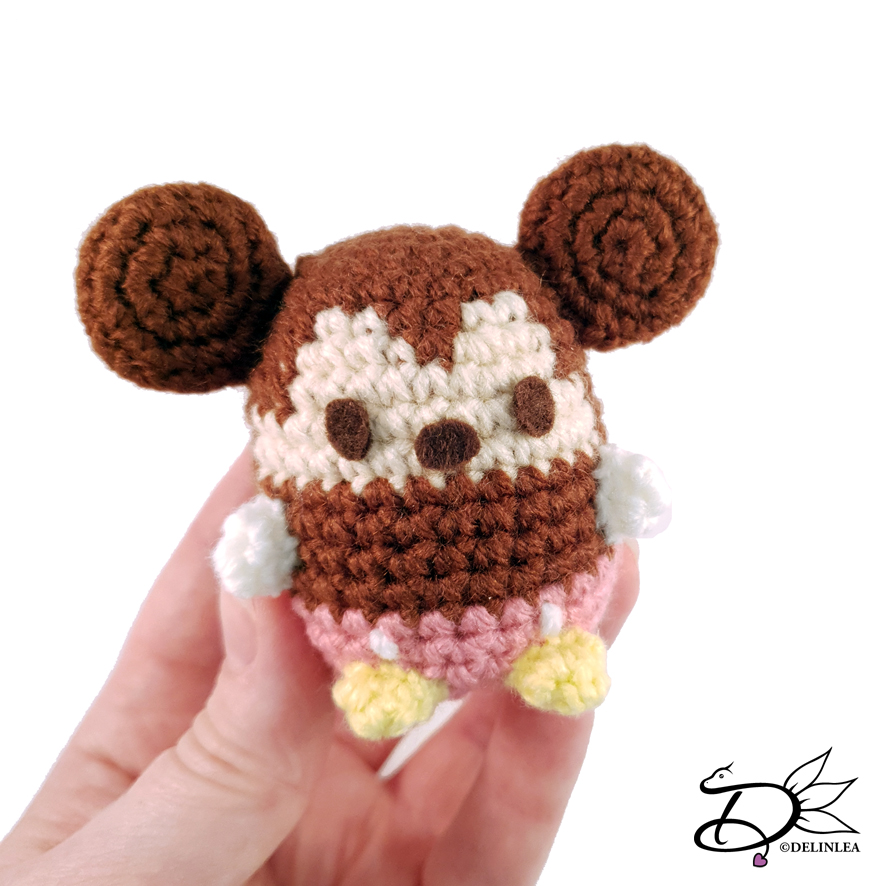
Hair
Use the Brown color yarn.

For the hair you will need several parts, so read well where you need to add what and how many.

Part 1. (Make 5)
1: 6SC in Magic Ring. [6]
2: 2SC in each st around. [12]
Fasten off.

Part 2.
3: Work on 1 “Part 1” 6SC, Ch5, connect another “part1”, 6SC, Ch5, connect another “part1”, 12SC, continue to work in the other side of the chains and remaining st of the “parts” 22SC. [56]
4: 56SC. [56]
5: (Dec, 26SC) 2 times. [54]
6: (25SC, dec) 2 times [52]
7: dec, (2SC, dec) 6 times, connect another “part1”, 6sc, connect another “part1”, 6SC. [31]
The stitches you didn’t use in the previous row, you won’t use anymore either.
8: (3SC, dec) 6 times, 1SC. [25]
9: (2SC, dec) 6 times, 1SC. [19]
10: (1SC, dec) 6 times, 1SC. [13]
11: Dec until you have 6st remaining. [6]
Fasten off and weave in tail.

Ribbon
Use the Red colored yarn.

Ch13, insert in the 2nd ch from hook, 2SlSt, 7SC, 3SlSt.
Fasten off and leave a long tail for sewing.

Bow
Use the Red colored yarn.

1: Chain 7, insert in 2nd chain from hook, 6SC, turn. [6]
2: 6SC. [6]
3: SLST around the bow for a nice edge.
Fasten off and leave a long tail. Use a Yarn Needle to go to the middle of the bow with the yarn and wrap the tail tightly around several times and fasten off but don’t cut the yarn.

Assembling

For all of my amigurumi’s I use sewing pins to place all of the parts, so I can easily move them around until I am happy with how it looks. Then I will sew it on.
Sew the hands to the sleeves first, and the sew them to the body. Sew the legs to the body as well.
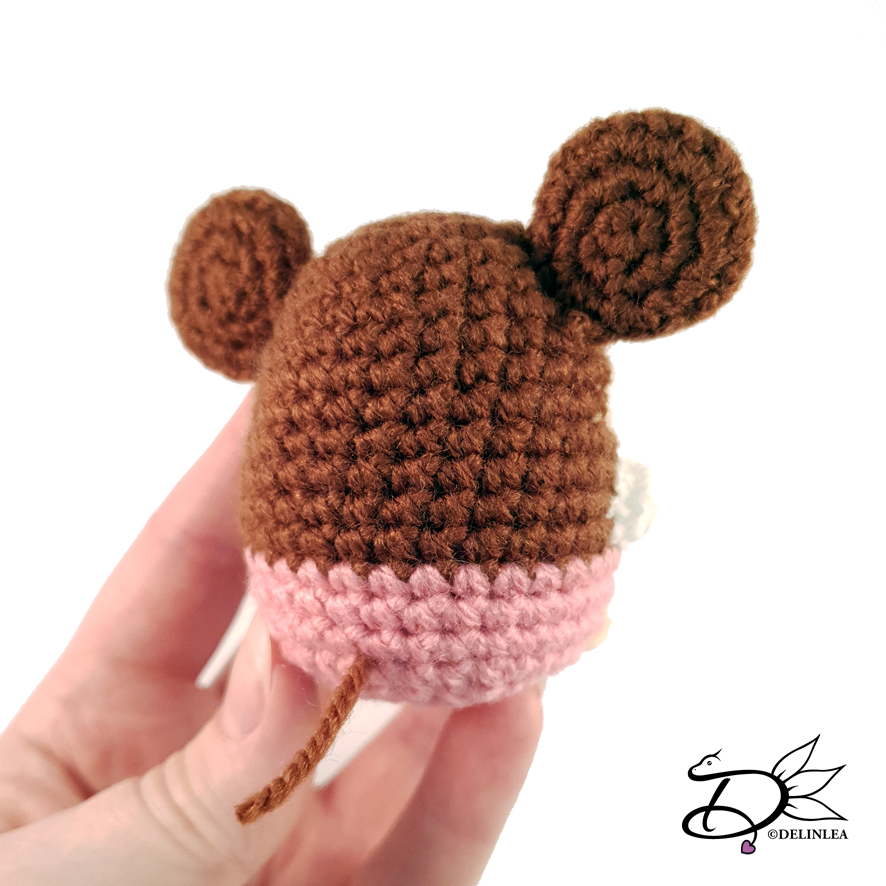
Postition the hair and sew it on the way you like it. I have stuffed the hair a tiny bit cause you could see where the unfinished inside ended. So you might wanna do so as well.
On top of Snow White’s hair, sew on the ribbon and on top of that the bow.
With some scrap pieces of red yarn, embroider 3 stripes on each sleeve.
Make her facial detail with black felt and glue those on, with some pink pastel of make-up you can apply a light blush on her ‘cheecks’.

Snow White is already done! I always love how quickly you can make Ufufy, tho the Designing of the pattern sometimes takes a lot longer as you would think haha. But I am okay with that, it’s fun to challenge myself to get the right shape.

I hope you enjoyed today’s pattern, I’ll see you again next week!

Love
Danielle

Posted in: Crafting, Crochet, Ufufy Tagged: 7 dwarfs, Amigurumi, Crochet, cute, Disney, Free Pattern, haken, kawaii, snow white, Ufufy

♥ Free Pattern; 7 Dwarfs Ufufy

5 september 2019 by Delinlea 1 Comment

Hey Lovelies! Remember I made Dopey of the 7 Dwarfs of Snow White earlier this year?! Well I made his friends finally, couldn’t leave him alone! And it feels also perfect with fall kicking in. I don’t know I always think of dwarfs/gnome with fall xD. So, here’s today’s pattern. The remaining 6 dwarfs, Grumpy, Sneezy, Bashful, Sleepy, Doc and Happy.

For this DIY you’ll need:
♥ Yarn in the colors;  Beige, Brown, Yellow, Dark Pink, Light Orange, Light Yellow, Light Green, Blue, Light Blue, Light Brown. (I used Budgetyarn.com and Stylecraft Special DK)
♥ Fluffy Yarn in White.
♥ Crochet Hook (I used a 2,5mm hook for the ‘normal’yarn and a 3mm hook for the fluffy yarn).
♥ Stuffing.
♥ Scissors.
♥ Sewing Pins.
♥ Yarn Needle.
♥ Felt in Black.
♥ (Fabric) Glue.

Stitches used (US Terms):
Magic Ring.
BL = Back Loops.
FL = Front Loops.
CH = Chain.
SLST = Slip Stitch.
SC = Single Crochet.
ST = Stitch.
Inc = Increase.
Dec = Decrease.
(…) = Repeat the space in brackets the given number of times.
[…] = Total number of stitches.

Color Scheme for each Dwarf

  • Name                   Shirt                      Pants                    Hat
  • Grumpy               Dark Pink            Light Brown       Light Brown
  • Bashful                Light Brown       Light Brown       Light Blue
  • Doc                      Light Orange      Light Brown       Light Green
  • Happy                 Light Brown       Blue                      Light Yellow
  • Sleepy                  Light Green        Light Green        Light Blue           
  • Sneezy                 Light Brown       Light Brown       Light Yellow

For all dwarfs you alse use the colors Beige, Brown and Yellow.

Pattern

The pattern will be the same as Dopey, which you can find here. With some alternations. Look carefully which color you need for which dwarf. The faces will give each dwarf the personality, so look carefully at that.

Body

If you have a different color for the pants make sure to change color at row 16!

At the body, row 12, you worked in BL make sure to keep the first stitch marked. When you finished the body, work in the front loops of row 12, to make a part of the rim of the shirt but also his beard.

Beard, work with your fulffy yarn:
Skip 5 st, 7SC, 2HDC, 2DC, 2HDC, 7SC and leave the remaining 5st as they are. Fasten off and weave in tail.
The stitches you skipped you will SlSt with the matching color of the shirt. Fasten off and weave in tail.

Arms/Feet/Belt/Hat

These are all the same as Dopey, no alternations, just check you are using the right color for the right dwarf.

For those dwarfs, you don’t have to make the ears, they will dissapear under the hat anyway. You can tho, if you still want xD.

  • Sneezy
  • Sleepy
  • Happy
  • Doc
  • Basful

Assemble your dwarfs as described on Dopey’s Pattern. And once again, make sure to check what each face looks like, this will give the difference for each.  For Doc I made him some little glasses out of wire, so adorable!

I hope you enjoyed those instuctions. The 7 dwarfs are finally complete! Now I miss Snow White, I’ll make her one day!

Love
Danielle

Posted in: Crafting, Crochet, plush, Ufufy Tagged: 7 dwarfs, Amigurumi, Crochet, Disney, haken, snow white, Ufufy

♥ Free Pattern; Dopey Ufufy Amigurumi

4 juli 2019 by Delinlea Leave a Comment

Hey Lovelies! I first wanna apologize that I didn’t upload a blog last week. Personal things, it just all got to much for me and with the heat kicking in…Yeah. I hate hot weather, I’ll be waiting for winter already haha. What is your favorite season?
Anyway, I hope you are doing fine!? Are you ready for a new Amigurumi pattern?! Do you have your hook and yarn ready?! Because today we are gonna make a Dopey Ufufy! Who doesn’t love the 7 dwarfs of Snow White. Let’s do this.

Dopey Ufufy

For this DIY you’ll need:
♥ Yarn in the colors;  Beige, Light Green, Brown, Light Purple and a tiny bit of Yellow. (I used Budgetyarn.com)
♥ Crochet Hook (I used a 2,5mm hook).
♥ Stuffing.
♥ Scissors.
♥ Sewing Pins.
♥ Yarn Needle.
♥ Felt in Black.
♥ (Fabric) Glue.

Stitches used (US Terms):
Magic Ring.
BL = Back Loops.
FL = Front Loops.
CH = Chain.
SLST = Slip Stitch.
SC = Single Crochet.
ST = Stitch.
Inc = Increase.
Dec = Decrease.
(…) = Repeat the space in brackets the given number of times.
[…] = Total number of stitches.

Pattern

Work in continues rounds, use a stitch marker to mark your first stitch of every row. This is for every part, unless stated otherwise.

Body
Start with the color Beige.

1: 6SC in magic ring. [6]
2: 2SC in each ST around. [12]
3: (1SC, inc) 6 times. [18]
4: (2SC, inc) 6 times. [24]
5: 24SC. [24]
6: 24SC. [24]
7: (3SC, inc) 6 times. [30]
8: 30SC. [30]
|
10: 30SC. [30]
Change to the color Light Green.
11: 30SC. [30]
12: Work in BL, 30SC. [30]
13: 30SC. [30]
|
17: 30SC. [30]
18: (3SC, dec) 6 times. [24]
19: (2SC, dec) 6 times. [18] Stuff the body here.
20: (1SC, dec) 6 times. [12]
21: Dec all around. [6]
Fasten off and  weave in tail.

Arms/Legs and Ears (Make 6)
Use the color Beige for 2 Arms & 2 Ears. Use the color Brown for the Legs.

1: 4SC in Magic Ring.
2: (1SC, inc) 2 times. [6]
Fasten off and leave a long tail for sewing.
At row 12 you worked in back loops, work now in the front loops, SLST around the body to make an extra dimension in his clothes. This is optional.

Belt
Use the color Brown.

Make a chain of 32CH. You can adjust the size by crocheting more or less CH. Make round and sew together.

Hat
Use the color Light Purple. (I used a darker shade of this color as should been, since I didn’t had a lighter version. It still does look cute I guess, maybe I’ll change it in the future.

1: 6SC in Magic Ring. [6]
2: 2SC in each St around. [12]
3: 12SC. [12]
|
5: 12SC. [12]
6: (1SC, inc) 6 times. [18]
7: 18SC. [18]
|
9: 18SC. [18]
10: (2SC, inc) 6 times. [24]
11: 24SC. [24]
12: (3SC, inc) 6 times. [30]
13: 30SC. [30]
14: (4SC, inc) 6 times. [36]
15: 36SC. [36]
|
17: 36SC. [36]
Fasten off and leave a long tail for sewing. You can stuff the hat lightly to hold shape a bit. To keep the tip of the hat folded over, I have sewn it to the base of the hat. Just with one stitch to hold it in place.

Dopey Ufufy

Assembling

For amigurumi, I always use sewing pins to position all of my parts. This way you can easily move everything around until you are happy with the result. I recommend you do so as well.

Start with sewing on his legs, this way you know where the arms have to be placed, just under the rim of his green clothes. Above the green rim, you will position his ears, on both sides of his head.
Put on his belt, I recommend to secure it with a few stitches in the back so it won’t slide down. And in front, you will secure the piece of yellow yarn, make a small rectangle with the yarn so it looks like a belt.
Make a nose with some beige yarn, going back and forth on the same spot. And put his hat on, you can sew this on, it really depends on how it sit on itself.
From some black felt, cut out eyes and eyebrows, and glue those on.

I hope you love this new addition to our Ufufy family! It’s getting bigger and bigger. Which ones have you made so far?! So me on twitter or instagram!

Love
Danielle

Posted in: Crafting, Crochet, Ufufy Tagged: 7 dwarfs, Amigurumi, Crochet, cute, Disney, dopey, haken, kawaii, snow white, Ufufy

♥ Free Pattern; Amigurumi Minnie Ufufy

6 juni 2019 by Delinlea Leave a Comment

Hey Lovelies! How are you doing these days?! We have a lot of thuderstorms lately and they distract me so much haha. I keep watching it, instead of working. It’s so pretty how rough/destructive nature can be. It really shows us that we can’t beat nature, it will beat us one day if we don’t learn to live with it instead of destroying it all the time. It often annoys me how ignorant people can be, we need nature/trees to be able to live, how are we gonna breath without them?! Cutting down all those trees is our main reason why global warming is real. Anyway~~ enough babbling xD let’s get on to today’s pattern. Let’s make Mickey complete, it’s Minnie’s turn today!! A Minnie Ufufy pattern all for you to make.

Minnie Ufufy

For this DIY you’ll need:
♥ Yarn in the colors;  Brown, Pink, Beige, White and Light Yellow. (I used Budgetyarn.com)
♥ Crochet Hook (I used a 2,5mm hook).
♥ Stuffing.
♥ Scissors.
♥ Sewing Pins.
♥ Yarn Needle.
♥ Felt in brown.
♥ (Fabric) Glue.

Stitches used (US Terms):
Magic Ring.
BL = Back Loops.
FL = Front Loops.
CH = Chain.
SLST = Slip Stitch.
SC = Single Crochet.
ST = Stitch.
Inc = Increase.
Dec = Decrease.
(…) = Repeat the space in brackets the given number of times.
[…] = Total number of stitches.

Mickey & Minnie Ufufy

Pattern

Work in continues rounds, use a stitch marker to mark your first stitch of every row. This is for every part, unless stated otherwise.

Body
Start with the color Brown.

1: 6SC in magic ring. [6]
2: 2SC in each ST around. [12]
3: (1SC, inc) 6 times. [18]
4: (2SC, inc) 6 times. [24]
5: 24SC. [24]
From here you will change colors to make the face.
6: Brown; 11SC, Beige; 2SC, Brown; 2SC, Beige; 2SC, Brown; 7SC. [24]
7: Brown; (3SC, inc) 2 times, 3SC, (Beige; Inc, 2SC, Brown, 1SC) 2 times, Brown; inc, 3SC, inc. [30]
8: Brown; 13SC, Beige; 9SC, Brown; 8SC. [30]
9: Brown; 11SC, Beige; 13SC, Brown; 6SC. [30]
10: Repeat row 9.
Change to the color Pink.
11: 30SC. [30]
|
14: 30SC. [30]
Change to the color white
15: Work in Back Loops only, 30SC. [30]
|
17: 30SC. [30]
18: (3SC, dec) 6 times. [24]
19: (2SC, dec) 6 times. [18] Stuff the body here.
20: (1SC, dec) 6 times. [12]
21: Dec all around. [6]
Fasten off and  weave in tail.

Skirt
Use the color Pink.
You will work this directly on the body, find row 14, you only used the back loops of this row, now we are gonna use the front loops.

1: 30SC. [30]
2: 30SC. [30]
3: (SLST & HDC in the next st, 2DC in the next st, HDC & SC in the next st) 10 times.
Fasten off and weave in tail.
With some white yarn or felt you can create the white dots on her skirt!

Legs (make 4)
Make 2 using the color White and 2 using the color Light Yellow.

1: 6SC in Magic Ring. [6]
2: 6SC [6]
Fasten off and leave long tail for sewing. You don’t have to stuff them, just flatten.

Ears (make 4)
Use the color Brown.

1: 6SC in Magic Ring. [6]
2: 2SC in each st around. [12]
3: (1SC, inc) 6 times. [18]
Fasten off and leave a long tail for sewing.
Now, sew 2 of the ears to one ear. You don’t need stuffing in between.

Bow
Use the color Pink.

1: CH22, insert in 3rd chain from hook, 20DC, turn [20]
2: Ch1, 20DC [20]
Fasten off and sew both ends together so you get a circle. On the main part of the bow, make white dots, use either felt or embroider them on.
Now keep the sewn part in the middle, where the middle band of the bow comes and flatten it.

Middle part of the bow
Use the color Pink

1: Ch 9, insert in 2nd chain from hook, 8SC, turn. [8]
2: Ch1, 8SC, turn. [8]
3: Ch1, 8SC. [8]
Fasten off and place it around the middle of the main part of the bow. Sew both ends together. Leave long tail to sew it onto her head.

Minnie Ufufy

Assembling

For all of my amigurumi’s I use sewing pins to place all of the parts, so I can easily move them around until I am happy with how it looks. Then I will sew it on.
First sew on her feet and after her arms. Then sew on her ears, on both sides of his head, about 4rows from the top of the body. Ah, and don’t forget to give her a tail from a piece of yarn.
Last sew on her Bow on top of her head, it will be slightly forward, so it’s in front of the ears a bit.
From brown felt cut out a nose and eyes, and glue those on. You can also choose to embroider them on, but that’s totally up to you!

Mickey & Minnie Ufufy

I hope you enjoyed today’s pattern as well! I just couldn’t leave Mickey sitting alone there. (The pattern for Mickey you can find here!) And if you made them both, or one, show it to me~ I would love to see how yours turned out!

Love
Danielle

Posted in: Crafting, Crochet, Ufufy Tagged: Amigurumi, Crochet, Disney, Free Pattern, haken, Minnie mouse, Ufufy

♥ Free Pattern; Amigurumi Mickey Ufufy

30 mei 2019 by Delinlea Leave a Comment

Hey Lovelies! I was about to make another Tsum Tsum, but when that didn’t work out in the time I had, I changed to plan B. Make an Ufufy! haha. That one did work out. I don’t know, sometimes, I have those days that I can’t figure out how to get the right shape and look of an amigurumi. While on other days I make them as if I had a pattern already. So odd. Do you have those days as well?! Anyway, today we will add a Mickey Ufufy to our collection! Don’t worry, he will get his Minnie soon!

Mickey Ufufy

For this DIY you’ll need:
♥ Yarn in the colors;  Brown, Pink, Beige, White and Light Yellow. (I used Budgetyarn.com)
♥ Crochet Hook (I used a 2,5mm hook).
♥ Stuffing.
♥ Scissors.
♥ Sewing Pins.
♥ Yarn Needle.
♥ Felt in brown.
♥ (Fabric) Glue.

Stitches used (US Terms):
Magic Ring.
CH = Chain.
SC = Single Crochet.
ST = Stitch.
Inc = Increase.
Dec = Decrease.
(…) = Repeat the space in brackets the given number of times.
[…] = Total number of stitches.

Pattern

Work in continues rounds, use a stitch marker to mark your first stitch of every row. This is for every part, unless stated otherwise.

Body
Start with the color Brown.

1: 6SC in magic ring. [6]
2: 2SC in each ST around. [12]
3: (1SC, inc) 6 times. [18]
4: (2SC, inc) 6 times. [24]
5: 24SC. [24]
From here you will change colors to make the face.
6: Brown; 11SC, Beige; 2SC, Brown; 2SC, Beige; 2SC, Brown; 7SC. [24]
7: Brown; (3SC, inc) 2 times, 3SC, (Beige; Inc, 2SC, Brown, 1SC) 2 times, Brown; inc, 3SC, inc. [30]
8: Brown; 13SC, Beige; 9SC, Brown; 8SC. [30]
9: Brown; 11SC, Beige; 13SC, Brown; 6SC. [30]
10: Repeat row 9.
Continue with only the Brown color.
11: 30SC. [30]
|
14: 30SC. [30]
Change to the color Pink.
15: 30SC. [30]
|
17: 30SC. [30]
18: (3SC, dec) 6 times. [24]
19: (2SC, dec) 6 times. [18] Stuff the body here.
20: (1SC, dec) 6 times. [12]
21: Dec all around. [6]
Fasten off and  weave in tail.

Legs (make 4)
Make 2 using the color White and 2 using the color Light Yellow.

1: 6SC in Magic Ring. [6]
2: 6SC [6]
Fasten off and leave long tail for sewing. You don’t have to stuff them, just flatten.

Ears (make 4)
Use the color Brown.

1: 6SC in Magic Ring. [6]
2: 2SC in each st around. [12]
3: (1SC, inc) 6 times. [18]
Fasten off and leave a long tail for sewing.
Now, sew 2 of the ears to one ear. You don’t need stuffing in between.

Mickey Ufufy

Assembling

For all of my amigurumi’s I use sewing pins to place all of the parts, so I can easily move them around until I am happy with how it looks. Then I will sew it on.
First sew on his feet and after his arms. Then sew on his ears, on both sides of his head, about 4rows from the top of the body. Ah, and don’t forget to give him a tail from a piece of yarn.
With a piece of white yarn I embroidered the white dots on his pants. From brown felt you will cut his nose and eyes. Glue all those parts on the amigurumi and your Mickey is done! Cute, right?!

I hope you enjoyed today’s pattern, let me know if you made him. I would love to see your work from my patterns. I always get so excited when I see people using something I designed. Have a lovely day everyone!

Love
Danielle

Posted in: Crafting, Crochet, Ufufy Tagged: Amigurumi, Crochet, cute, Disney, haken, kawaii, Mickey Mouse, Ufufy
« Vorige 1 2 3 4 5 6 Volgende »

What are you looking for?!

My Socials

Ko-Fi

I love making all these free things for you, tho it would be very helpfull if you can support me on Ko-Fi! (You don’t have to tho, totally up to you!)

Ko-Fi Shop!!

In my Ko-Fi shop you can find PDF Amigurumi Patterns!! You can pay easily with PayPal.
Go to the shop here!!

Recent Blog Posts

  • ♥ Happy 2022!
  • ♥ Day 12; Lights
  • ♥ Day 11; Flower Deco
  • ♥ Day 10; Snowman
  • ♥ Day 9; Gingerbread Houses

Recent Comments

  • Delinlea op ♥ Pietje Gnome Amigurumi
  • Delinlea op ♥ Toy Story Alien TsumTsum Amigurumi
  • Delinlea op ♥ Pua Tsum Tsum Amigurumi
  • Charli op ♥ Free Pattern; CNY Mouse Amigurumi
  • Peter Pesch op ♥ Pietje Gnome Amigurumi

Categories

  • animation
  • Beadwork
  • Blogmas 2018
  • Blogmas 2020
  • Blogmas 2021
  • Books
  • Bujo
  • Christmas
  • Christmas CAL 2019
  • Christmas Countdown 2017
  • Contest
  • Crafting
  • Crochet
  • Drawing
  • Drawing Lesson
  • Easter
  • Geen categorie
  • Life
  • Miniature
  • Nail Art
  • New Year
  • Paper
  • plush
  • Pokemon
  • Poseable Art Doll
  • Recipe
  • Sewing
  • Shop Pattern
  • Sinterklaas
  • Social Media
  • Tsum Tsum
  • Ufufy

Copyright © 2025 Delinlea - My little fantasy world.

Family WordPress Theme by themehall.com