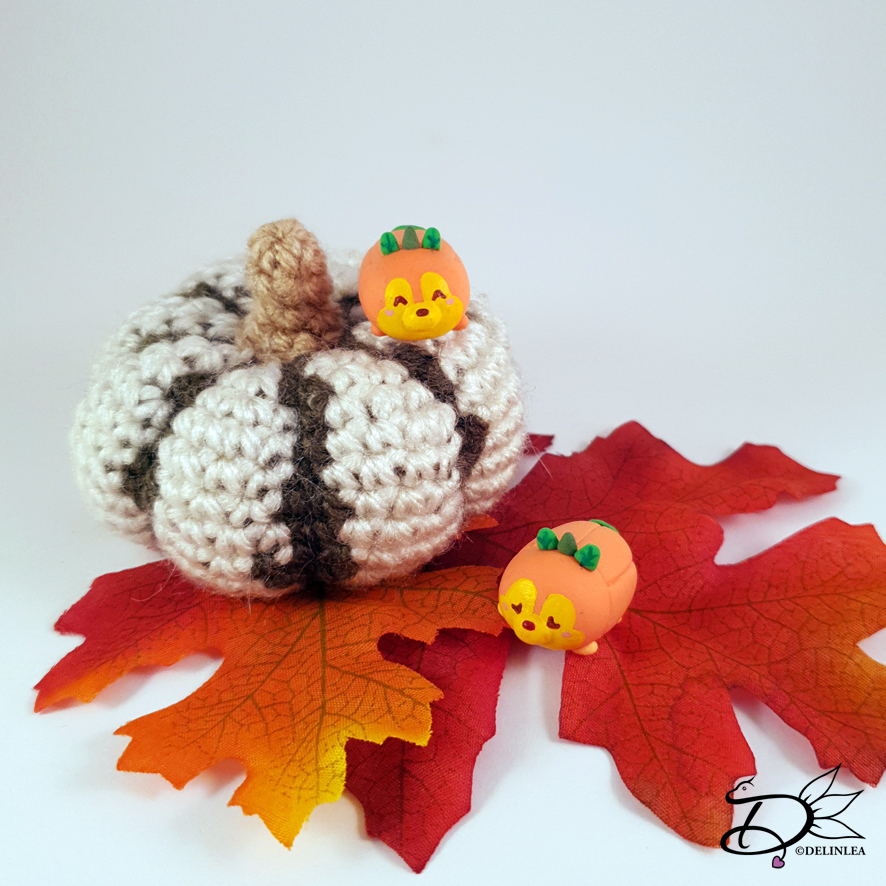
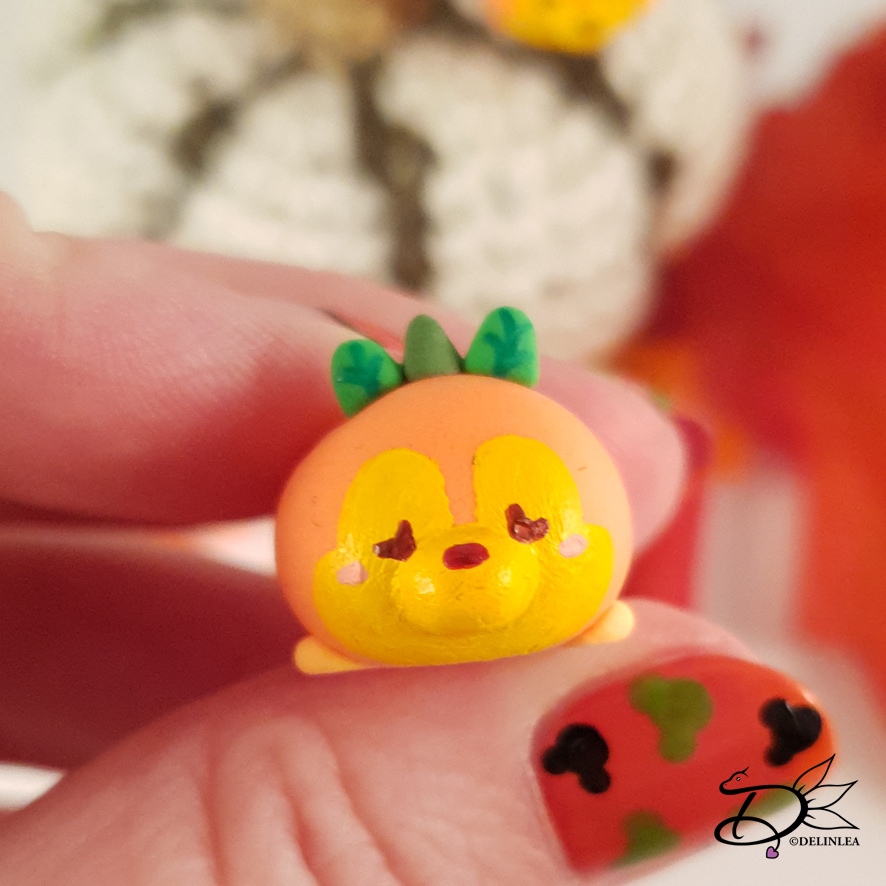
Hey Lovelies! A friend brought those adorable Halloween Tsum Tsum of 2019 to my attention. And I immediately thought I have to make those somehow, but I already knew then, I can’t make them all. *sadly enough*. Chip and Dale got my attention mainly, where they are little pumpkins, so cute! I was dubbing if I would make Amigurumi’s or make them another way. Then I saw the Air Dry Clay I recently bought, and thought, that’s it, I’ll be making them out of clay! I struggled to get nice pictures tho, *sigh, how to you photograph this?! Oh well, I hope you will get what I mean. Let’s do this~.
For this DIY you’ll need;
♥ Air Dry Clay or Polymer Clay. (It’s up to you for what you prefer).
♥ X-acto Knive.
♥ Clay Tools. (If you prefer).
♥ Water. (In case you use Air Dry Clay like me).
♥ Acrylic Paint. (To either paint the whole thing, if you don’t use colored clay or to paint details).
♥ Brush.
For this tutorial you can choose to use colored clay or just one base color like white. I used a combination of colored clay and painting on details. But you can also paint the whole thing at the end.
Tutorial
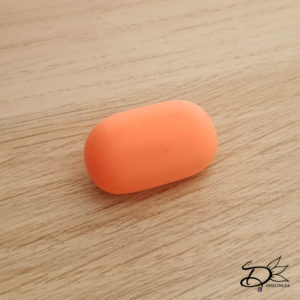
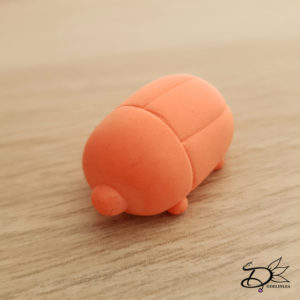
Take a bit of (Orange) clay for the body, make a ball and roll this out until you get a ‘pill’ shape. Flatten it a bit, so it doesn’t roll around all the time, and to create the belly.
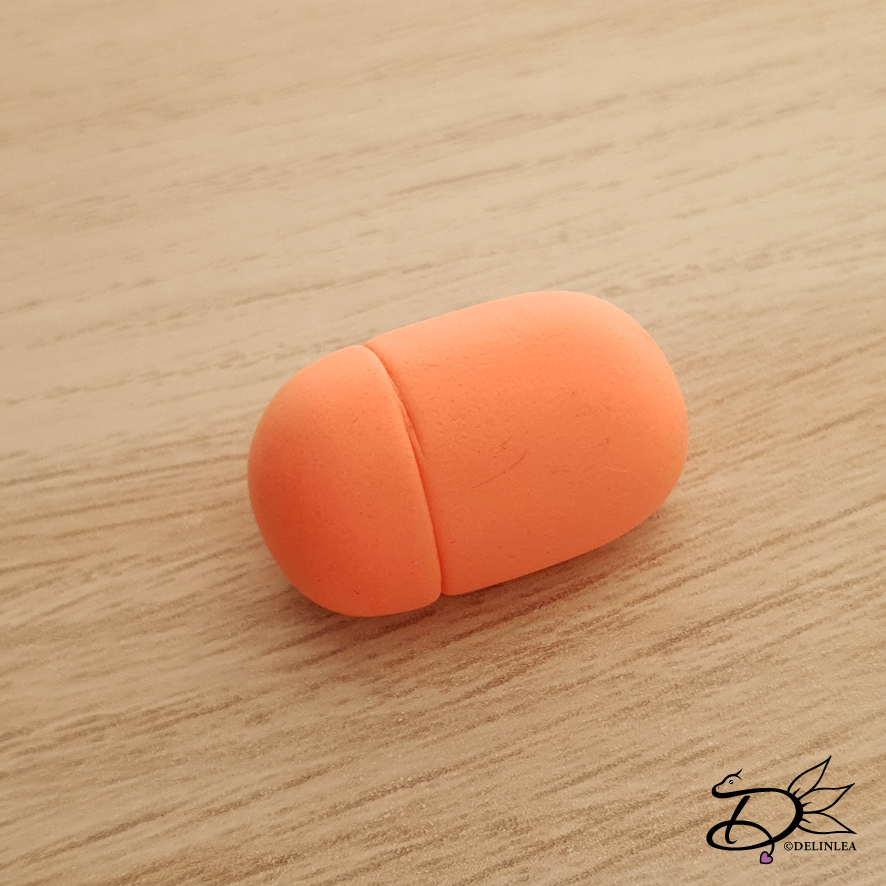
At about 1/3 of the pill, make an indence, this is where the head seperates from the body. You won’t cut it of tho, just to define it.
On top of the body you will create a line as well, all the way to it’s butt. You will create two more lines on each half, nicely seperated. See the pictures to let this make more sense xD.
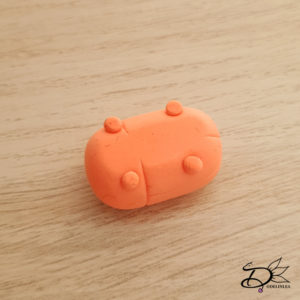
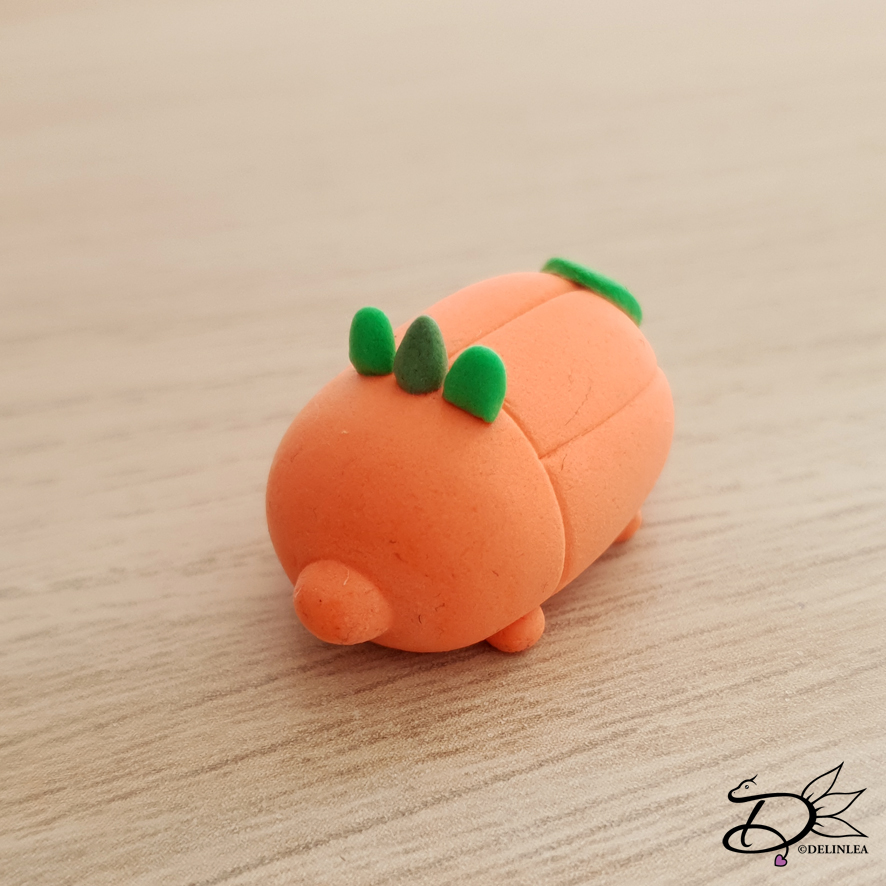
Now make 4 small, even, tiny balls for the feet. Place these around his belly (the flattened part) and place it back on a flat surface so the feet get a bit squized.
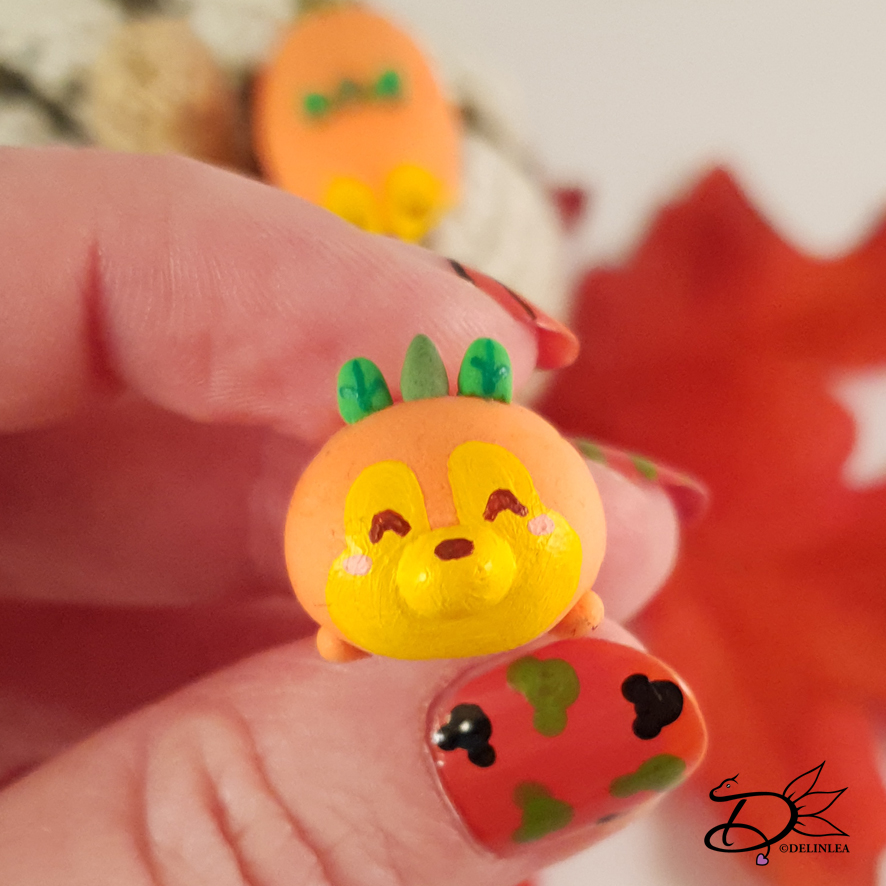
Take a tiny bit of (Yellow) clay for his snout. Roll it in to a ball, and push it a bit flat on whatever surface you are working on, while doing so, also make it a bit more oval.
Place this on his face with some water and if you want you can smooth out the edges nicely.
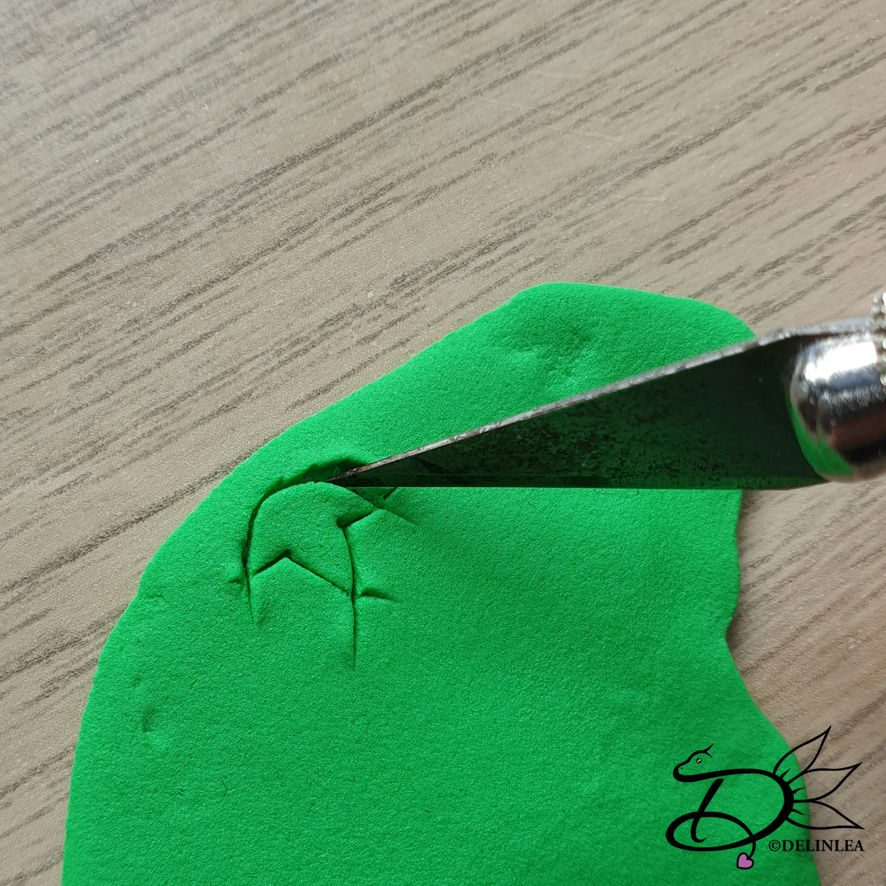
Take another bit of (Green) clay and make it flat. With an X-acto knive, cute out a tiny leave for the tail. You can smooth out the edges a bit after you cutted it. When you are happy, place it where the tail should be.
Create a little pumpkin stem now, I used a bit darker green for this, this goes on top of his head.
For the ears, create a tiny snake out of green clay, flatten it so you have a long oval. Cut this in half, you have 2 ears now. Place these besides the stem.
Painting
To finish of Chip and Dale, paint on the details, the little veins on the tail and ears, and ofcourse his face. The difference between Chip and Dale are the eyes, and the nose, Dale’s nose is red.
To finish it of completely you can choose to varnish it, to seal in the paint and protect it from future damage.
I hope you liked this tutorial, I hope I did well. It’s always much more complicated to explane clay tutorials. I tried my hardest.
Have a wonderful day~
Love
Danielle

