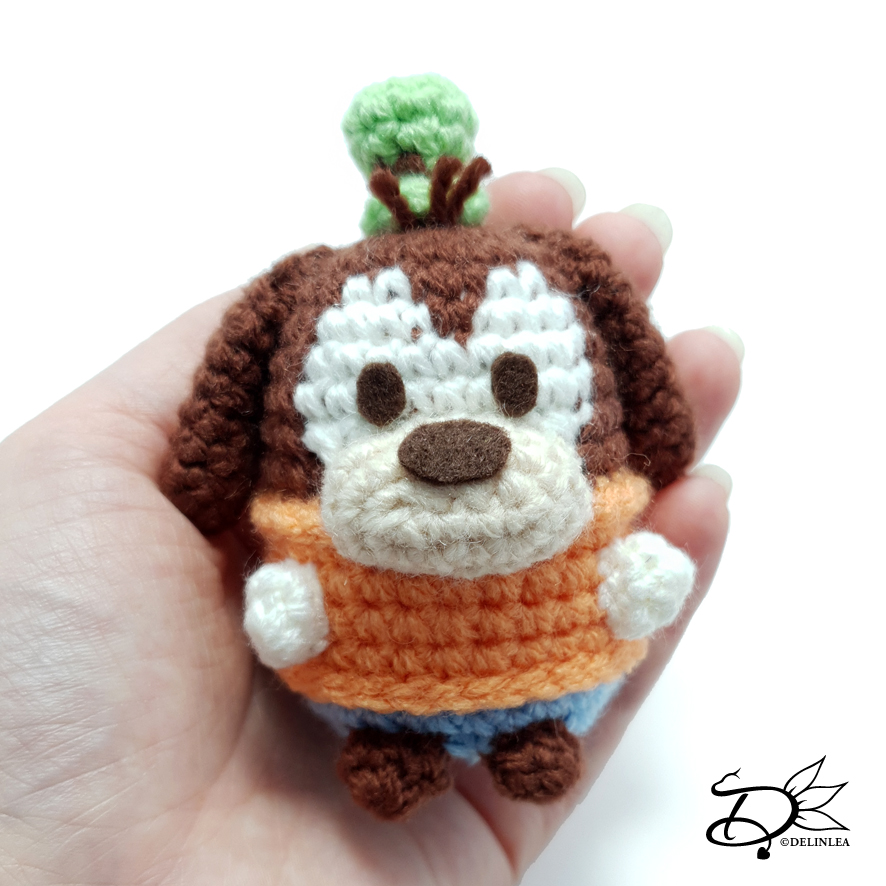
♥ Goofy Ufufy Amigurumi
Hey Lovelies! Do you know what time it is?! It’s new Ufufy Pattern time! I somehow never made Goofy, maybe because he’s not one of my favorite characters. But still thought I should add him to the collection. And in the end, I actually love how he turned out. let’s go to the pattern.
For this Pattern you’ll need:
♥ Yarn in Brown, White, Beige, Light Orange, Light Blue and Light Green. (I used Budgetyarn.com)
♥ Brown Felt or Yarn for the nose and eyes.
♥ Crochet Hook, 2,5mm.
♥ Stuffing.
♥ Stitch Markers.
♥ Yarn Needle.
♥ Sewing Pins.
♥ (Fabric)Glue. (In case you decided to go with felt).
Stitches used (US Terms):
Magic Ring.
CH = Chain.
SLST = Slip Stitch.
SC = Single Crochet.
ST = Stitch.
BL = Back Loops Only.
FL = Front Loops Only.
Inc = Increase.
Dec = Decrease.
(…) = Repeat the space in brackets the given number of times.
[…] = Total number of stitches.
Pattern Goofy
This pattern is made using continuous rounds, unless stated otherwise.
Body
Start with the color brown.
1: 6SC in Magic Ring. [6]
2: 2SC in each st around. [12]
3: (1SC, inc) 6 times. [18]
4: (2SC, inc) 6 times. [24]
From here you will make color changes to create the eyes.
5: Brown; 11SC, White; 2SC, Brown; 2SC, White; 2SC, Brown; 7SC. [24]
6: Brown; (3SC, inc) 2 times, 3SC, (White; inc, 2SC, Brown; 1SC) 2 times, Brown; inc, 3SC, inc. [30]
7: Brown; 13SC, White; 9SC, Brown; 8SC. [30]
8: Brown; 13SC, White; 9SC, Brown; 8SC. [30]
9: Brown ; 12SC, inc, White; dec, 5SC, dec, Brown; inc, 7SC. [30]
10: Brown; 30SC.[40]
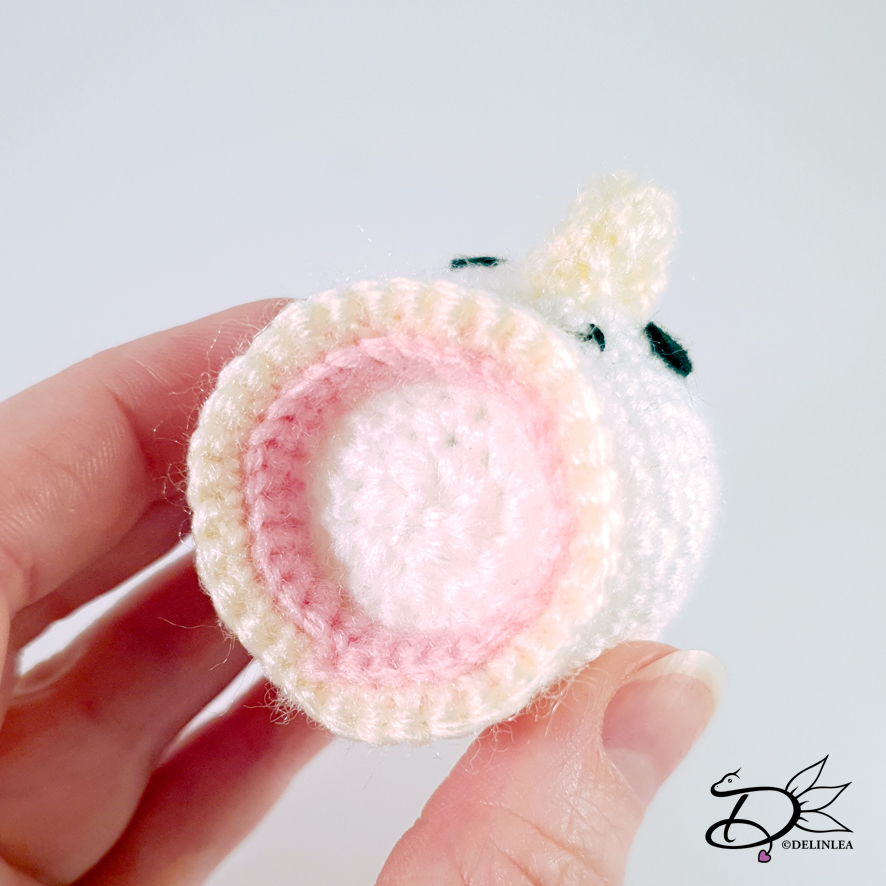
Change to Light Orange.
11: 30SC. [30]
12: BL, 30SC. [30]
13: 30SC. [30]
14: 30SC. [30]
Change to Light Blue.
15: BL 30SC. [30]
16: 30SC. [30]
17: 30SC. [30]
18: (3SC, dec) 6 times. [24]
19: (2SC, dec) 6 times. [18] Stuff the body
20: (1SC, dec) 6 times. [12]
21: (Dec) 6 times. [6]
Fasten off and weave in tail.
In row 12 and 15 you worked in Back Loops Only. Now, rejoin with the Light Orange yarn and make SlSt around. Fasten off and weave in tails.
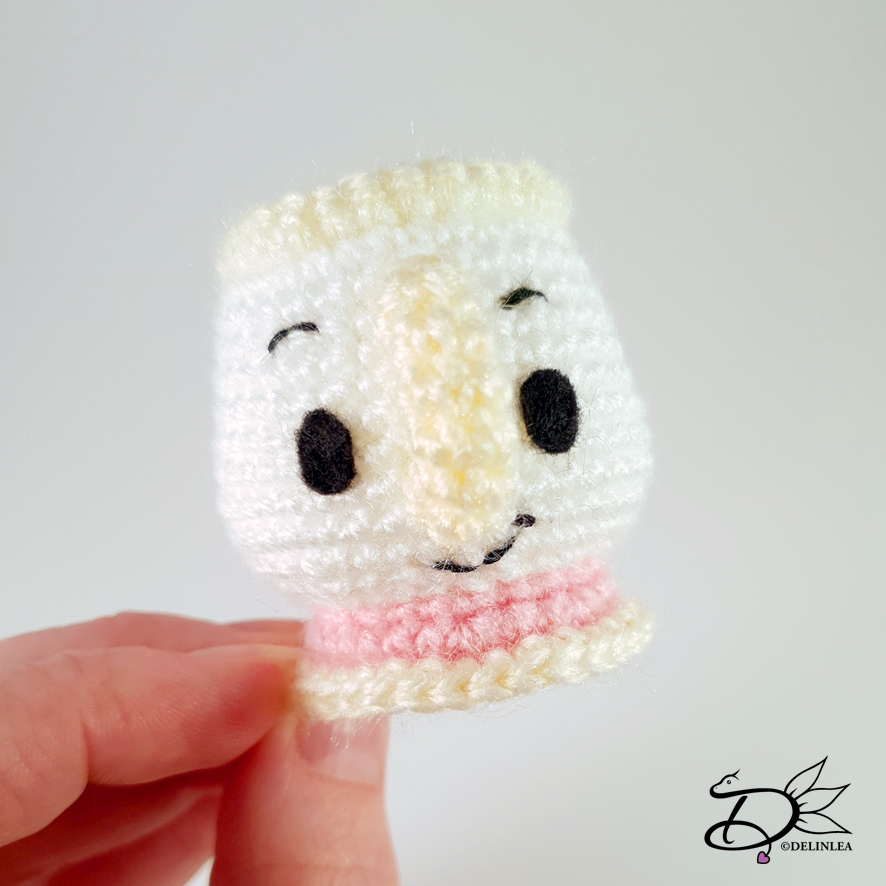
Snout
Use the color Beige.
Make 5 CH.
1: Insert in second chain from hook, 3SC, 3SC in the last st, 2SC, inc. [10]
2: inc, 2SC, (inc) 3 times, 2SC, (inc) 2 times. [16]
3: 16SC. [16]
Fasten off and leave a long tail for sewing. You will have to stuff the snout,
but that’s easier when it’s about half way sewn to the body.
Ears (Make 2)
Use the color Brown.
1: 6SC in
Magic Ring. [6]
2: (1SC, inc) 3 times. [9]
3: 9SC. [9]
|
8: 9SC. [9]
9: (1SC, dec) 3 times. [6]
10: 6SC. [6]
Fasten off and leave a long tail for sewing. You don’t have to stuff them, just
flatten.
Legs (make 4)
Make 2 in the color White and 2 in Brown.
1: 6SC in
Magic Ring. [6]
2: 6SC [6]
Fasten off and leave long tail for sewing. You don’t have to stuff them, just
flatten.
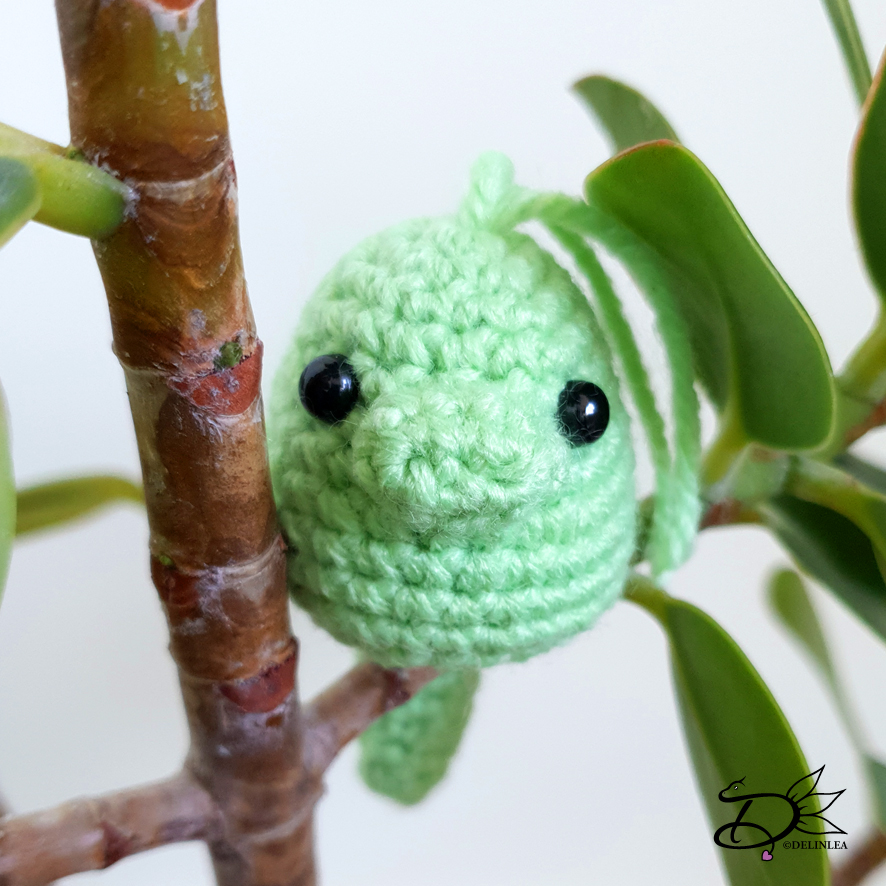
Hat
Start with the color Light Green.
1: 6SC in
Magic Ring. [6]
2: (1SC, inc) 3 times. [9]
3: 9SC. [9]
4: (dec, 1SC) 3 times. [6]
Change to the color Brown.
5: 6SC. [6]
Change back to Light Green.
6: 6SC. [6]
7: BL, (inc, 1SC) 3 times. [9]
Fasten off and Leave a long tail for sewing. Fold the last row you crocheted,
up, so your hat will get a bit more texture.
Assembling
I always use sewing pins to place all parts first. This way you can easily move all parts around until you are happy with the outcome.
First place
the snout under the eyes shape, mine overlapped the white a tiny bit. Make sure
to stuff the snout with some stuffing around half way sewing it on.
Now position his arms and legs, and sew those on as well. The ears go on both
sides of Goofy’s head and on top of his head goes his hat. Add 3 strands of
yarn just in front of his hat, those will be his hairs. I did this with a yarn
needle through his body, with a knot that will be inside his body.
With a bit of felt or yarn create his eyes and nose.
That was it for the Goofy Ufufy pattern, I love how quick and easy those are to make. Although sometimes the designing progress is a bit harder, but that makes it fun to do.
I hope you had fun, stay healthy, stay safe and I’ll see you next week with a Tsum Tsum Pattern 😉 And don’t forget to share your Goofy on Twitter or Instagram!
Love
Danielle