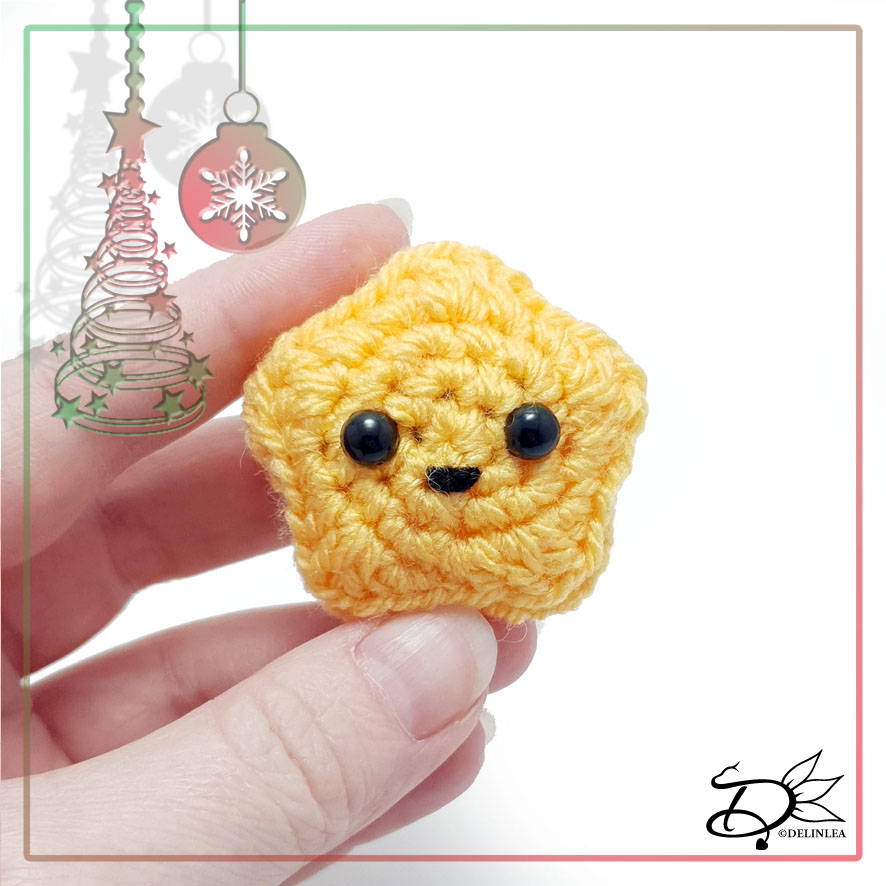
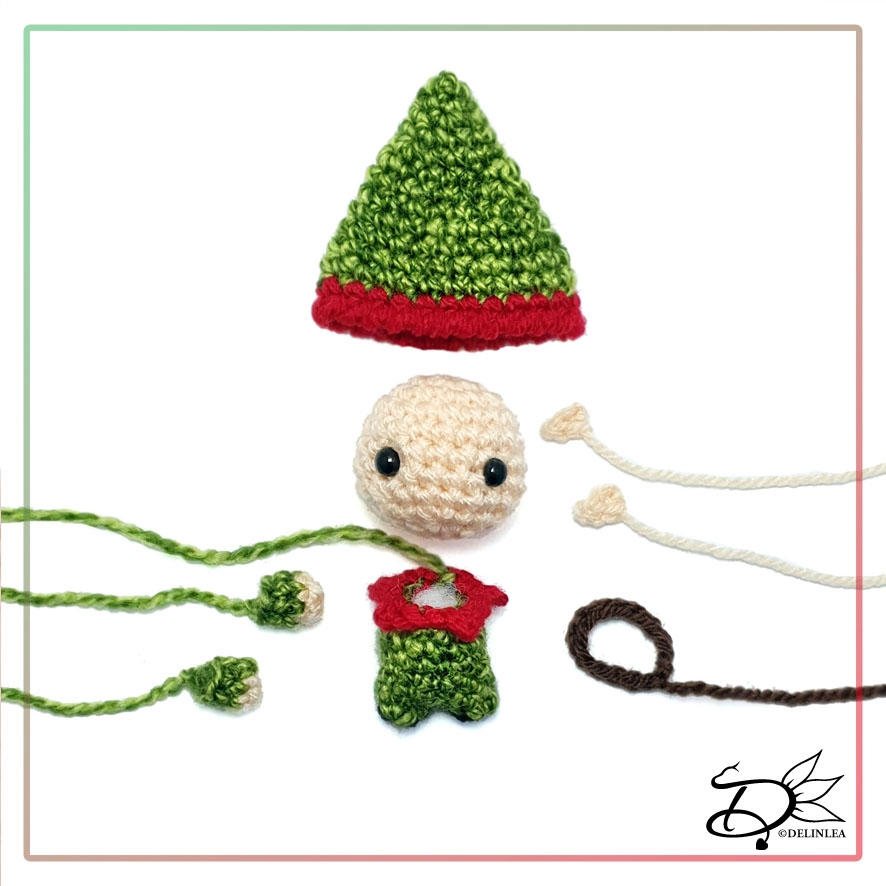
♥ Day4; Bauble Amigurumi
Hey Lovelies! A little Bauble it is for today. I can’t imagine Christmas without any baubles! They are so so pretty and come in so many different kinds. Sometimes I just wanna get them all but where to leave them all?! I already own a bunch haha. But this tiny bauble with its little face can be put anywhere. Even on your bag, or what about as an earring?! I hope you’ll have fun with this pattern!
For this pattern you’ll need:
♥ Yarn in the colors Red and Yellow. (I used Stylecraft Special DK)
♥ Bit of Black yarn to make his mouth.
♥ Crochet hook. ( I used 3mm)
♥ Stuffing.
♥ Yarn Needle.
♥ Sewing Pins.
♥ Stitch Marker.
♥ Safety Eyes, 6mm.
Stitches used (US Terms):
Magic Ring.
CH = Chain.
SLST = Slip Stitch.
SC = Single Crochet.
ST = Stitch.
Inc = Increase.
Dec = Decrease.
(…) = Repeat the space in brackets the given number of times.
[…] = Total number of stitches.
This pattern is made with continues rounds, unless stated otherwise. Use a stitch marker to mark your first/last stitch of your row.
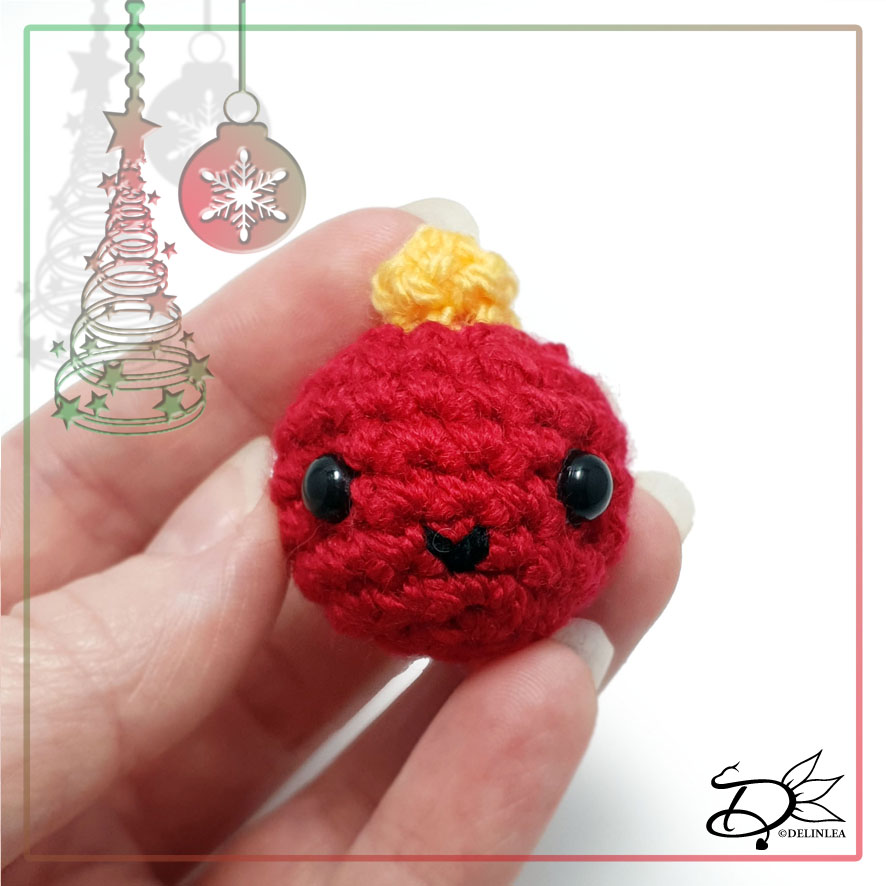
♥ Pattern Bauble
Bauble
Use the color Red.
1: 6SC in a Magic Ring. [6]
2: 2SC in each st around. [12]
3: (1SC, inc) 6 times. [18]
4: 18SC. [18]
5: 18SC. [18]
6: 18SC. [18]
7: 18SC. [18]
Place the eyes between row 5&6, about 5st apart.
8: (1SC, dec) 6 times. [12]
Stuff the bauble
9: Dec around. [6]
Fasten off and weave in tail.
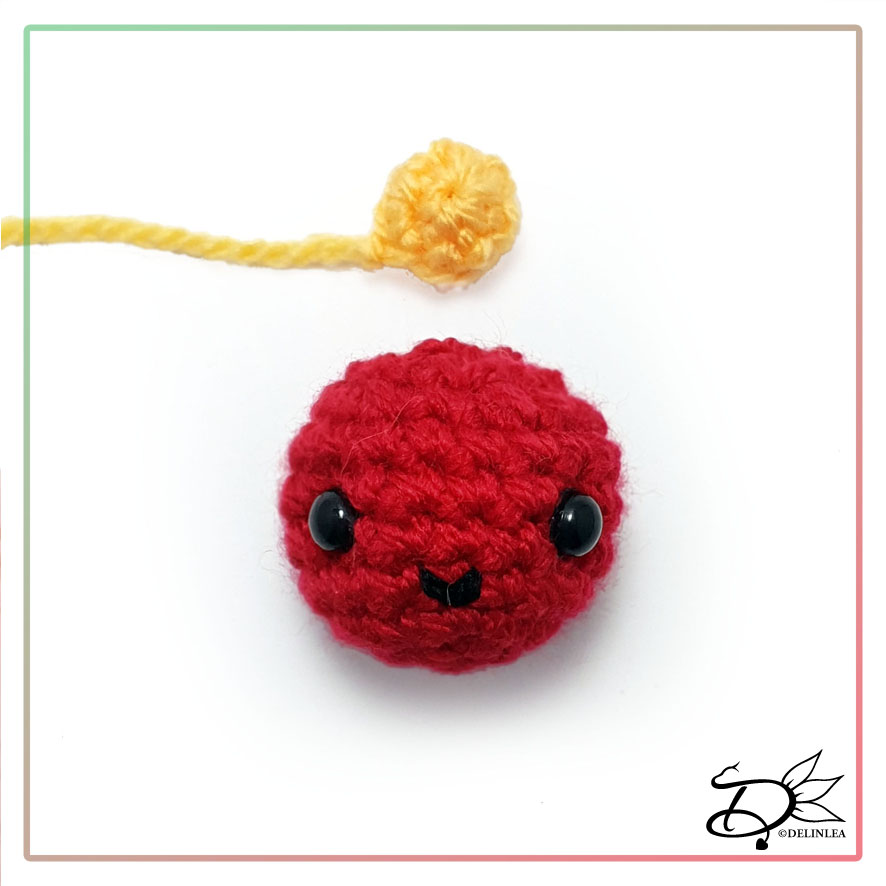
Top of the Bauble
Use the color Yellow.
1: 6SC in a Magic Ring. [6]
2: 6SC. [6]
Fasten off and leave a long tail for sewing.
♥ Assembling
Whenever I start assembling Amigurumi, I’d like to use sewing pins to position all parts first until I’m happy. Then I will sew them on. I recommend you do so as well.
Well there isn’t much to assemble for this one, just sew the top to the bauble. With a bit of Black yarn, create his Mouth
If you want to hang it, don’t forget to add a loop to the top.
I hope you enjoyed today’s pattern! I think it’s adorable. If you decided to make any of the blogmas amigurumi, please show me on Twitter or Instagram with #DelinleaDIY. I’d love to see what you make using my patterns.
And don’t forget that you can get all Blogmas patterns ad free in a PDF bundle in my Ko-Fi shop (English US terms and Dutch). The link you can find on the Blogmas Page here! (Etsy might follow later).
Have a wonderful day and I’ll see you tomorrow!
Love
Danielle
PS. if you love those Blogmas patterns, maybe you’d like to support me on Ko-Fi?! So I can keep making content like this!
// ©2020 Delinlea / Danielle Kaal // Items made with this pattern may be sold in a limited number. Credit to ‘Delinlea’ is appreciated. Not allowed for mass production or commercial purposes. You may not reproduce, translate, share, freely distribute or sell this pattern as your own in digital or printed from.