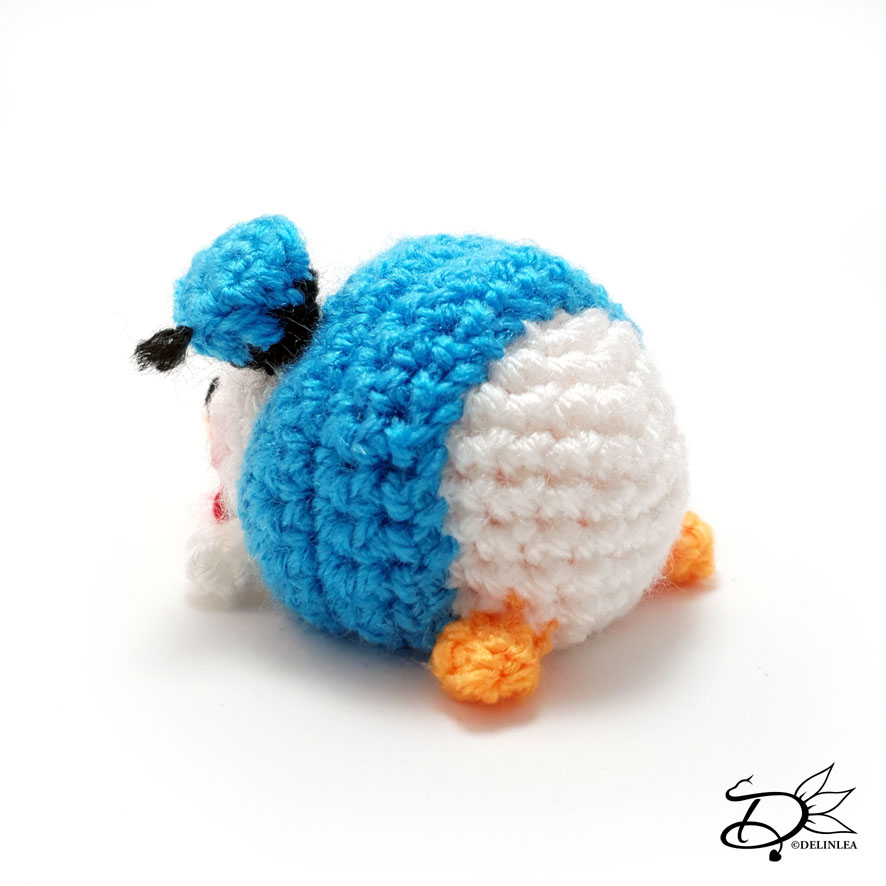
♥ Sinterklaas Gnome Amigurumi
Hey Lovelies! If you live in a country where Sinterklaas is celebrated, you know he’s in the county now. It was weird to watch him on television this year, just like a lot this year, it was also different, without any public. I don’t really know what to think of it. But at least they didn’t cancel it completely. Related to the topic Sinterklaas I wanted to make a amigurumi, and came up with the following design. A Sinterklaas Gnome! I hope you will like him! Next week I will make a Piet Gnome, so he will have company.

For this pattern you’ll need:
♥ Yarn in the colors Red, Yellow, Beige an Black. (I used Budgetyarn.com and Stylecraft Special DK)
♥ Crochet hook. ( I used a 3mm)
♥ White Fluffy Yarn and a 4mm hook.
♥ Stuffing.
♥ Yarn Needle.
♥ Sewing Pins.
♥ Stitch Marker.
Stitches used (US Terms):
Magic Ring.
CH = Chain.
SLST = Slip Stitch.
FSC = Foundation Single Crochet.
SC = Single Crochet.
ST = Stitch.
Inc = Increase.
Dec = Decrease.
(…) = Repeat the space in brackets the given number of times.
[…] = Total number of stitches.
This pattern is made with continues rounds, unless stated otherwise. Use a stitch marker to mark your first/last stitch of your row.
♥ Pattern Sinterklaas Gnome
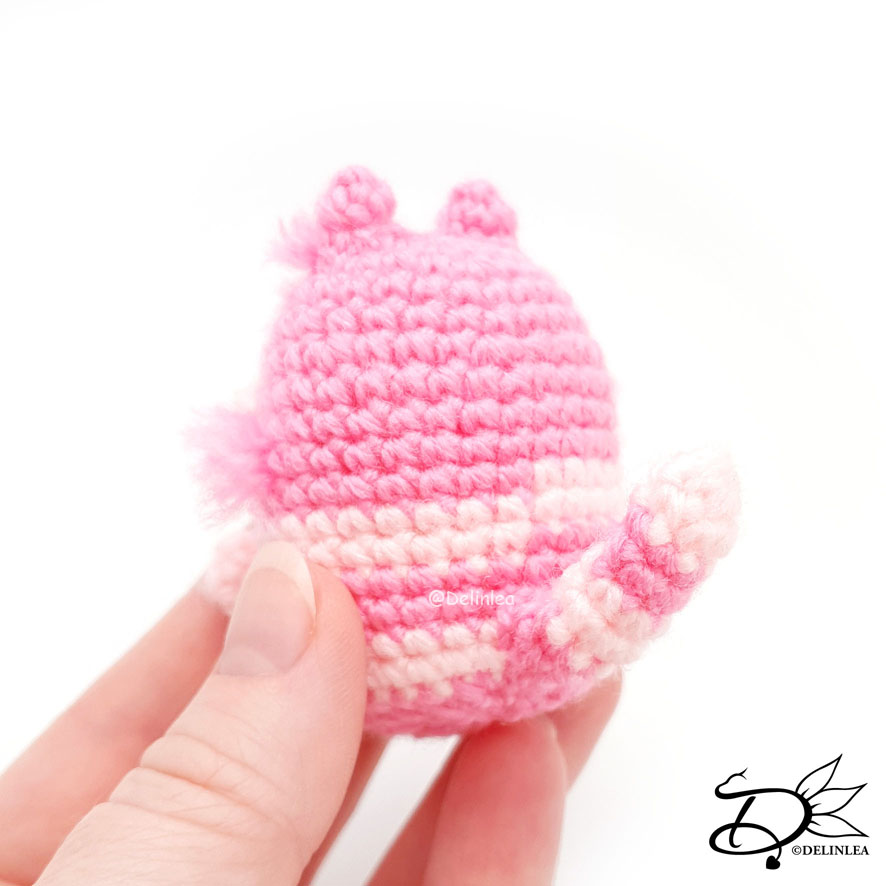
Body
Use the color Red.
1: 6SC in a Magic Ring. [6]
2: 2SC in each st around. [12]
3: (1SC, inc) 6 times. [18]
4: (2SC, inc) 6 times. [24]
5: (3SC, inc) 6 times. [30]
6: (4SC, inc) 6 times. [36]
7: (5SC, inc) 6 times. [42]
8: 42SC. [42]
|
18: 42SC. [42]
19: (5SC, dec) 6 times. [36]
20: (4SC, dec) 6 times. [30]
21: (3SC, dec) 6 times. [24]
22: (2SC, dec) 6 times. [18]
23: (1SC, dec) 6 times. [12]
24: Dec around. [6]
Fasten off and weave in tail.
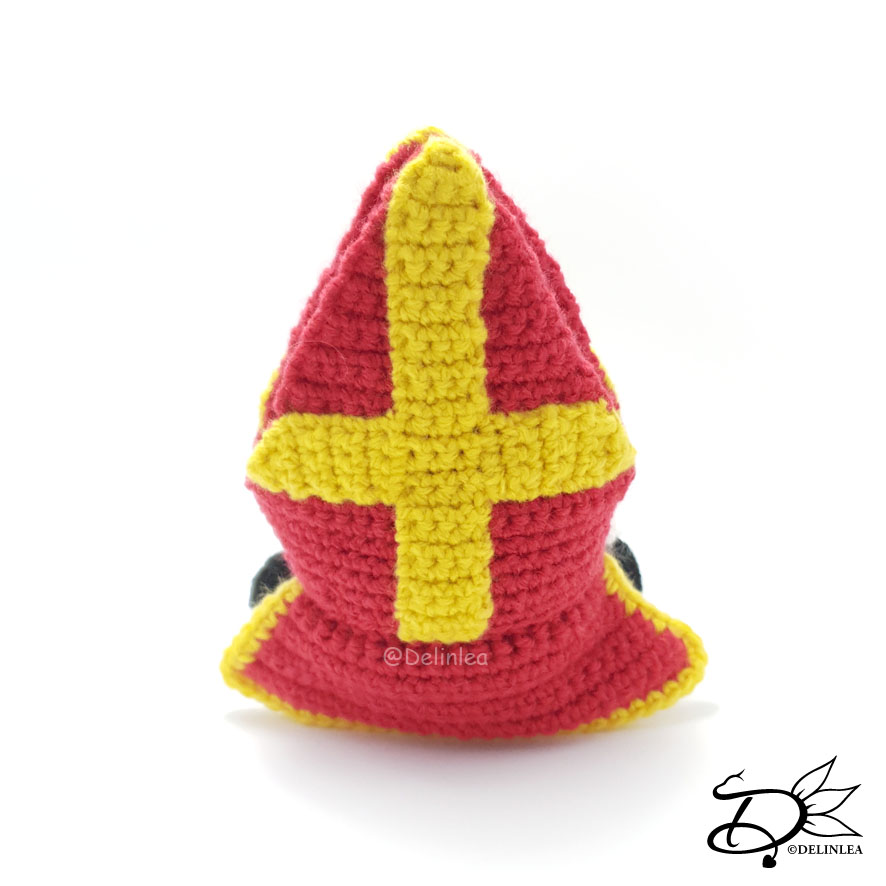
Mijter
Use the color Red.
Row 1-21 won’t be worked in continues rounds. From row 22, you will.
1: Ch2, insert in second ch from hook, inc, turn. [2]
2: (inc) 2 times, turn. [4]
3: 4SC, turn. [4]
4: inc, 2SC, inc, turn. [6]
5: 6SC, turn. [6]
6: inc, 4SC, inc, turn. [8]
7: 8SC, turn. [8]
8: inc, 6SC, inc, turn. [10]
9: 10SC, turn. [10]
10: inc, 8SC, inc, turn. [12]
11: 12SC, turn. [12]
12: inc, 10SC, inc, turn. [14]
13: 14SC, turn. [14]
14: inc, 12SC, inc, turn. [16]
15: 16SC, turn. [16]
16: inc, 14SC, inc, turn. [18]
17: 18SC, turn. [18]
18: inc, 16SC, inc, turn. [20]
19: 20SC, turn. [20]
20: inc, 18SC, inc, turn. [22]
21: 22SC, turn. [22]
Break your yarn and make row 1-21 again. Keep your yarn attached at the second one.
22: Connect the first side to the second with a SC. Make 22SC in total, and continue on the second part, and make 22SC on that part as well. [44]
23: 44SC. [44]
24: 44SC. [44]
25: 44SC. [44]
26: 44SC. [44]
Fasten off and leave a long tail for sewing.
Cross (Make 2)
Use the color Yellow.
This part won’t be worked in continues rounds.
1: Ch2, insert in second ch from hook, inc, turn. [2]
2: (inc) 2 times, turn. [4]
3: 4SC, turn. [4]
| – Note, Mark row 15 and 18 on both sides.
26: 4SC, turn. [4]
Fasten off and leave a long tail for sewing.
Now go back to row 15-18, here you will continue to make the sides of the cross. Do this on both sides.
Start from row 18.
1: 4SC, turn. [4]
|
6: 4SC, turn. [4]
7: 2SC, dec, turn. [3]
8: Dec, 1SC, turn. [2]
9: Dec. [1]
Fasten off and weave in tail.
Nose
Use the color Beige.
1: 6SC in a Magic Ring. [6]
2: 2SC in each st around. [12]
3: 12SC. [12]
4: 12SC. [12]
5: (2SC, dec) 3 times. [9]
Fasten off and leave a long tail for sewing.
Cape
Start with the color Red.
This part won’t be worked in continues rounds.
1: 20FSC, Turn. [20]
2: 20SC, Turn. [20]
3: Inc, 18SC, inc, Turn. [22]
4: 22SC, Turn. [22]
5: Inc, 20SC, inc, Turn. [24]
6: 24SC, Turn. [24]
7: Inc, 24SC, inc, Turn. [26]
8: 26SC. [26]
Fasten off and weave in tail.
No alone the edge, except the first row, you’ll crochet SC around with the color Yellow. In the corner you will crochet 3SC. Fasten off and weave in tail.
Beard
Use the White Fluffy yarn.
This part won’t be worked in continues rounds.
1: Ch14, insert in second ch from hook, 13SC, turn. [13]
2: 13SC, turn. [13]
3: Dec, 9SC, dec, turn. [11]
4: Dec, 7SC, dec, turn. [9]
5: Dec, 5SC, dec, turn. [7]
6: Dec, 3SC, dec. [5]
Fasten off and weave in tail.
Feet (Make 2)
Use the color Black
1: 6SC in a Magic Ring. [6]
2: 2SC in each st around. [12]
3: 3SC, (inc) 6 times, 3SC. [18]
4: 18SC. [18]
5: 18SC. [18]
6: 3SC, (dec) 6 times, 3SC. [12]
7: 12SC. [12]
8: 12SC. [12]
9: 12SC. [12]
Fasten off and leave a long tail for sewing.
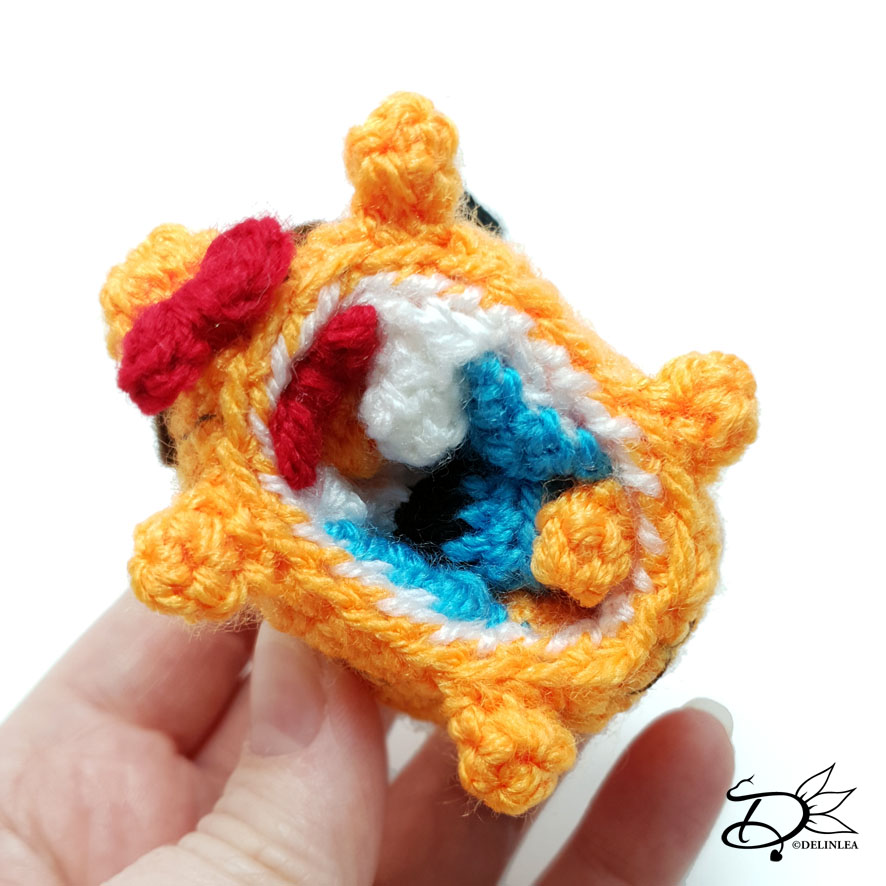
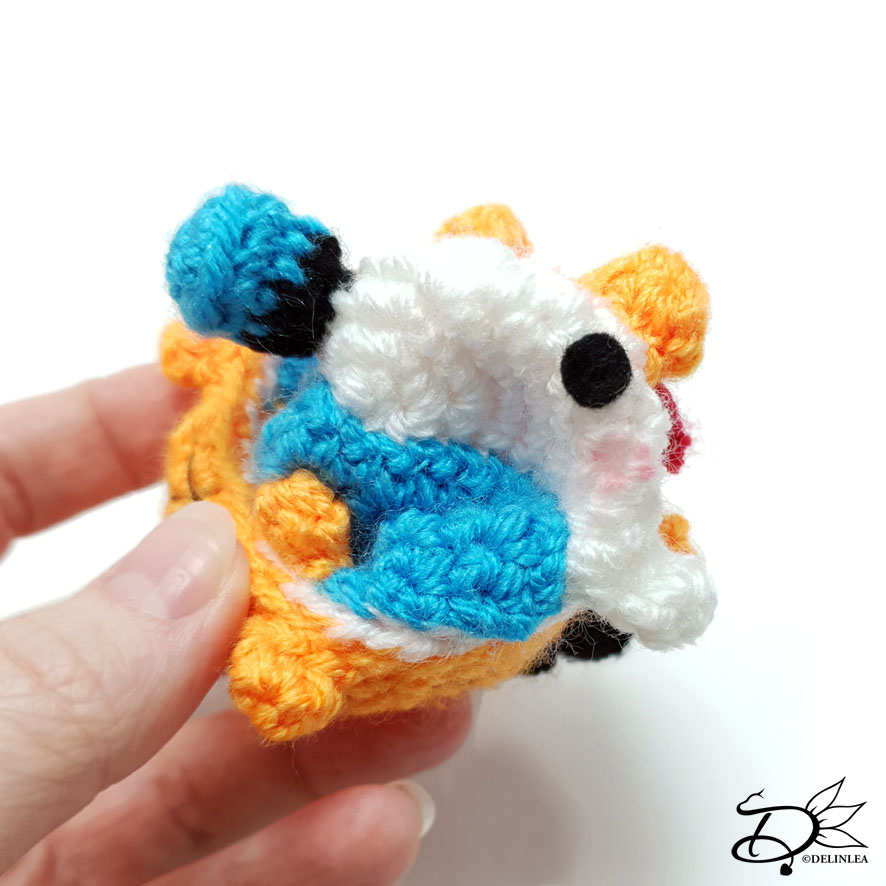
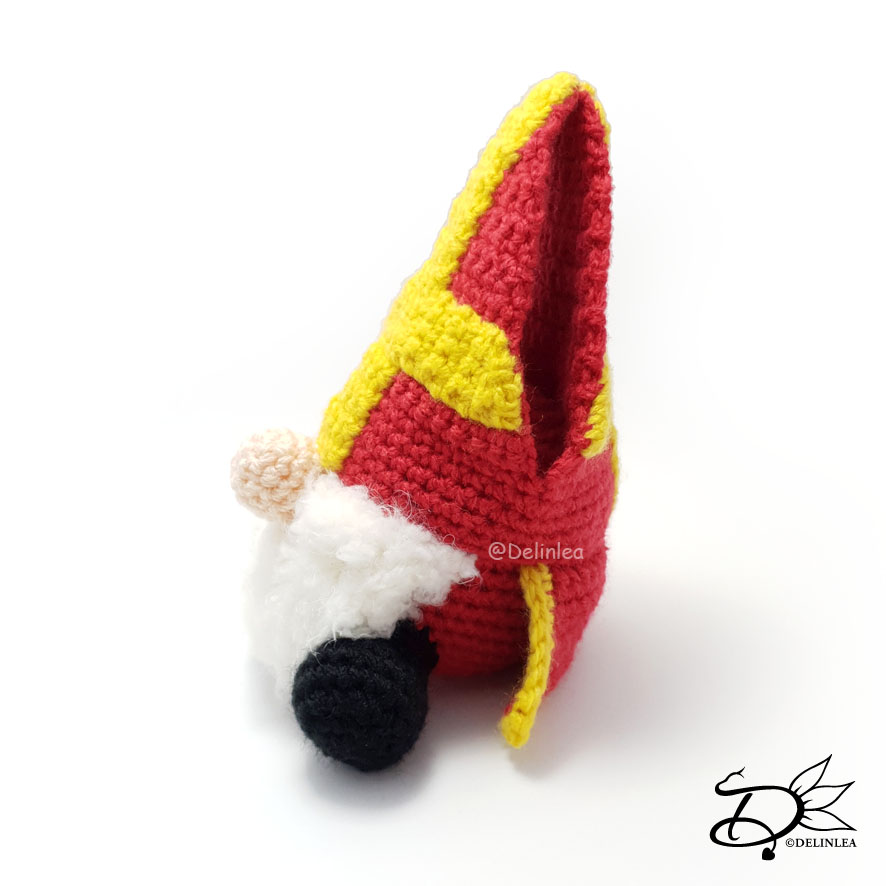
♥ Assembling
Whenever I start to assemble Amigurumi’s I use sewing pins first. This way I can move all parts around until I am happy. I recommend you do so as well.
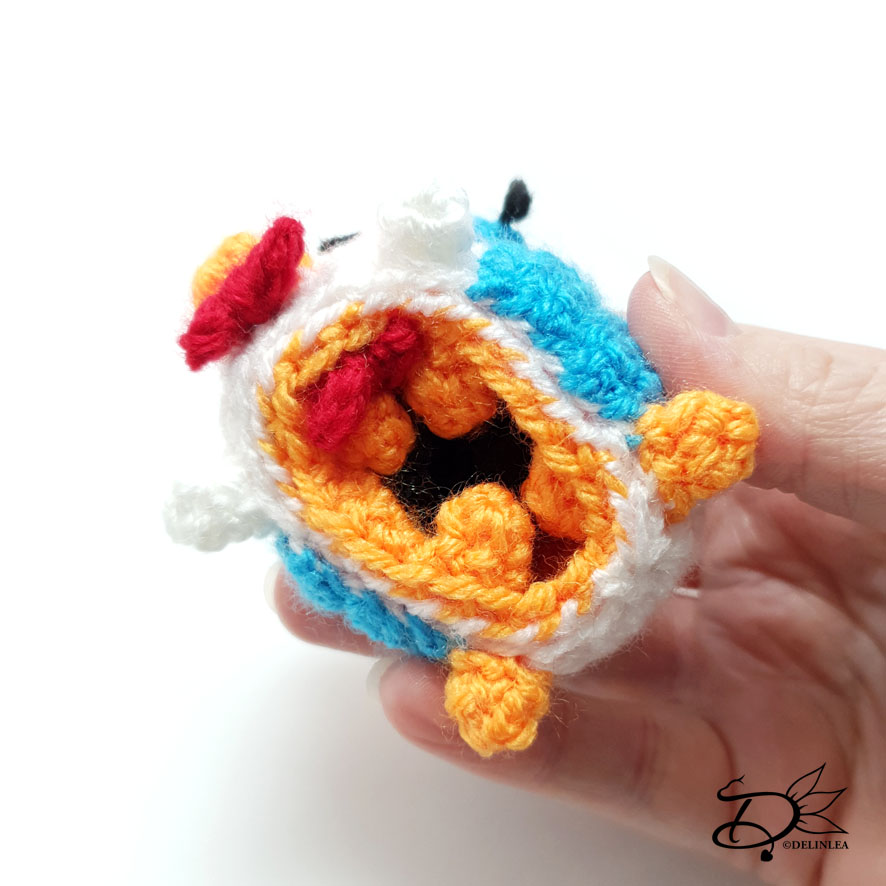
First sew the 2 crosses to the Mijter on both sides and you might wanna sew the tip of the Mijter together. Then, sew on his Mijter around row 10 of the body. The cape goes directly under the Mijter. On the other side of the body you will sew on the beard, with the nose centered. Last, position his feet and sew those on.
That was it already for this Sinterklaas Gnome! It’s not too hard to make, but oh so cute! I hope you will enjoy this pattern. Let’s make it fun inside out home’s even when the world is cruel outside. It’s better to try to do those things we can control and make us feel a little better instead of being anxious all the time.
If you decided to make this Sinterklaas Gnome, please, show me on Twitter or Instagram with the #DelinleaDIY. I would love to see what you made with my patterns!
Have a wonderful day and I’ll see you next week!
Love
Danielle