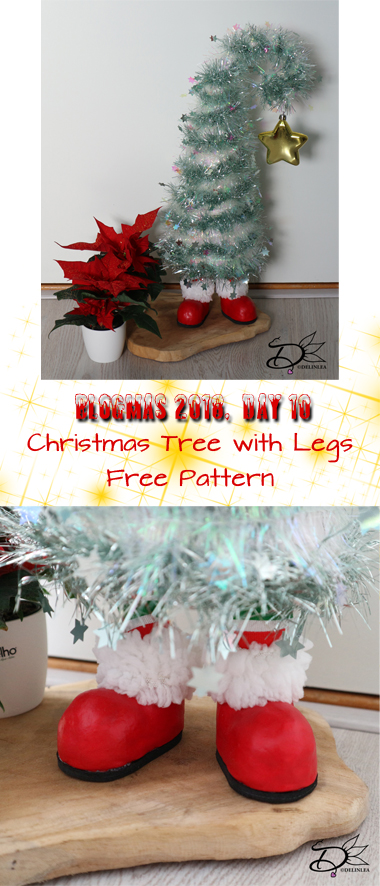
♥ Day 10; Christmas Tree with Legs
Hey Lovelies! I know today’s blog is late! I’m sorry, but I made a mistake in today’s DIY and I had to fix it xD. Today’s DIY is also the non-pokemon one! yay! I’m excited, cause I really wanted to make this for my room! It’s a cute little christmas tree with legs! xD
For the Tree you’ll need:
Styrofoam Cone of 27cm high.
2 Garlands of 270cm (one color for both, or both different in color)
30 cm Wire.
Aluminum foil.
White Duct Tape.
For the Legs you’ll need:
Clay.
Black Foam.
Faux White Fur.
2X 14cm Wire.
Red Acryllic paint.
Red and Green striped Fabric. (Or white fabric and Acrylic Paint)
Aluminum foil.
Other stuff You’ll need:
Scissors.
Paper.
Hot Glue Gun.
Scewer.
Brushes.
Star Bauble.
Tree
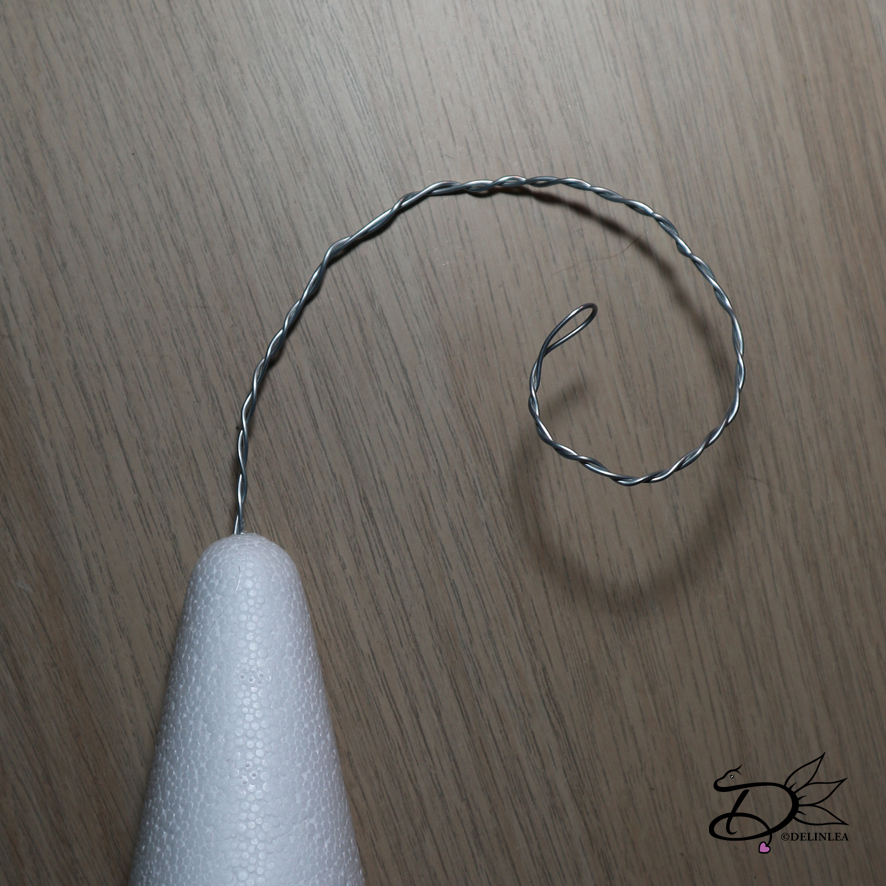
Make a hole with a scewer in the top of the cone, that’s where the wire will go in. Glue the wire to the top of the cone. And make a curl in it.
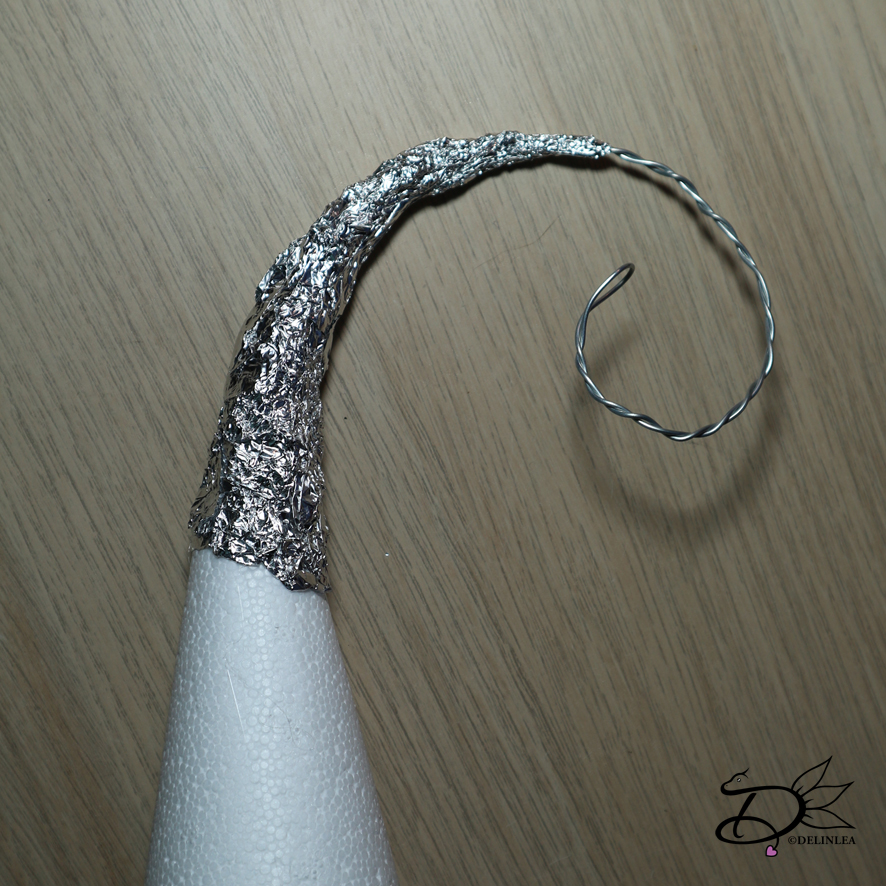
With Aluminium foil, you will create a smoother shape from the cone to the wire.
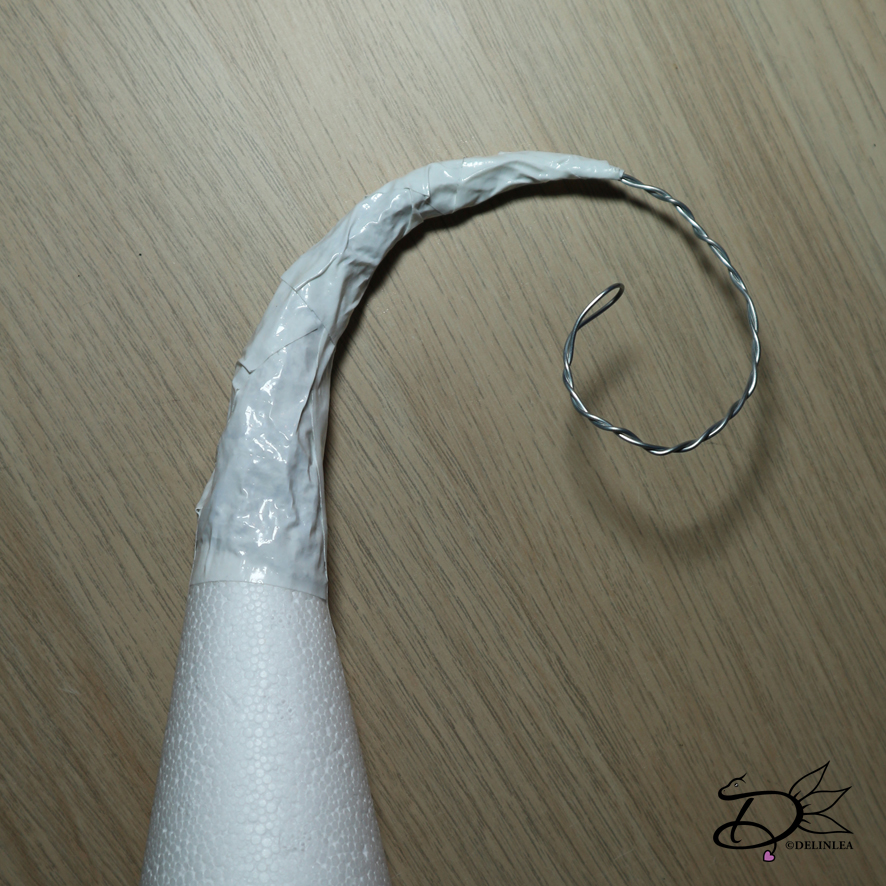
Cover the aluminum foil with the white Duct Tape, so it doesn’t show so much when you wrap the garlands around it.
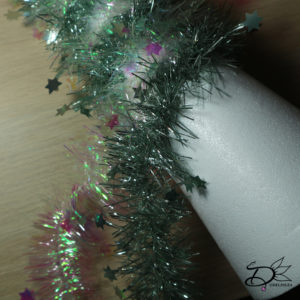
Wrap the garlands around the tree shape, start with both at the top of the tree, where the wire is. Glue this tight. And start wrapping it nice and slowly down. Make sure you glue them to the tree shape every now and then, so it won’t fall down.
Now, you can leave it like this and decorate it, oooorrr.. you can something fun!! Let’s give it legs!! It will give it that little extra jolly!
Legs
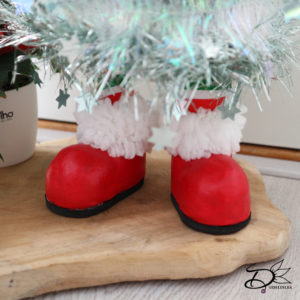
I have made the boots for the tree myself, but ofcourse you can also buy them to make it easier and quicker. It’s up to you!
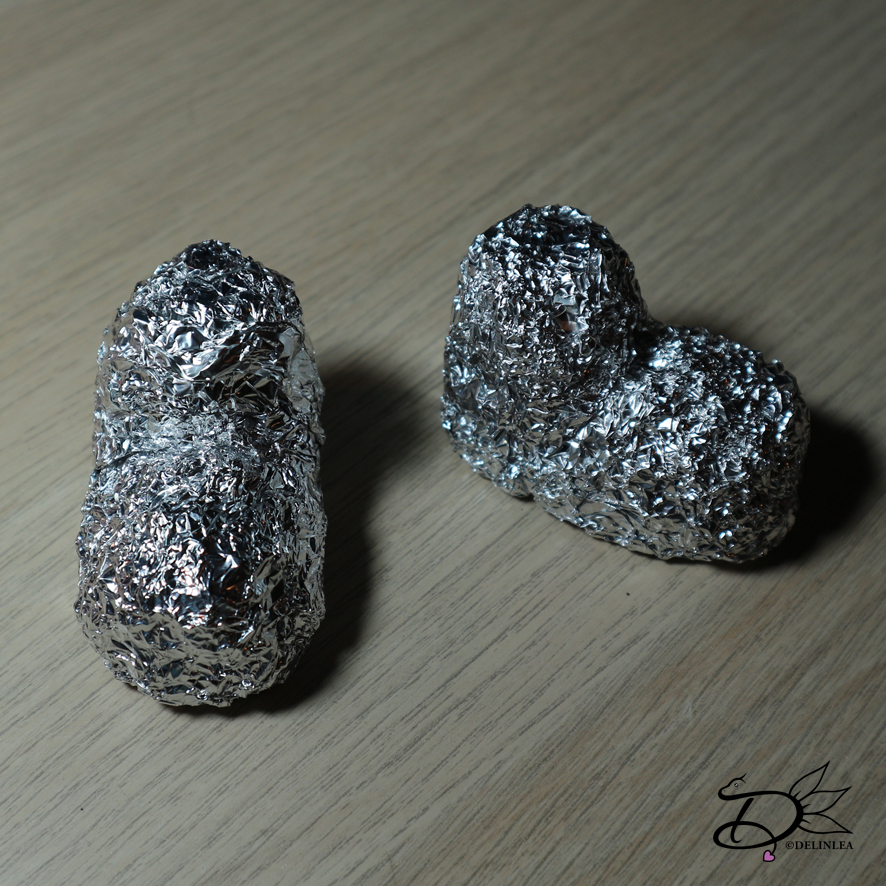
Make with Aluminum foil boot shapes. Make sure they are about the size.
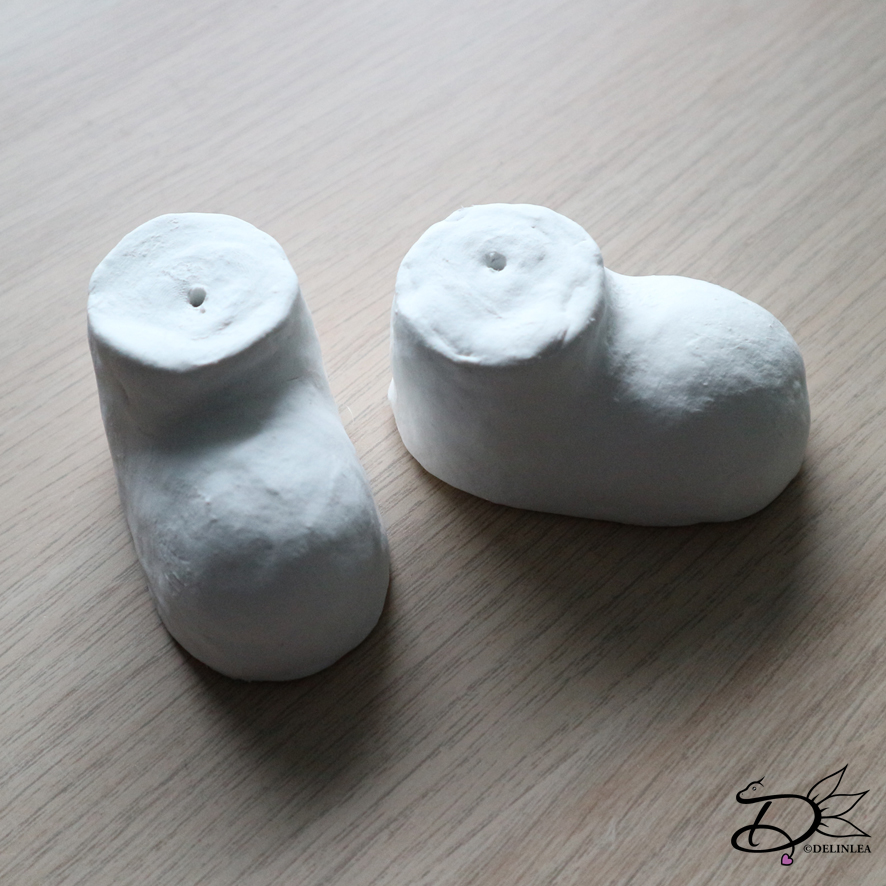
Cover the foil with air dry clay or oven bake clay. it’s up to you. I have use air dry since, I was able to wait xD. Make sure you make a small hole with a scewer where te legs should be, this is for the wire later.
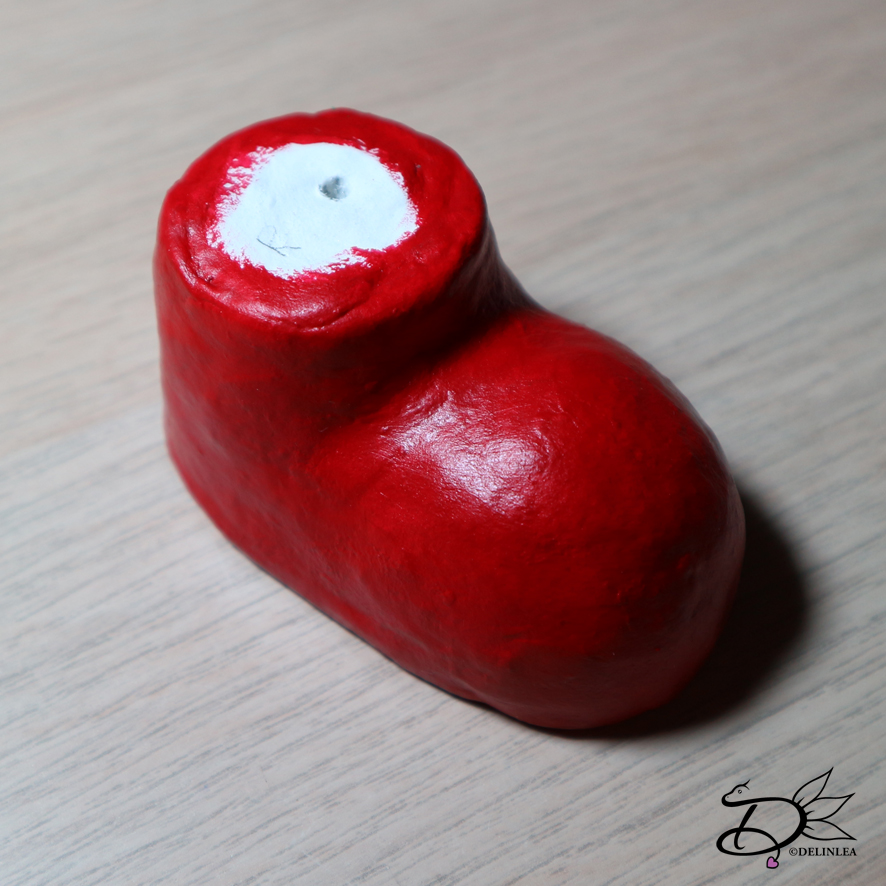
When the clay is dry, or out of the oven and cooled down. Trace the boots on paper, this you will need for the soles later. After that, it’s time to paint them, I have used Redpaint, but it’s up to you what you like!
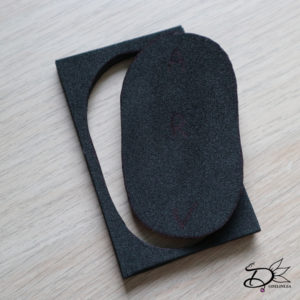
When those are drying, get out your black foam. From this we are gonna make the soles for the boots. Why? Because this way the boots won’t get damaged or the surface they are on, won’t get damaged. You, ofcourse, canmake those out of clay as well, if you prefer.
Trace the template you made earlier on the faom, keep track of what’s front andback, and if it’s left or right. Cut these out.
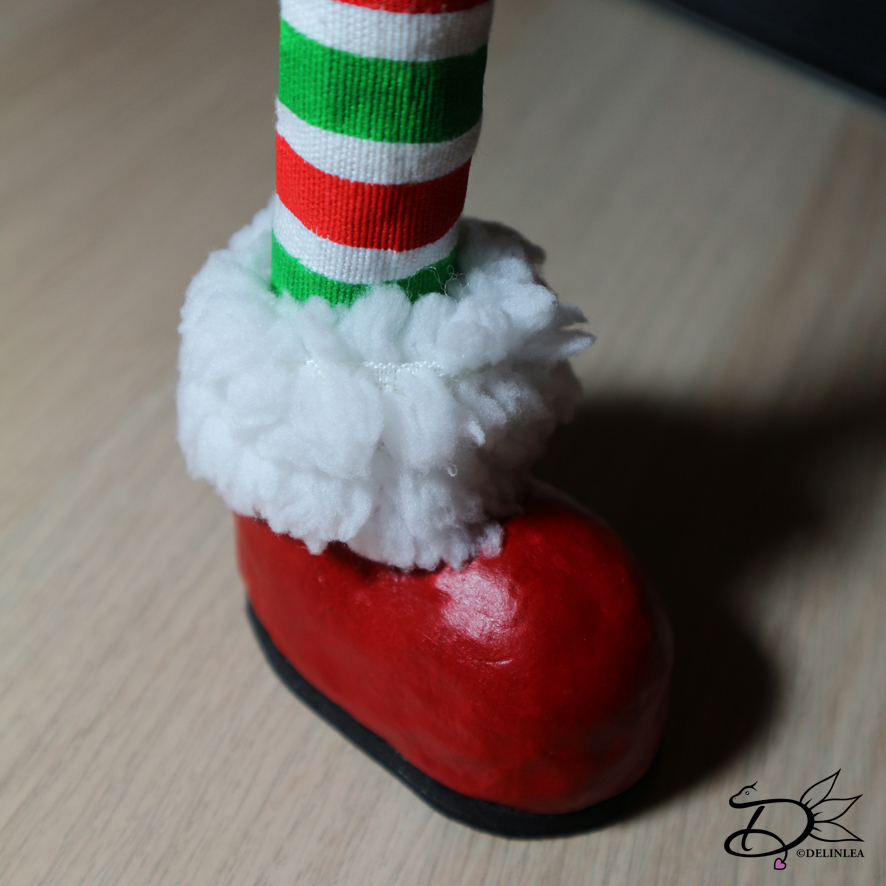
If you’re paint is dry, you can glue on the soles to the boots.
Now you’ll gonna need your white faux fur. I used a piece of 14 by 4 cm (But make sure this is enough in length for your boots). In length I glued the top and bottom parts to the middle. So the inside of the fur is covered. Now glue this to the top of the boots. Glue also the 14cm wire in the holes you made in the boots.
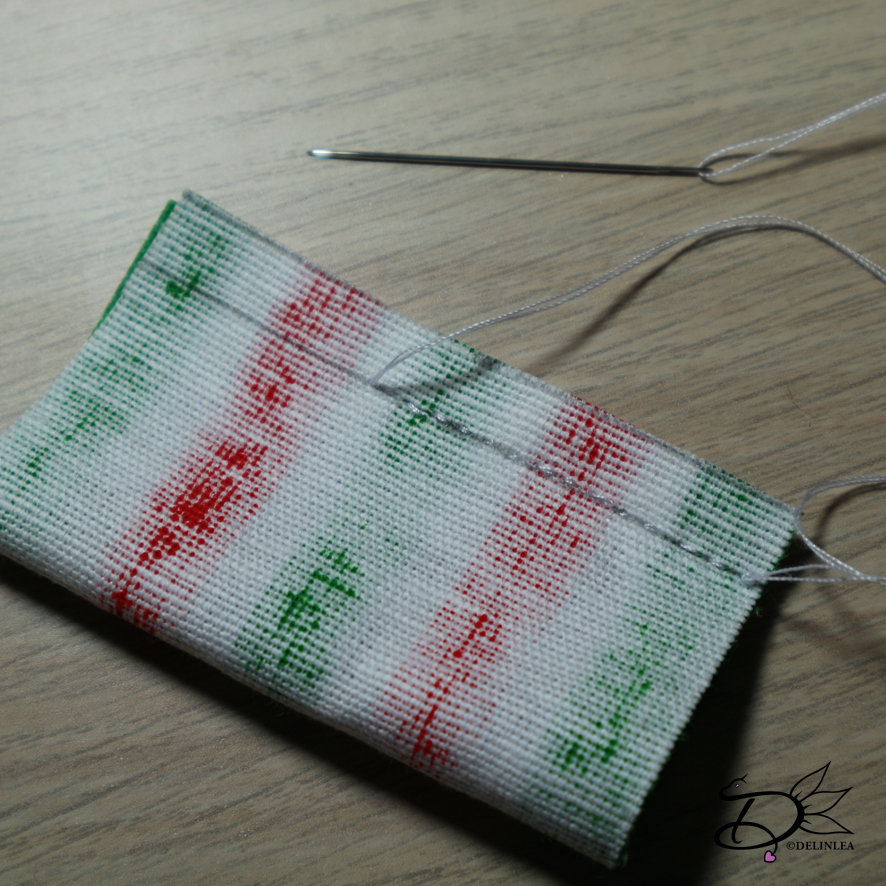
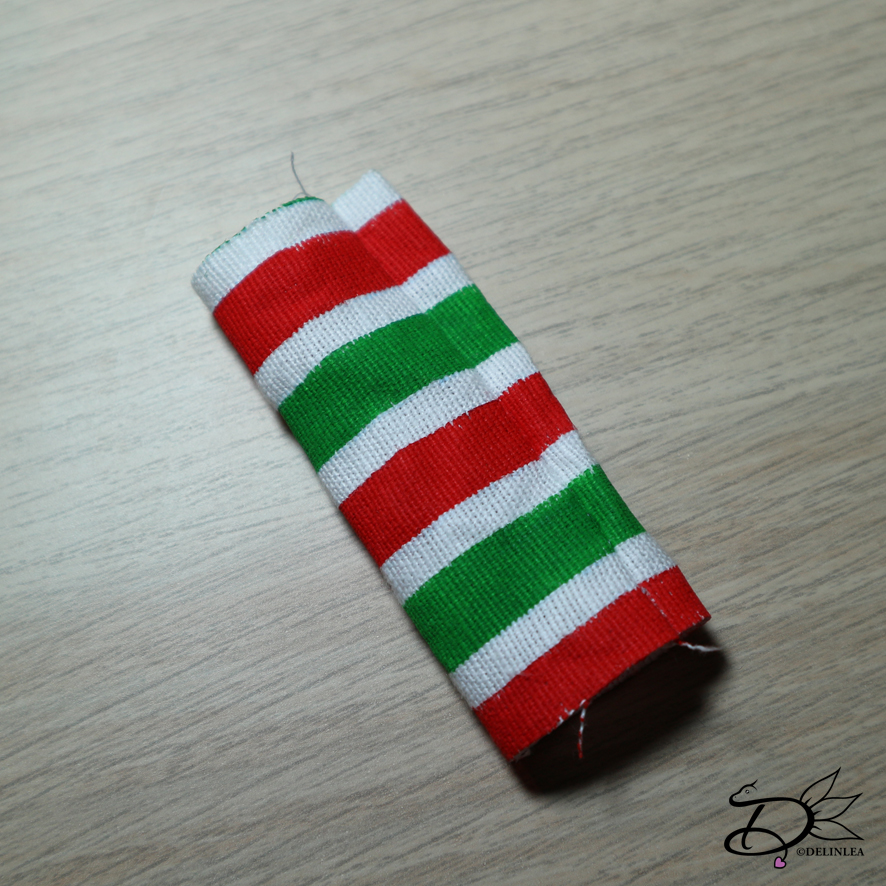
This step is optional, it’s just what you prefer, but I made some kind of pants to cover the wire. Since I had no striped green and red fabric, I used white fabric, that I painted. I Used 2 pieces of 8,5 by 7 cm.
Fold it in half, with the right side of the fabric being in the inside, and line it up neathly, so you have 7 by 4,24cm. Now sew that close and turn inside out. Put this around the wire of the legs.
Now it’s time to attach the legs to the tree, I drew a line through the middel of the bottom of the tree, so I knew the legs are gonna be placed at the same level. Poke a hole with the scewer where you want the legs to be. Then glue the wire of the legs in.
Add the star bauble to the tip of the christmas tree! And you are finished!!
It’s it cute?! I love it, and I hope you will too! If you make it, don’t forget to share with #DelinleaBlogmas2018DIY or #DelinleaDIY
Love you and see you tomorrow!
Danielle

