Delinlea - My little fantasy world
  • ♥ Home
  • ♥ About Me
  • ♥ Blogmas 2021
  • ♥ Free Patterns
    • ♥ Amigurumi; Spring/Easter
    • ♥ Amigurumi; Fall/Halloween
    • ♥ Amigurumi; Winter
    • ♥ Amigurumi Tsum Tsum
    • ♥ Amigurumi Ufufy
    • ♥ Amigurumi Others
    • ♥ Christmas Countdown 2017
    • ♥ Blogmas 2018
    • ♥ Blogmas 2020
  • ♥ Tutorials
    • ♥ Easter
    • ♥ Home Deco
    • ♥ Others
  • ♥ Drawing Lessons
  • ♥ FanFic
    • ♥ Chapter 1
    • ♥ Chapter 2
    • ♥ Chapter 3
    • ♥ Chapter 4
    • ♥ Chapter 5
    • ♥ Chapter 6
    • ♥ Chapter 7
  • ♥ Gallery
    • ♥ Crafts
    • ♥ Drawings
    • ♥ Poseable Art Dolls
  • ♥ Links
  • ♥ Contact

winter

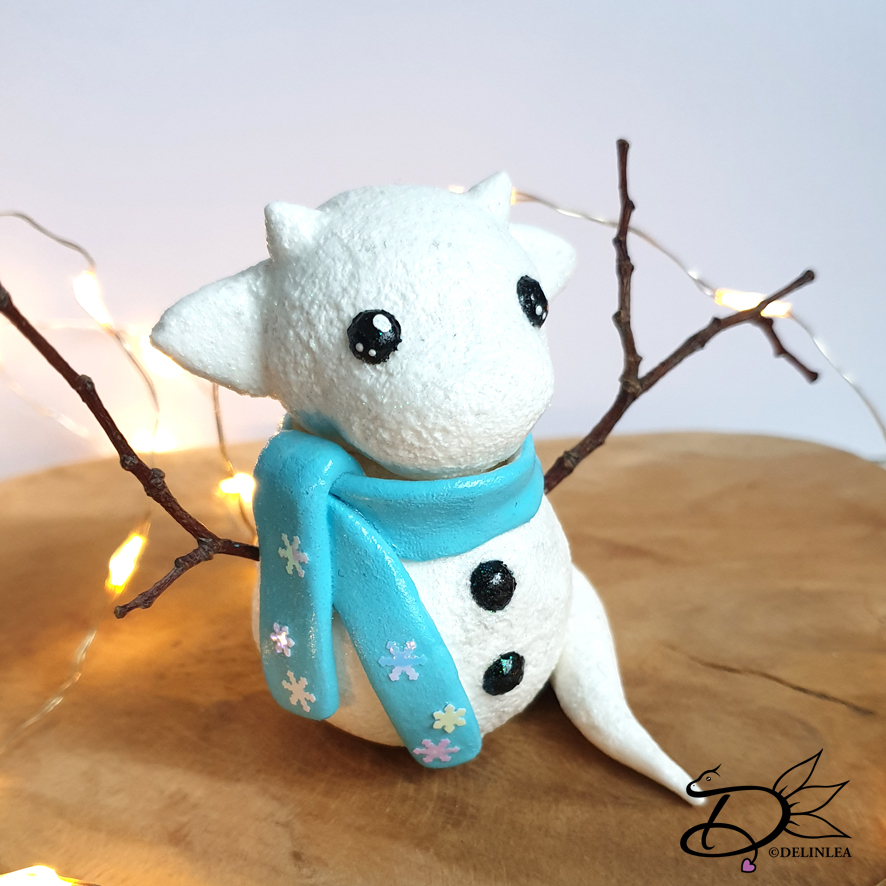
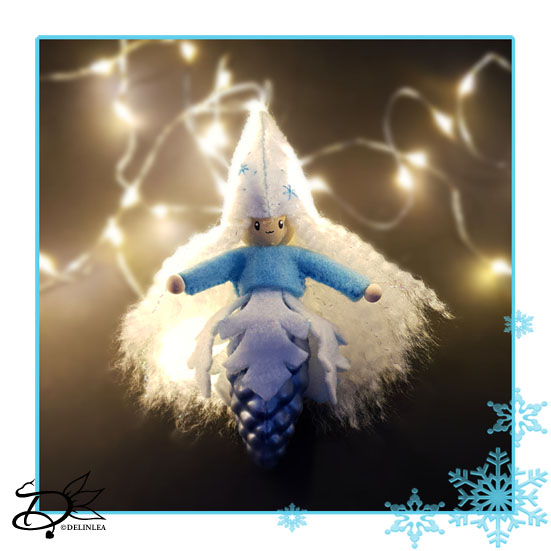
♥ Day 5; Winter Fairy from Felt

9 december 2021 by Delinlea Leave a Comment

Hey Lovelies! I love fairies, what you do you think of fairies?! I hope you like them, because today I’ll gonna show you how to make this Winter Fairy from felt and a Bauble. I hope it’s not too fiddly, but I think it’s a good size this way. I hope you’ll have fun making this one.

Note; This tutorial, for this fairy, will only be available during December 2021, after that I will make a separate PDF file in my ko-fi shop.

Winter Fairies from Felt

For this DIY you’ll need:
♥ This Template. (This download gives you all templates for blogmas 2021)
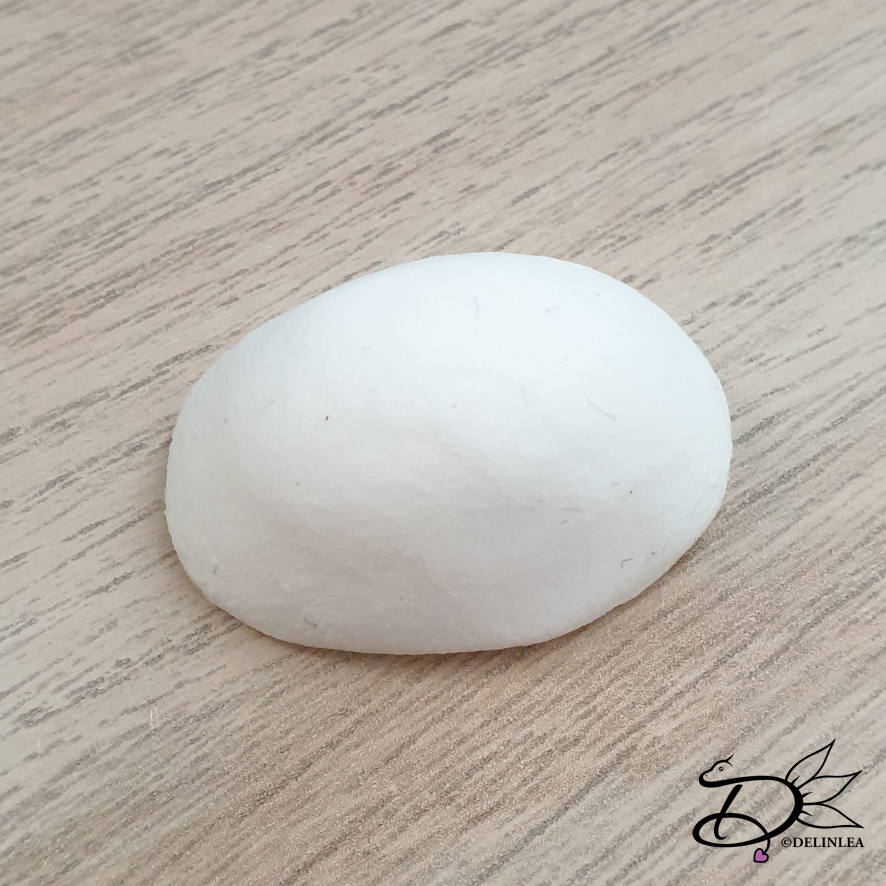
♥ Oval Bauble, about 5,5-6cm in height.
♥ White and Light Blue Felt.
♥ White (Sparkly) Yarn.
♥ Needle and thread.
♥ 18cm of thin wire.
♥ Wooden Bead, 15mm.
♥ 2 Small Wooden Beads, 5mm.
♥ Acrylic Paint and Brush to make a face.
♥ (Hot) Glue.
♥ Pen.
♥ Scissors.

Winter Fairy DIY

Start with printing out this template and cut out all parts for the Winter Fairy.
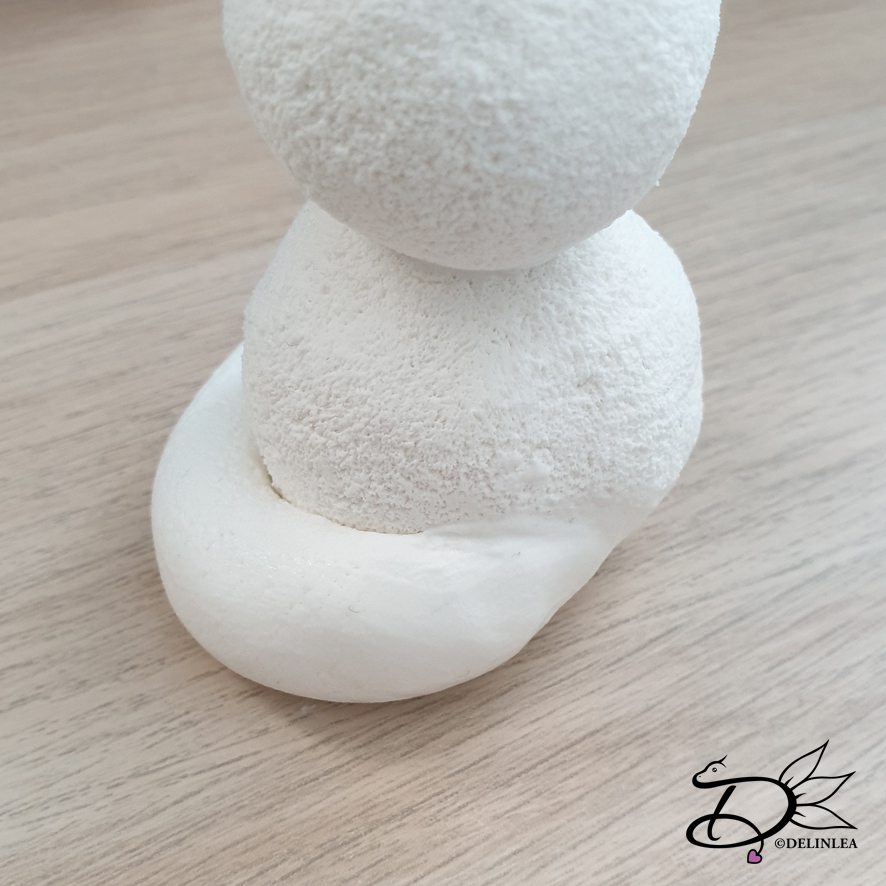
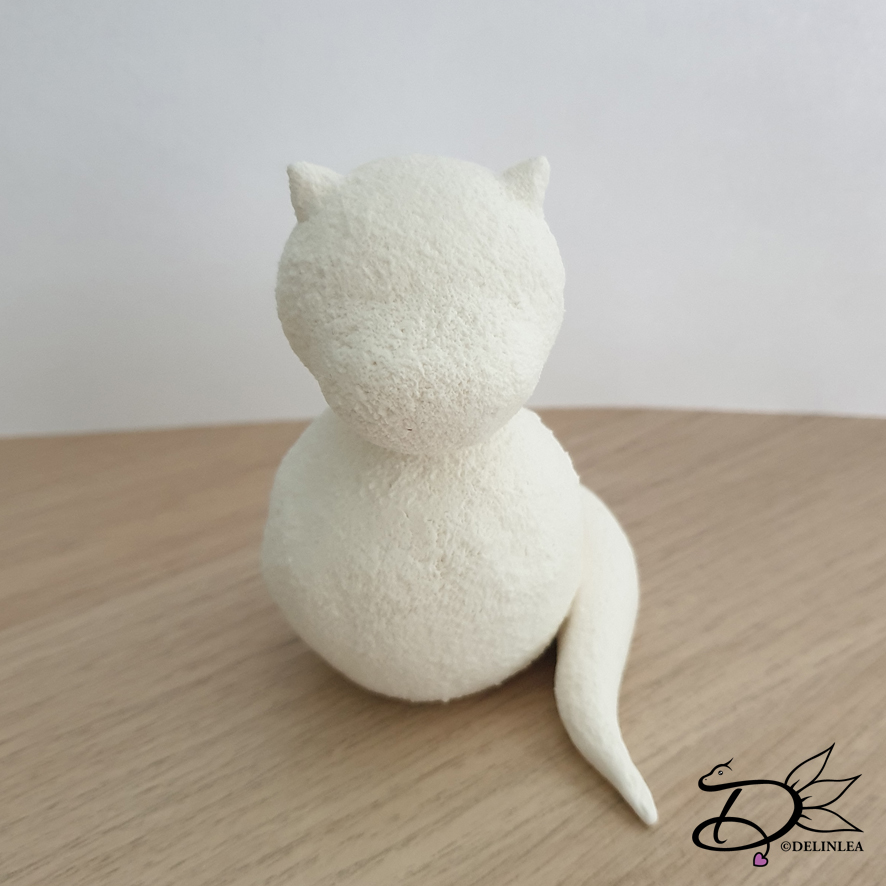
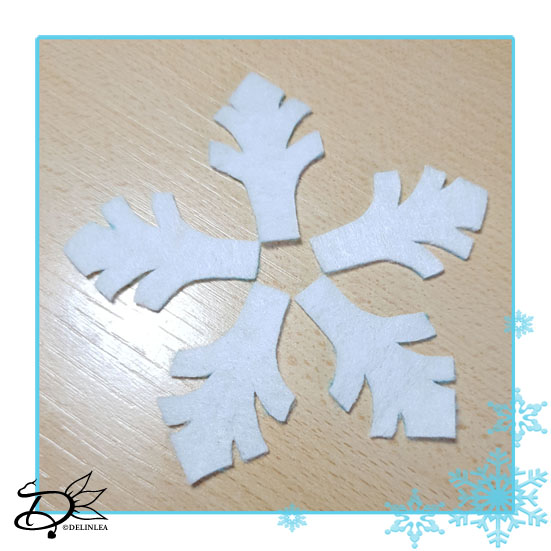
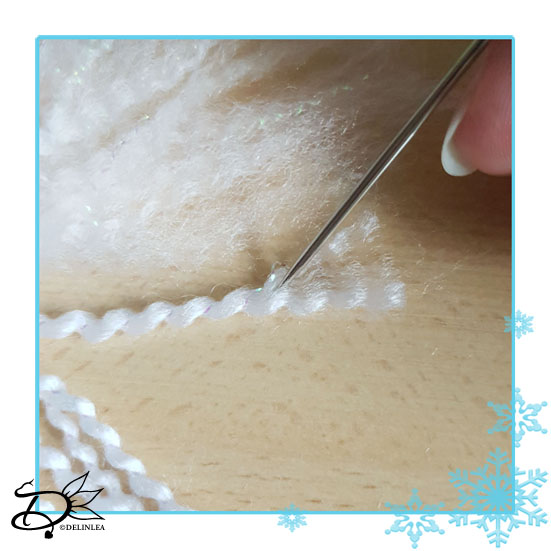
Snowflake Skirt

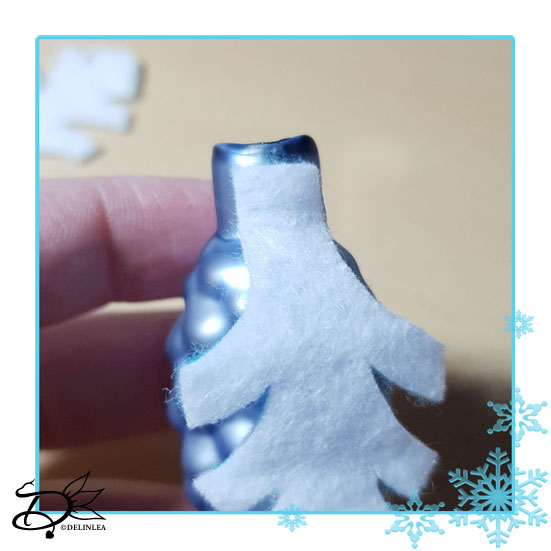
Start with part A, trace this on white felt, about 5 times (If your bauble is bigger, maybe you need more pieces). Cut those pieces out neatly. Glue all those pieces around the top of the bauble (Where the hook was).
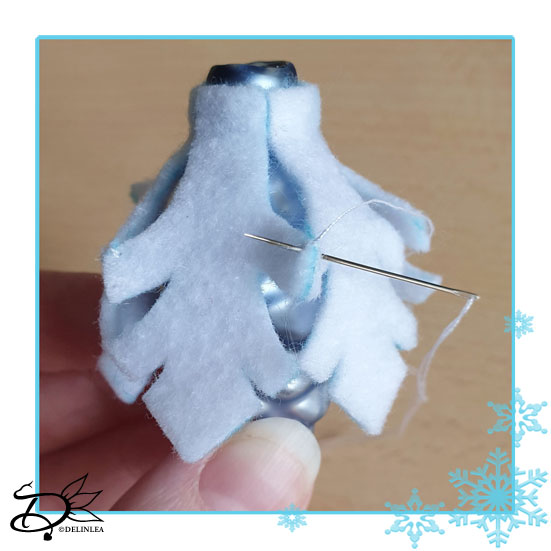
With a needle and thread, sew the points together that are next to each other, where the cross is in the template.
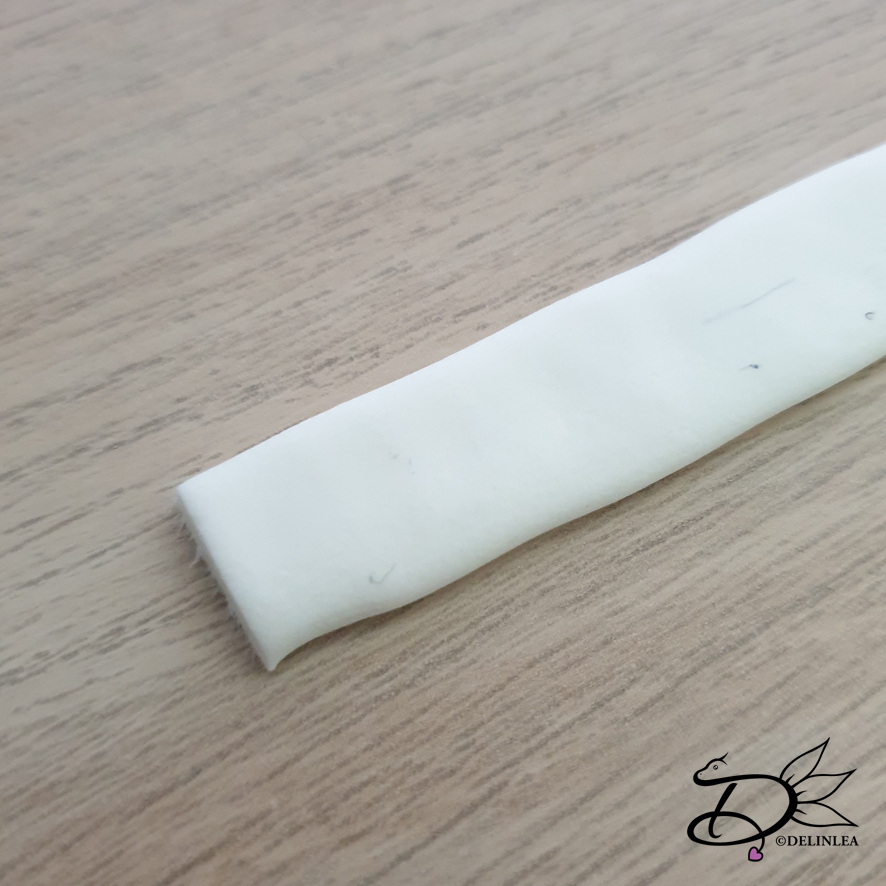
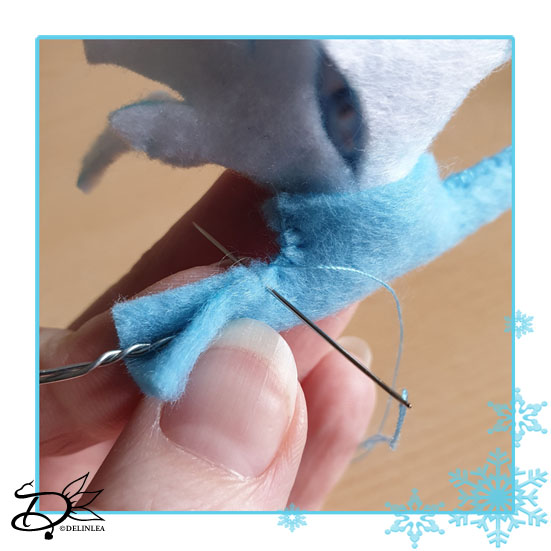
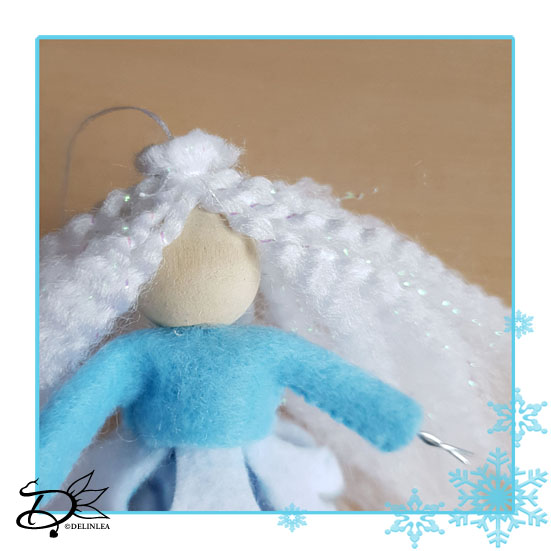
Body

Use part B of the template now and trace this on Light Blue felt. Cut out neatly.

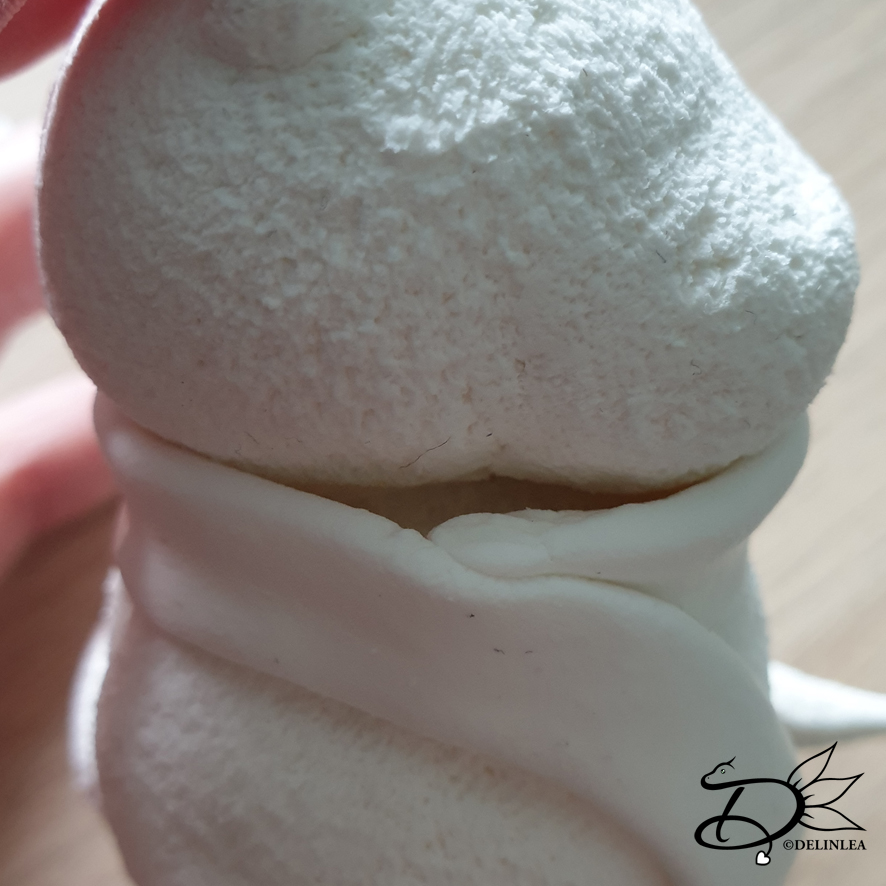
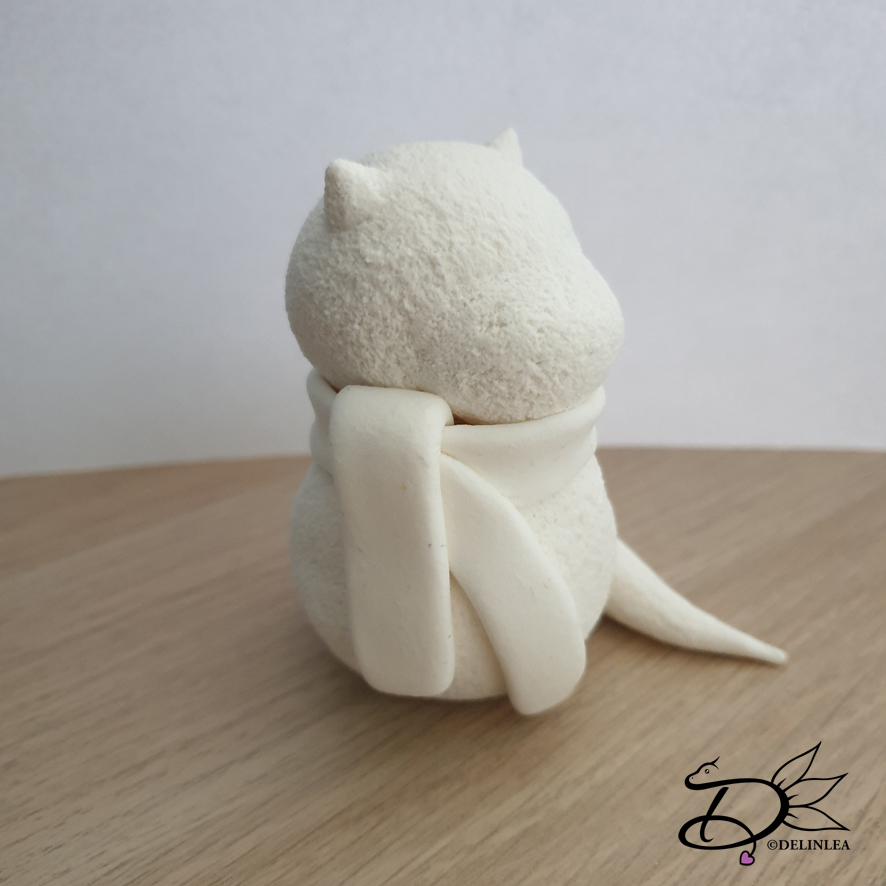
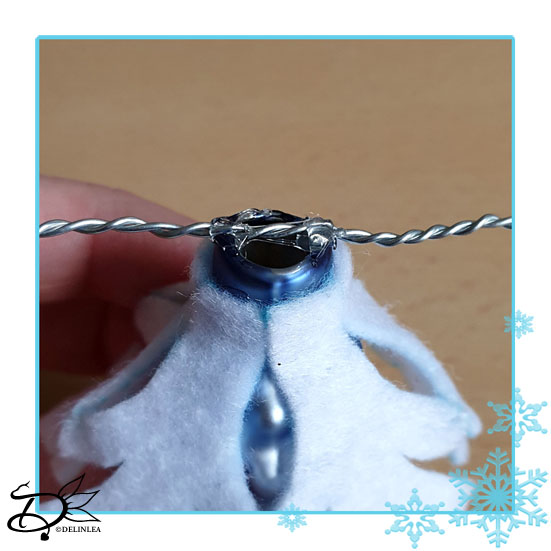
Take the 18cm of wire, fold it in half and twist it together. Glue this to the top of the bauble, this will be the structure for the arms.

Sew part b around the arms/body with the blanket stitch, so it’s gonna be a shirt. Bend the arms down a bit, carefully.
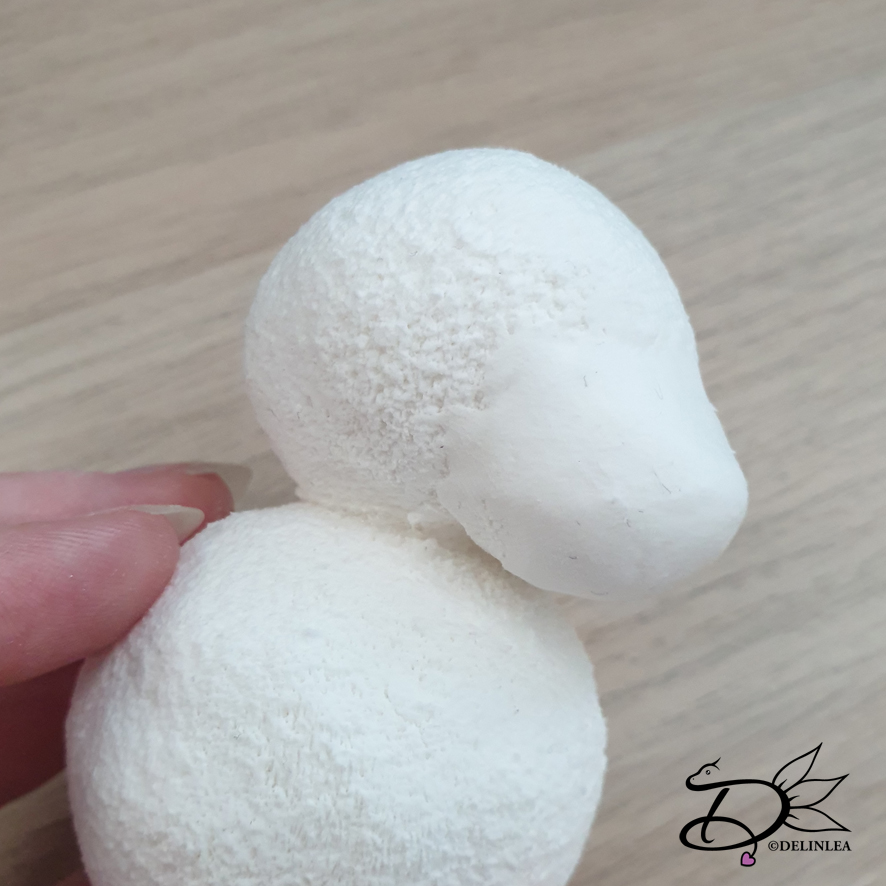
Head

Take the 15mm bead and glue this on top of the body. You could draw/paint a face on it now, but I prefer to do that last.
Inside the bead, glue a loop from 20cm thread (You can make it longer, depends on how you wanna hang them).
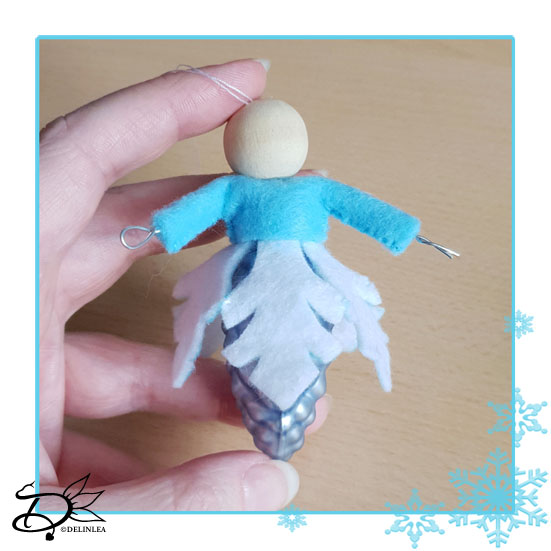
  • Winter Fairies from Felt DIY

Hands

For the hands you use the 2 small beads. Trim the wire for the arms a bit if it’s still too long, it needs to stick out about 3mm from the sleeve. Then glue the beads on. (Since I didn’t had small beads, I used a bit of clay).
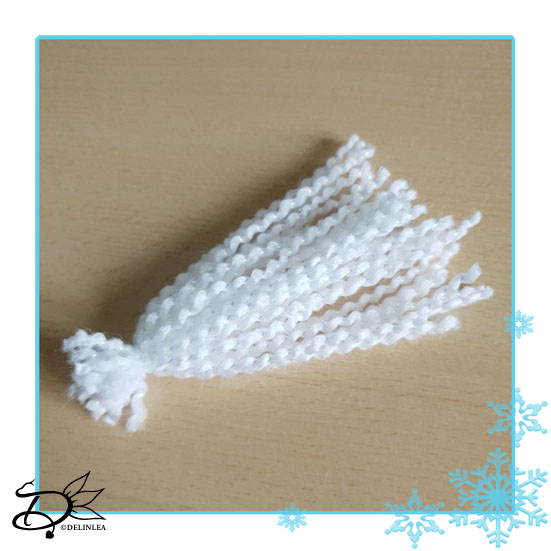
Hair

Get out the white yarn and cut 35 strands (or more) of about 8cm in length. Tie these tightly together, at the top, with a bit of white thread. Don’t worry about how neat it looks for now, you’ll trim that later on.
Unravel the strands of yarn with a big needle, so it’s looks a bit more like hair. This can be quite a progress, but if you lay it down on your desk and do it bit by bit, you’ll be fine.
When that’s done, take the loop of thread and get that through the top of the hair with a needle. Glue the hair to the top of the bead. Keep in mind where you want to face to be, keep the hair to the sides of the face.

If you want you can trim the hair a bit now.
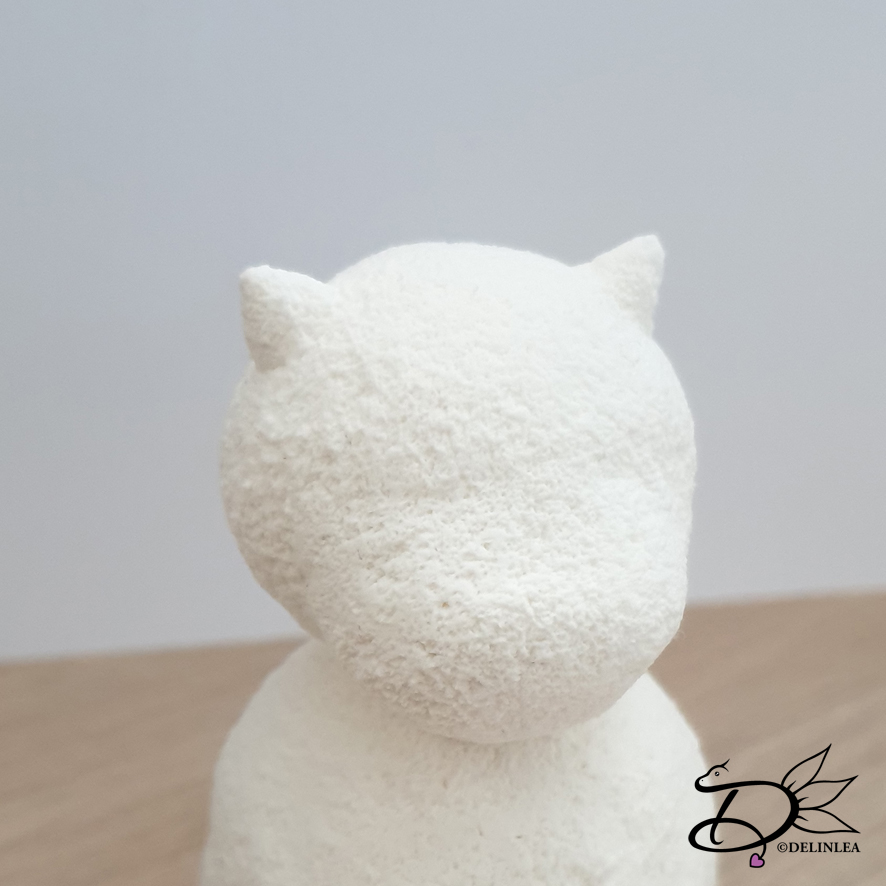
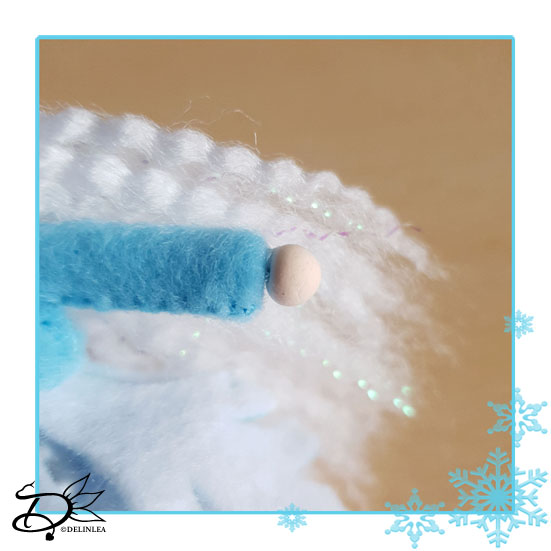
Hat

Trace part C three times on to white felt and cut those out.

On at least one part, embroider some ‘snowflakes’ and dots with light blue thread. When you’ve done that, sew it together using the long sides.

Now that the hat is created, carefully put it on its hat. Don’t forget to take the loop of thread through first! You can use a bit of glue if it won’t stay in place.

Finishing off

Last is to paint a face one with some acrylic, you can make it as fancy as you want. I kept it quite simple this time.

Now you can hang the Winter Fairy on to the Snowball. You can hang as many as you want.

If you decided to join this lovely project, or just some parts of it, show me on Twitter or Instagram what you are working on! I’d love to see!

If you like to buy the PDF pattern for this whole project, go to my ko-fi shop. This will have an extra story attached and no ads.

Have a wonderful day!

Love
Danielle

PS. if you love those patterns, maybe you’d like to support me on Ko-Fi?! So I can keep making content like this!

// ©2021 Delinlea / Danielle Kaal // Items made with this pattern/DIY may be sold in a limited number. Credit to ‘Delinlea’ is appreciated. Not allowed for mass production or commercial purposes. You may not reproduce, translate, share, freely distribute or sell this pattern/DIY as your own in digital or printed from.

Posted in: Blogmas 2021, Christmas, Crafting Tagged: Blogmas 2021, Christmas, Fairy, felt, vilt, winter, Winter Wonderland

♥ Tutorial; Clay Snow Dragon

16 januari 2020 by Delinlea Leave a Comment

Hey Lovelies! How are you doing?! I am sad it’s still raining and storming outside, no snow for me. I keep imagining how much snow all the rain would have been xD. Anyway I am still in winter mode, so I have made this adorable snow dragon out of clay. Just a little sculpture to have around and lift up the winter spirit. It’s perfect to use clay around this time of year.

Clay Snow Dragon

For this DIY you’ll need:
♥ Aluminum Foil.
♥ Air Dry Clay.
♥ Skewer.
♥ Some Rough Brush or Tooth Brush for Clay Purposes.
♥ Water and/or Glue.
♥ Some Branches.
♥ Clay tools.
♥ Acrylic Paint.
♥ Varnish.
♥ Brush.
♥ Glitter/nailart deco. (optional)

Tutorial

Make 2 balls out of aluminum foil. One about 3,5cm and the other about 2cm.

Prick the skewer in the large ball, this makes it easier to hold. Cover it entirely with clay, about 1cm thick. It doesn’t have to be perfectly smooth. If you ever made a snowman with real snow, you know that’s almost impossible the get a perfectly smooth ball xD. When it’s covered, texture the clay using the rough brush or toothbrush. If that’s done, put it upside down with the skewer straight up and let it dry before you continue. Usually with air dry clay, this doesn’t take too long, although it depends on the clay!

When the large ball is as good as dry, do the same for the small one, but don’t let it dry. Cut the skewer smaller and pull out the one of the large one. Add a bit of glue around the hole of the large ball and slide in the skewer of the small one. if you left any marks where you hold it, make sure to texture it again.

Take a bit of clay, a ball around 2cm and make a oval shape of it. Put it on a flat surface and flatten the side/edges towards the flat surface. (Not sure how to explain this well, check the pics). This will be his beak. If the clay of the small ball is still wet then you can use water to put both parts together, if not use a bit of glue. Try to smooth out the edges , doesn’t have to be perfect. Don’t forget to texture it!

Horns

Make two balls out of clay, approx  0,5cm each. Make a pine cone shape of both balls. Glue those to the head where you like them. try to smooth out the edges and texture those as well.
From here I let it completely dry before I continued.

Tail

Make a long cone shape that you wanna use for the tail. At the widest part you wanna slice a part of with a knife to be able to apply it to the body easily. Texture the tail too.

Shawl

Make a long snake of clay, and flatten it a bit. Wrap about 10 to 15 cm around his neck (depends on your work), like shown in the picture. Make sure to use a bit of glue/water, cause air dry clay won’t stick to dry air dry clay.
Now make a little gap where the clay starts to overlap. In here you will add another piece of the flatten snake you made. Cut off about 4 to 5cm of the snake and flatten one side of it a bit more, this will make it easier to slide in the gap. If you have done that, add it carefully in the gap and fold the remaining part down. Make sure to use glue here as well.

Ears

Make 2 balls of about 1cm each and shape those into a flat-ish triangle. Apply those to the head and make sure to texture those as well.

Arms

Poke a hole with something sharp on the place where you want the arms to go. Cut pieces of a branch to the size you like and put those in the holes you just made.

Eyes and Buttons

With little pieces of clay make the eyes and buttons on the snow dragon. Make sure to leave those smooth so they could look like little stones stuck into the snow.

Painting

Last paint the parts you like to paint. I painted the scarf light blue and the eyes/buttons black. Further I left everything white. You can varnish the snow dragon if you like. I added some glitter to the varnish for that little extra. If you have ever seen snow, you know it sparkles. So so pretty! *-*

I hope you liked this little tutorial how to make a snow dragon out of clay! Show me if you made one as well, I’d love to see! Have a wonderful day!

Love
Danielle

Posted in: Crafting Tagged: clay, crafting, cute, DIY, Dragon, kawaii, snow, winter

♥ Free Pattern; Snowball Spirit Amigurumi

9 januari 2020 by Delinlea Leave a Comment

Hey Lovelies! How’s your 2020 going so far? I hope all goes well! I’m just hoping that it will start snowing any time soon. But right now it’s 10 degrees Celsius*sigh. Please give me snow xD. So that’s why I made this Snowball Spirit, it’s so cute and maybe it helps?! Wouldn’t hurt to try. And after I am done writing this blog, I’m gonna make a few more, there are too adorable!

Snowball Spirit

For this DIY you’ll need:
♥ DK Yarn in the colors; Beige and Light Blue. (I used BudgetYarn.com)
♥ Fluffy White Yarn. (I used something for the Zeeman, I don’t have the label anymore).
♥ Some extra White yarn to sew on detail on the hat. (optional)
♥ Crochet Hook (I used a 2,5mm hook for the dk yarn and a 4mm hook for the fluffy yarn).
♥ Stuffing.
♥ Scissors.
♥ Sewing Pins.
♥ Yarn Needle.

Stitches used (US Terms):
Magic Ring.
CH = Chain.
SLST = Slip Stitch.
SC = Single Crochet.
ST = Stitch.
Inc = Increase.
Dec = Decrease.
(…) = Repeat the space in brackets the given number of times.
[…] = Total number of stitches.

Pattern

Work in continues rounds, use a stitch marker to mark your first stitch of every row. This is for every part, unless stated otherwise.

Head
Use the color Beige.

1: 6SC in Magic Ring. [6]
2: 2SC in each st around. [12]
3: (1SC, inc) 6 times. [18]
4: 18SC. [18]
|
6: 18SC. [18]
7: (1SC, dec) 6 times. [12] Add the eyes between row 5 and 6, about 5 stitches apart. Stuff.
8: Dec all around. [6]
Fasten off and leave a long tail for sewing.

Hands (Make 2)
Use the color Beige.

1: 6SC in Magic Ring. [6]
2: 6SC. [6]
3: 6SC. [6]
Fasten off and leave a long tail for sewing. Stuff them if you can, I didn’t.

Feet (Make 2)
Use the color Light Blue

1: 6SC in Magic Ring. [6]
2: 2SC in each st around. [12]
3: 12SC. [12]
4: 12SC. [12]
Fasten off and leave a long tail for sewing. Stuff lightly.

Hat
Use the color Light Blue.

1: 4SC in Magic Ring. [4]
2: (1SC, inc) 2 times. [6]
3: (2SC, inc) 2 times. [8]
4: (3SC, inc) 2 times. [10]
5: (4SC, inc) 2 times. [12]
6: (5SC, inc) 2 times. [14]
7: (6SC, inc) 2 times. [16]
8: (7SC, inc) 2 times. [18]
9: (8SC, inc) 2 times. [20]
10: (9SC, inc) 2 times. [22]
11: 22SC. [22]
12: 22SC. [22]
Fasten off and leave a long tail for sewing.

Snowball
Use the fluffy White yarn.

1: 6SC in Magic Ring. [6]
2: 2SC in each st around. [12]
3: (1SC, inc) 6 times. [18]
4: 18SC. [18]
|
7: 18SC. [18]
8: (1SC, dec) 6 times. [12] Stuff.
9: Dec all around. [6]
Fasten off and weave in tail.

Assembling

Whenever I assemble amigurumi, I use sewing pins to position all parts in the right place. This way I can easily move them around until I am happy, then I will sew them on. I recommend you would do the same.

Sew the head to the body. With a piece of Beige scrap yarn, make a nose.
If you want to sew on some detail on the hat like I did, you can either do it now, or after you’ve sewn it one, depends on your preference. Sew the hat on.
Sew on his hands and feet and you are already done, so easy, yet so cute.

I hope you enjoyed this Snowball spirit pattern?! If you made him, don’t forget to show me your creation on social media! I’d love to see!

Love
Danielle

Posted in: Crafting, Crochet Tagged: Amigurumi, Crochet, cute, haken, kawaii, snow, snowball, spirit, winter

What are you looking for?!

My Socials

Ko-Fi

I love making all these free things for you, tho it would be very helpfull if you can support me on Ko-Fi! (You don’t have to tho, totally up to you!)

Ko-Fi Shop!!

In my Ko-Fi shop you can find PDF Amigurumi Patterns!! You can pay easily with PayPal.
Go to the shop here!!

Recent Blog Posts

  • ♥ Happy 2022!
  • ♥ Day 12; Lights
  • ♥ Day 11; Flower Deco
  • ♥ Day 10; Snowman
  • ♥ Day 9; Gingerbread Houses

Recent Comments

  • Liane Van der Donck op ♥ Amigurumi Ghost
  • Kimberly Spear op ♥ Free Pattern; Amigurumi Shiber
  • Delinlea op ♥ Pua Tsum Tsum Amigurumi
  • Marfermar op ♥ Free Pattern; Easter Bunny
  • mary op ♥ Pua Tsum Tsum Amigurumi

Categories

  • animation
  • Beadwork
  • Blogmas 2018
  • Blogmas 2020
  • Blogmas 2021
  • Books
  • Bujo
  • Christmas
  • Christmas CAL 2019
  • Christmas Countdown 2017
  • Contest
  • Crafting
  • Crochet
  • Drawing
  • Drawing Lesson
  • Easter
  • Geen categorie
  • Life
  • Miniature
  • Nail Art
  • New Year
  • Paper
  • plush
  • Pokemon
  • Poseable Art Doll
  • Recipe
  • Sewing
  • Shop Pattern
  • Sinterklaas
  • Social Media
  • Tsum Tsum
  • Ufufy

Copyright © 2023 Delinlea - My little fantasy world.

Family WordPress Theme by themehall.com