Hey
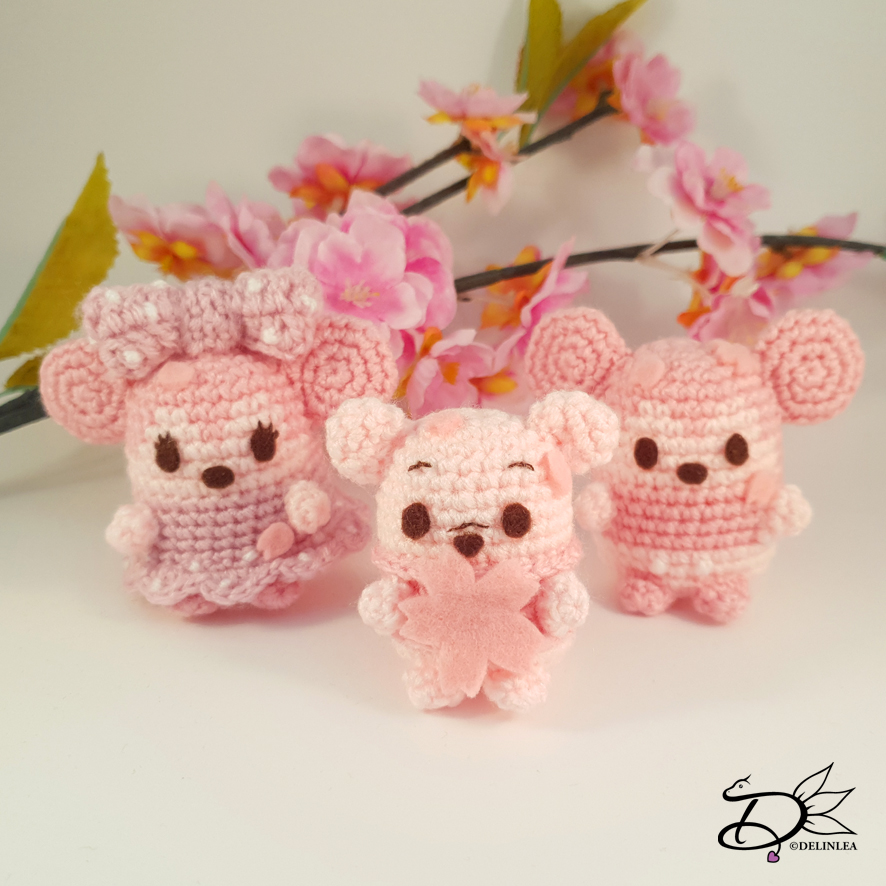
Lovelies! It’s time for a new TsumTsum Pattern. My plan is to make 1 TsumTsum
every month, so hopefully I can keep that up! I’m excited to do so. Today we
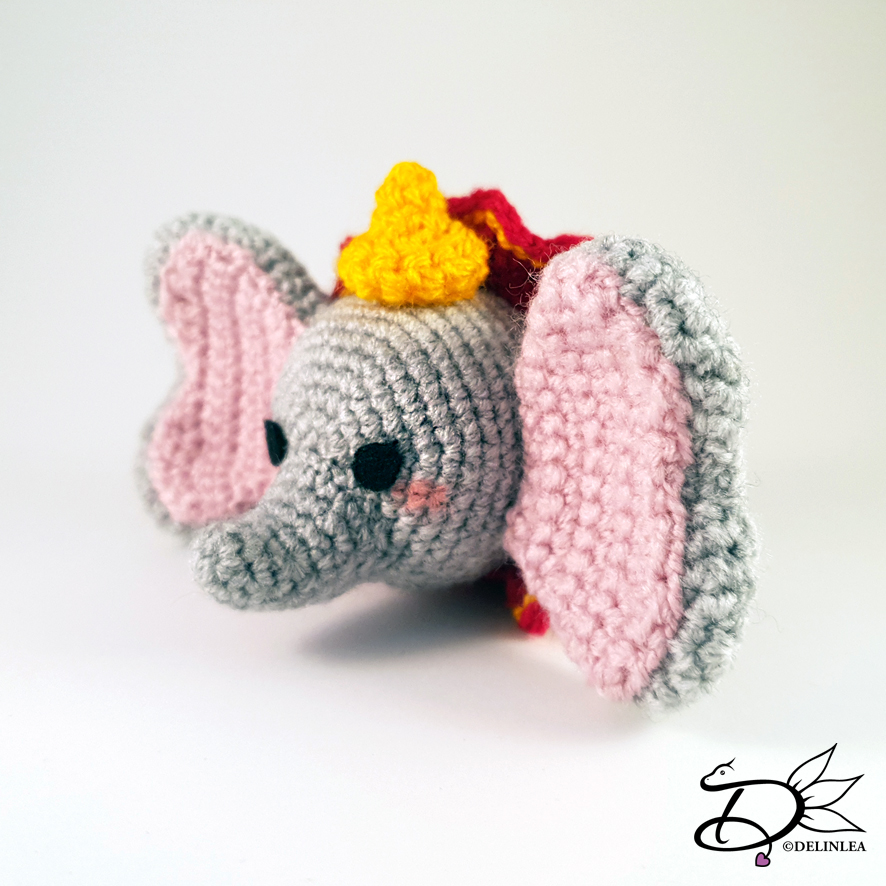
will make Dumbo! I hope you will love him.
Anyone else waiting for snow?! Gosh, they said it might snow today, but I only
see rain, I’m sad. We haven’t had any snow this winter yet. But I won’t give up
on it yet xD. Anyway, let’s dive into the Dumbo pattern.
For this Pattern you’ll need:
♥ Yarn in the colors; Grey, Pink, Red and Yellow. (I used Zeeman Supersoft)
♥ Crochet Hook (I used a 2mm hook).
♥ Stuffing.
♥ Scissors.
♥ Sewing Pins.
♥ Yarn Needle.
♥ Felt for the facial details.
♥ (Fabric) Glue.
Stitches used (US Terms):
Magic Ring.
BL = Back Loops.
FL = Front Loops.
CH = Chain.
SLST = Slip Stitch.
SC = Single Crochet.
HDC = Half Double Crochet.
DC = Double Crochet.
ST = Stitch.
Inc = Increase.
Dec = Decrease.
(…) = Repeat the space in brackets the given number of times.
[…] = Total number of stitches.
Pattern
Work in
continues rounds, use a stitch marker to mark your first stitch of every row.
This is for every part, unless stated otherwise.
Body
Use the color Grey.
1: 6SC in
Magic Ring. [6]
2: 2SC in each st around. [12]
3: (1SC, inc) 6 times. [18]
4: (2SC, inc) 6 times. [24]
5: (3SC, inc) 6 times. [30]
6: (4SC, inc) 6 times. [36]
7: (5SC, inc) 6 times. [42]
8: 42SC. [42]
|
29: 42SC. [42]
30: (5SC, dec) 6 times. [36]
31: (4SC, dec) 6 times. [30]
32: (3SC, dec) 6 times. [24]
33: (2SC, dec) 6 times. [18]Stuff the body here.
34: (1SC, dec) 6 times. [12]
35: Dec all around. [6]
Fasten off and weave in tail.
Snout
Use the color Grey.
1: 6SC in
Magic Ring. [6]
2: (1SC, inc) 3 times. [9]
3: 9SC. [9]
4: 9SC. [9]
5: (2SC, inc) 3 times. [12]
6: 12SC. [12]
7: (3SC, inc) 3 times. [15]
8: 15SC. [15]
Fasten off and leave a long tail for sewing. Stuff the snout lightly
Tail
Use the color Grey.
Ch7, insert
in the second Ch from hook, 6SC. [6]
Fasten off and leave a long tail for sewing.
Legs (Make 4)
Use the color Grey
1: 4SC in
Magic Ring. [4]
2: 2SC in each st around. [8]
3: 8SC. [8]
|
5: 8SC. [8]
Fasten off and leave a long tail for sewing.
Ears (Make 2)
Use the color Grey.
The ears excist out of several parts, so read well how many you need and how and when to add them.
Part 1 (Make 2):
1: 6SC in Magic Ring. [6]
2: 2SC in each st around. [12]
3: (1SC, inc) 6 times. [18]
Cut the yarn on one, and leave it on the other.
Part2:
4: Continue on the ‘part1’ you left the yarn on. 9SC, Ch2, Connect the second ‘part1’ 18SC, 2SC in the 2Ch you made earlier, 9SC. [40]
5: 40SC. [40]
6: 40SC. [40]
7: 9SC, dec, 18SC, dec, 9SC. [38]
8: 9SC, dec) 17SC, dec, 8SC. [36]
9: (4SC, dec) 6 times. [30]
10: 30SC. [30]
11: (3SC, dec) 6 times. [24]
12: 24SC. [24]
13: (2SC, dec) 6 times. [18]
14: 18SC. [18]
Fasten off and leave a long tail for sewing.
Inside of the Ears. (Make 2)
Use the color Pink.
1: Ch9,
insert in de second Ch from hook, 8SC, turn. [8]
2: Inc, 6SC, inc, turn. [10]
3: Inc, 8SC, inc, turn. [12]
4: Inc, 10SC, inc, turn. [14]
5: Inc, 12SC, inc, turn. [16]
6: 16SC, turn. [16]
7: 16SC, turn. [16]
8: Dec, 1SC, 1HDC, 1DC, 1HDC, 1SC, 2SlSt, 1SC, 1HDC, 1DC, 1SC, dec.
Fasten off and leave a long tail for sewing.
Hat
Use the color Yellow
1: 4SC in
Magic Ring. [4]
2: (1SC, inc) 2 times. [6]
3: (2SC, inc) 2 times. [8]
4: (3SC, inc) 2 times. [10]
5: (4SC, inc) 2 times. [12]
6: FL, 12SC. [12]
7: 12SC. [12]
Fasten off and leave a long tail for sewing.
At the row you worked in the front loops only, you can fold it outward to
create the rim of the hat. Stuff lightly.
Collar
Use the color Red.
1: Ch42, make it into a circle and make 42SC. [42]
2: (1SC+1HDC in the next st, 2DC in the next St, 1HDC+1SC in the next st) 14 times. [84]
Fasten off and leave a long tail for sewing. (you could put it on loose, but I preferred to sew it on.
Around the edge of the collar, stitch on a yellow border, just like how Dumbo’s collar should look like.
Assembling
For every
Amigurumi I put together, I use sewing pins first. This way you can easily move
the parts around until you are happy.
Sew the
inside of the ears to the outside of the ears, if you do this first, you can
just move on to complete it.
Sew the snout on first, just under the middle of the face. This way you have a
point to measure the other parts from.
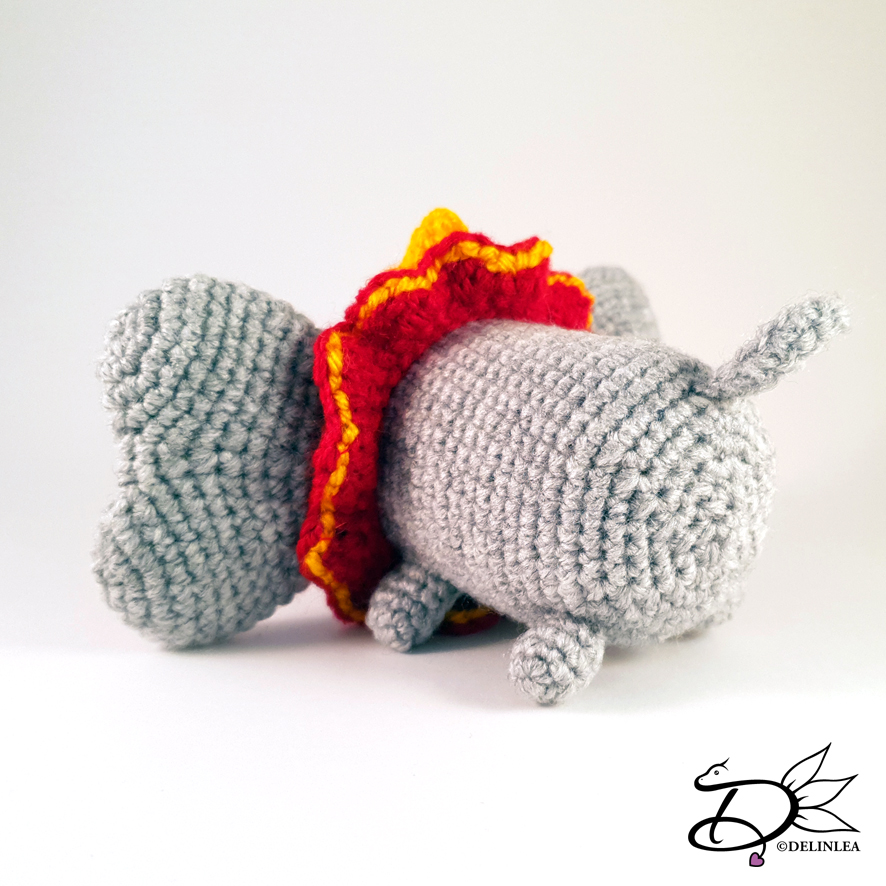
The Collar will go on next, between row 14/15 of the body. In front of the
collar you will position the hat and the ears and sew those on too.
just behind the Collar, around his belly his 2 front legs will go, the other to
near the end of the body.
And last but not least, sew on his tail!
Make his eyes and other facial features from either felt or you can choose to
embroider them on, just what look you like more and what you are comfortable
with.
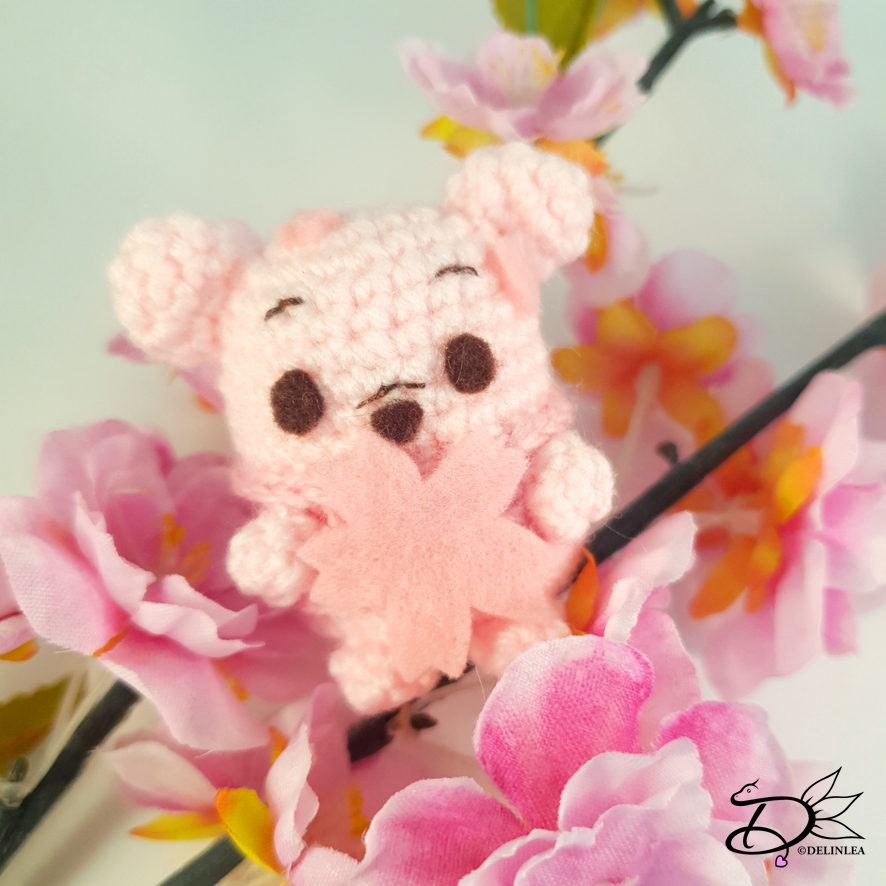
And Dumbo
is already Finished, he is so cute and I am so happy I finally finished him. To
be honest, I started him years ago and I just never finished it, weird. Oh
well, at least we have him all done now! I hope you enjoyed this pattern and
I’ll see you next week.
Love
Danielle