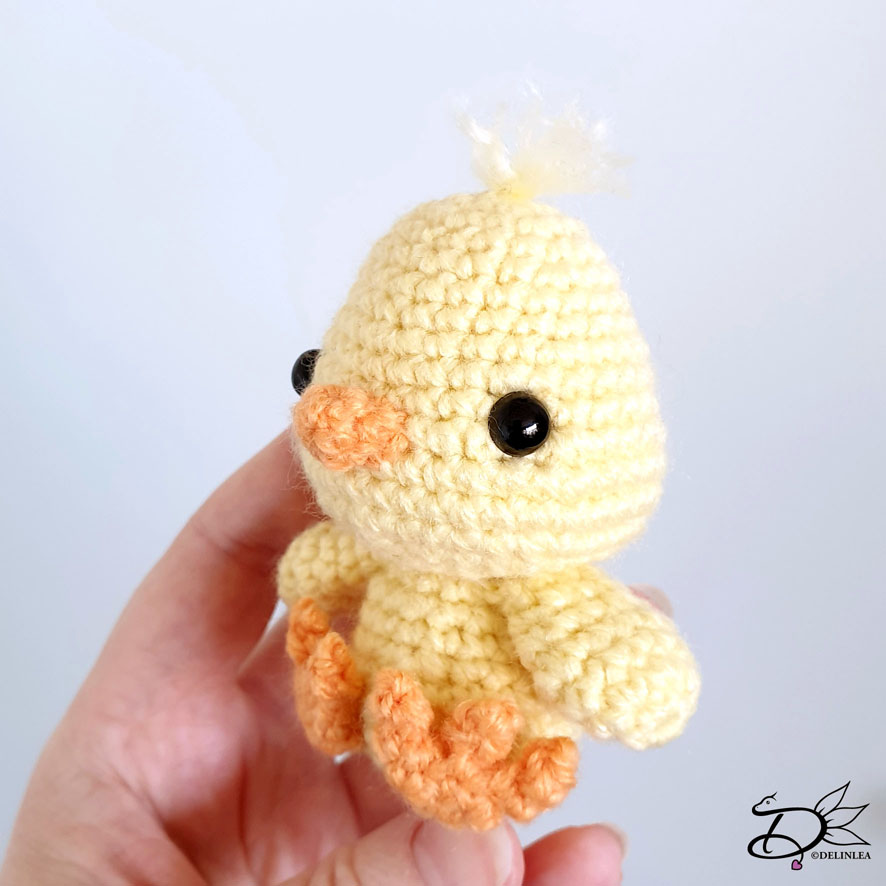
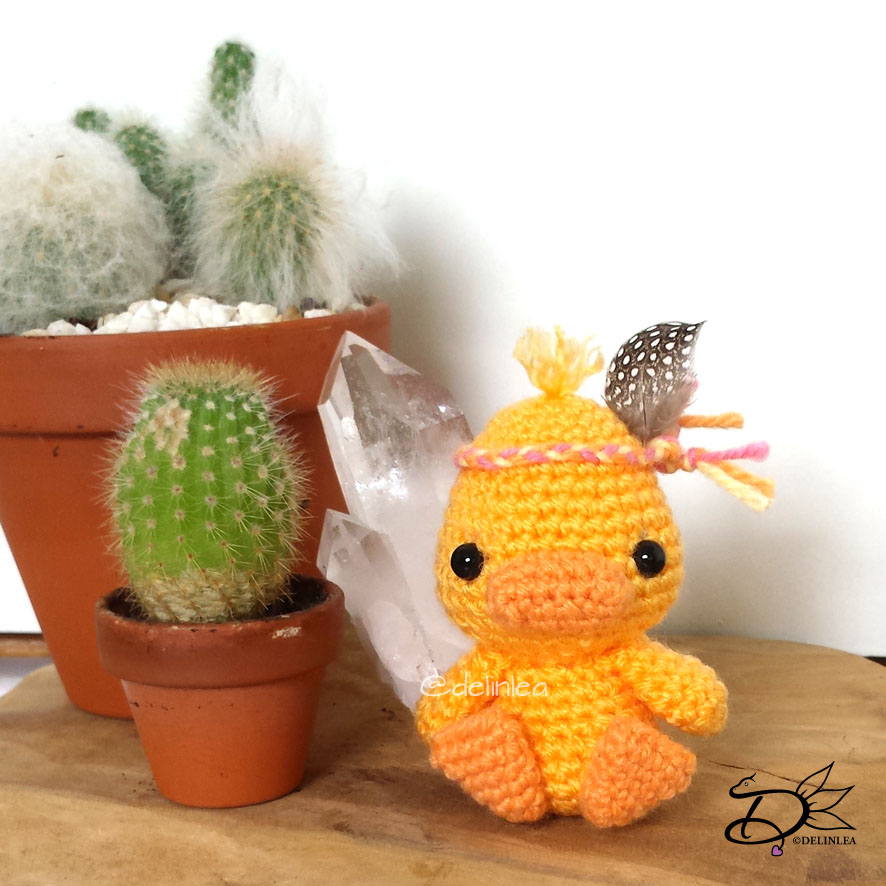
Hey Lovelies! It’s a new week, and Spring has begon! Are you enjoying to see nature slowly come alive again? I love to see plants waking up from their sleep, and see all the fresh leaves and flowers, so, so pretty! Though on the other hand, the waether isn’t sure how to act right now, one moment it storms badly with rain, and the next second it’s sunny. How is it in your country?! Kinda the same as here? Anyway, since it’s spring now, that also means the time of baby animals, yay~~. I thought I would make a cute Duckling pattern, with boho touch, for you to make. I hope you will enjoy it!
For this DIY you’ll need:
♥ Yarn in the colors; Yellow and orange (I used Stylecraft Special DK and Budgetyarn)
♥ Crochet Hook (I used a 2,5mm hook).
♥ Stuffing.
♥ Scissors.
♥ Sewing Pins.
♥ Yarn Needle.
♥ Safety eyes, 6mm.
♥ 3 scrap pieces of yarn in colors of choise. (optional)
♥ Little Feather. (optional)
Stitches used (US Terms):
Magic Ring.
Ch = Chain.
SC = Single Crochet.
ST = Stitch.
Inc = Increase.
Dec = Decrease.
(…) = Repeat the space in brackets the given number of times.
[…] = Total number of stitches.
Pattern
Body
Use the color yellow.
1: 6SC in Magic Ring. [6]
2: 2SC in each st around. [12]
3: (1SC, inc) 6 times. [18]
4: (2SC, inc) 6 times. [24]
5: 24SC. [24]
|
7: 24SC. [24]
8: (2SC, dec) 6 times. [18]
9: 18SC. [18]
10: 18SC. [18]
11: (1SC, dec) 6 times. [12]
Fasten off and leave a long tail for sewing. Don’t forget to stuff the body.
Head
Use the color yellow.
1: 6SC in Magic Ring. [6]
2: 2SC in each st around. [12]
3: (1SC, inc) 6 times. [18]
4: 18SC. [18]
5: (2SC, inc) 6 times. [24]
6: 24SC. [24]
7: 24SC. [24]
8: (3SC, inc) 6 times. [30]
9: 30SC. [30]
10: 30SC. [30]
11: (4SC, inc) 6 times. [36]
Between row 10 and 11 you will place the eyes, about 3 cm apart.
12: 36SC. [36]
13: 36SC. [36]
14: (4SC, dec) 6 times. [30]
15: (3SC, dec) 6 times. [24]
16: (2SC, dec) 6 times. [18]
17: (1SC, dec) 6 times. [12] Stuff the body here.
18: Dec all around. [6]
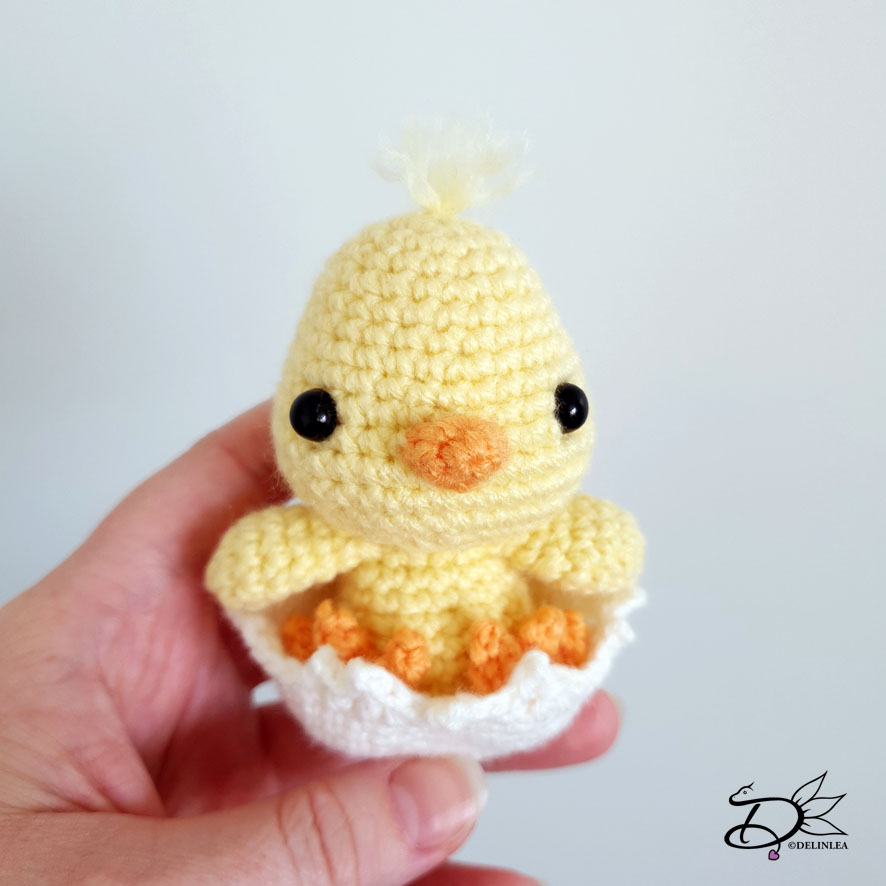
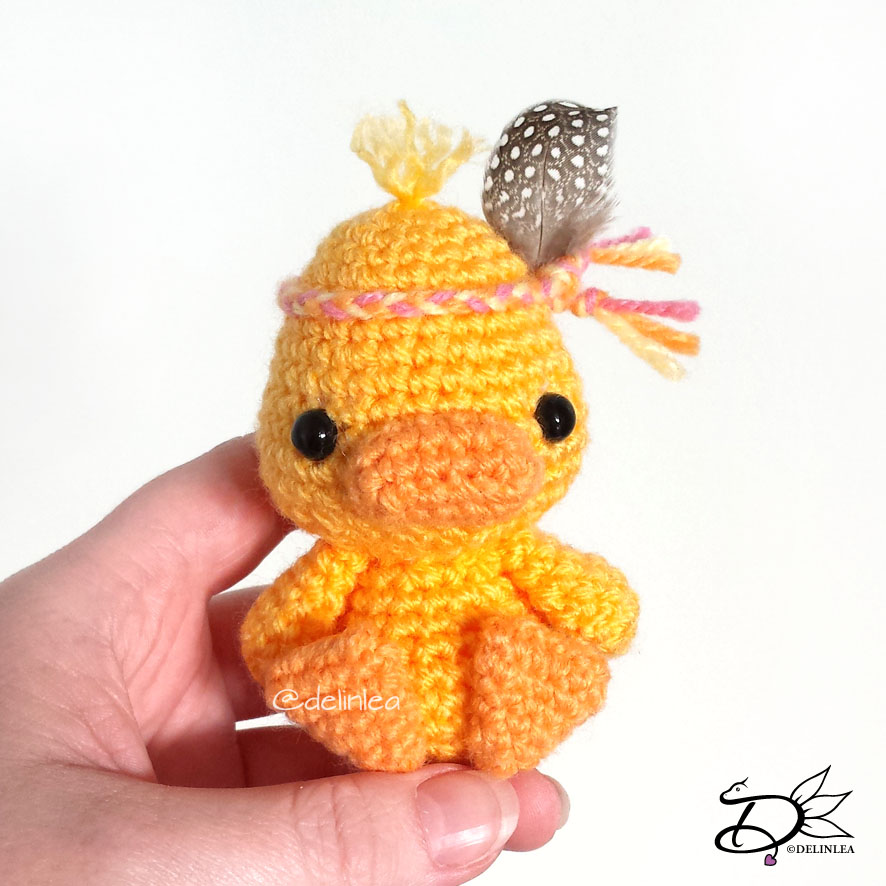
fasten off and weave in tail. With some 10cm piece of the same yarn you can
create some fluff on top of his head. I use 3 strings. and pulled those through
the bottom to the top of his head. Make sure you have aknot in the end so they
stay in place. Fluff the top parts of the yarn a bit up.
Wings
Use the color yellow.
1: 6SC in Magic Ring. [6]
2: 2SC in each st around. [12]
3: 12SC. [12]
4: 12SC. [12]
5: (2SC, dec) 3 times. [9]
6: 9SC. [9]
7: 9SC. [9]
Fasten off and leave a long tail for sewing. You don’t have to stuff the wings,
just flatten them.
Beak
Use the color orange.
1: Ch7, insert in second chain from hook, 5SC, 3SC in the
next st, 4SC, inc. [14]
2: 14SC. [14]
Fasten off and leave a long tail for sewing.
Foot
Use the color orange.
1: 6SC in Magic Ring. [6]
2: 6SC. [6]
3: (1SC, inc) 3 times. [9]
4: 9SC. [9]
5: (2SC, inc) 3 times. [12]
6: 12SC. [12]
Fasten off and leave a long tail for sewing. The gap you are left with at the
end of row 6 you sew close with some stitches, make sure to flatten it first.
Assembling
I always use sewing pins to place all parts first, before
sewing. This way you can easily move all parts around until you are happy with
the outcome.
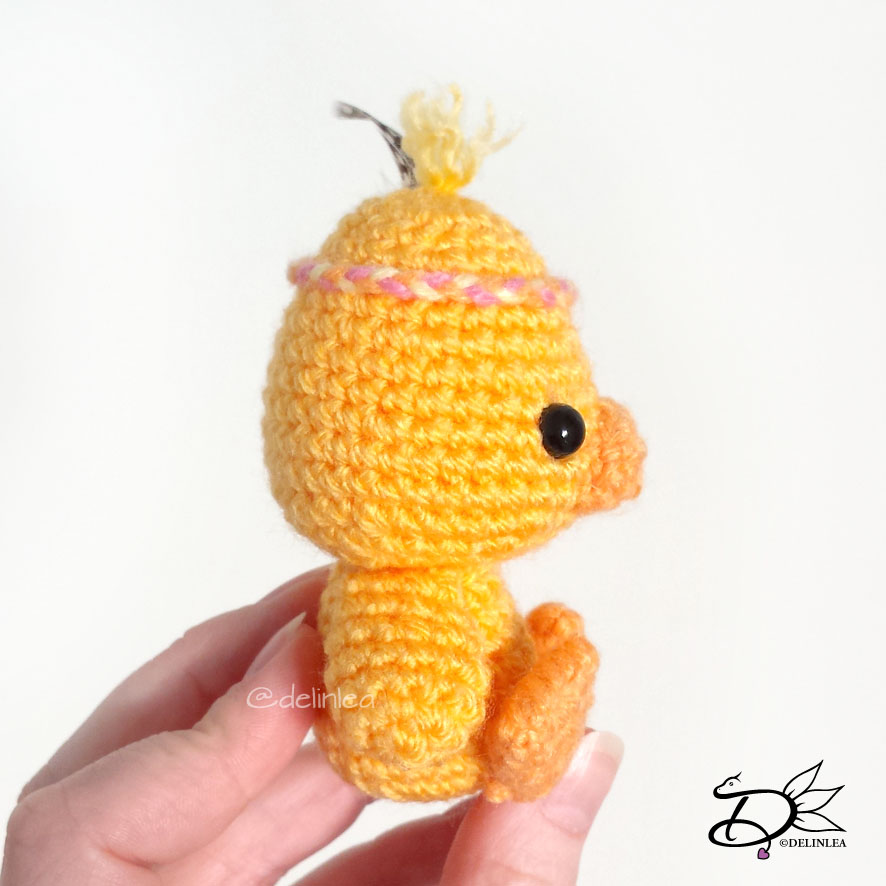
Sew on the body to his head and place the wings at both
sides of the body, sew on. His beak will go in between his eyes, but slighly
lower. You don’t have to stuff the beak, but you can do if you want, do that
when you are almost done sewing it on. Last sew on his feet.
This part is optional, but you can give him a little headband. Braid 3 scrap
pieces in a color of choise together until it’s long enough to tie around his
head. Add a little feather, and you are done!
Tip, add some pink pastel dust on his cheeks, for an extra
cute look.
I hope you liked this pattern, and show me if you made it!
Have a lovely day
Love
Danielle