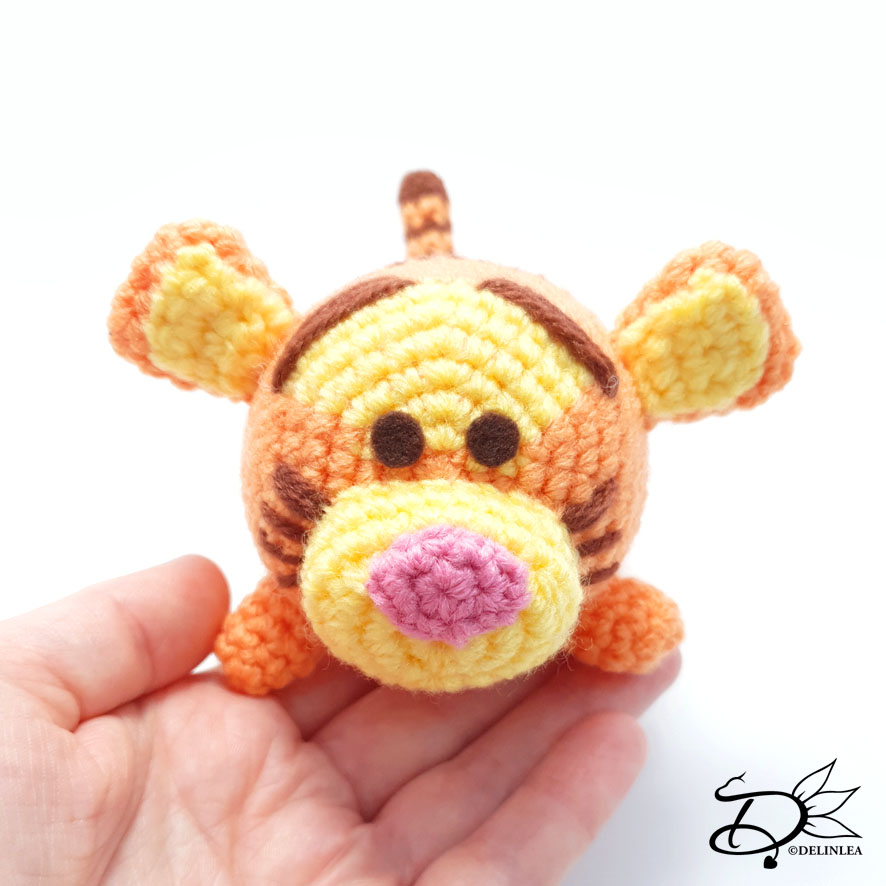
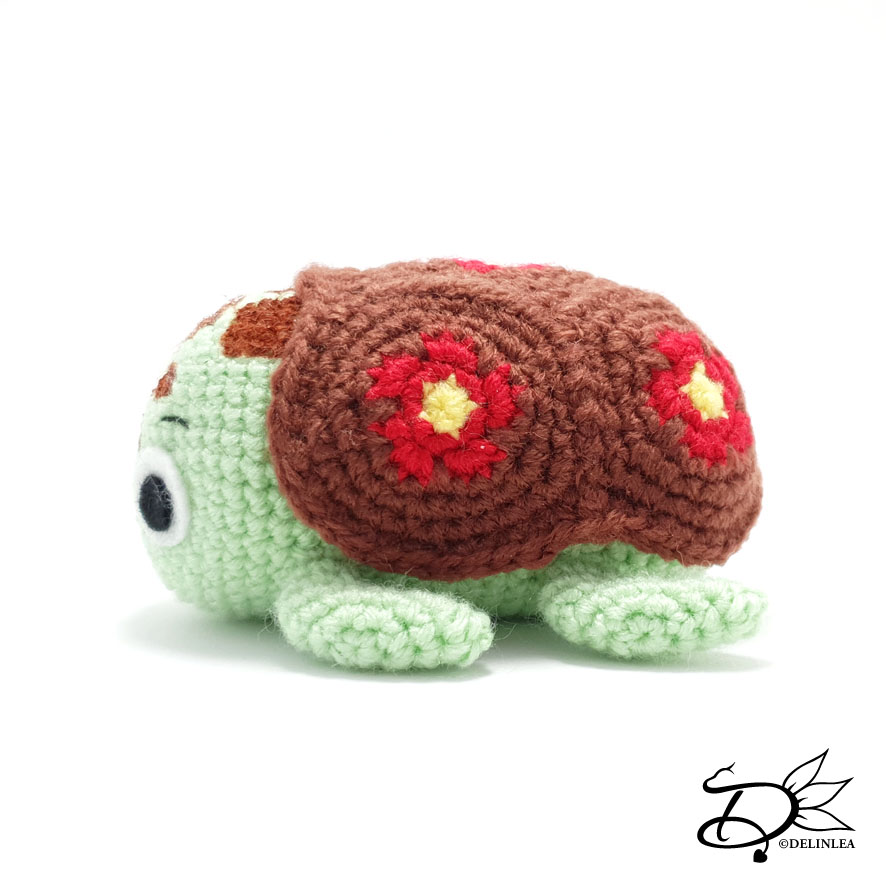
♥ Squirt TsumTsum Amigurumi
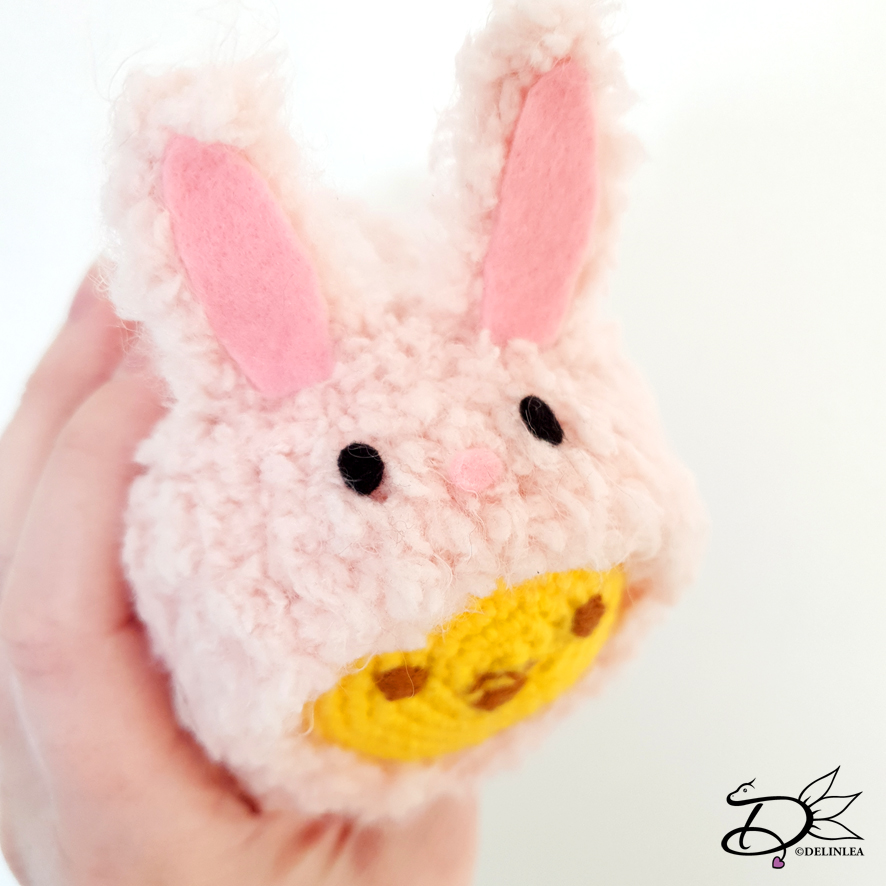
Hey Lovelies! I was looking for inspiration for TsumTsum’s, since there are so many out there! Of some I didn’t even knew they exist. Just like this one, Squirt! Do you know him? He’s from Finding Nemo. He’s so cute, I just needed to make him. So, here’s the pattern for him!
For this pattern you’ll need:
♥ Yarn in Light Green, Brown, Yellow and Red. (I used Zeeman Supersoft and Budgetyarn.com)
♥ Black and White Felt for the eyes.
♥ Bit of sewing thread in green and Black for Mouth and Eyebrows.
♥ Crochet Hook. (I used a 2mm hook)
♥ Stuffing.
♥ Stitch Markers.
♥ Yarn Needle.
♥ Sewing Pins.
♥ (Fabric)Glue.
♥ Brown Acrylic Paint. (optional, you can make his spots otherwise as well, like with felt or yarn)
Stitches used (US Terms):
Magic Ring.
CH = Chain.
SLST = Slip Stitch.
SC = Single Crochet.
HDC = Half Double Crochet.
DC = Double Crochet.
ST = Stitch.
Inc = Increase.
Dec = Decrease.
(…) = Repeat the space in brackets the given number of times.
[…] = Total number of stitches.
♥ Pattern Squirt
This pattern is made with continues rounds, unless stated otherwise. Use a stitch marker to mark your first/last stitch of your row.
Body
Use the color Light Green.
1: 6SC in a
Magic Ring. [6]
2: 2SC in each st around. [12]
3: (1SC, inc) 6 times. [18]
4: (2SC, inc) 6 times. [24]
5: (3SC, inc) 6 times. [30]
6: (4SC, inc) 3 times, (inc, 4SC) 3 times. [36]
7: (5SC, inc) 3 times, (inc, 5SC) 3 times. [42]
8: 42SC. [42]
|
29: 42SC. [42]
30: (5SC, dec) 6 times. [36]
31: (4SC, dec) 6 times. [30]
32: (3SC, dec) 6 times. [24]
33: (2SC, dec) 6 times. [18]
34: (1SC, dec) 6 times. [12]
35: dec around. [6]
Fasten off and weave in tail.
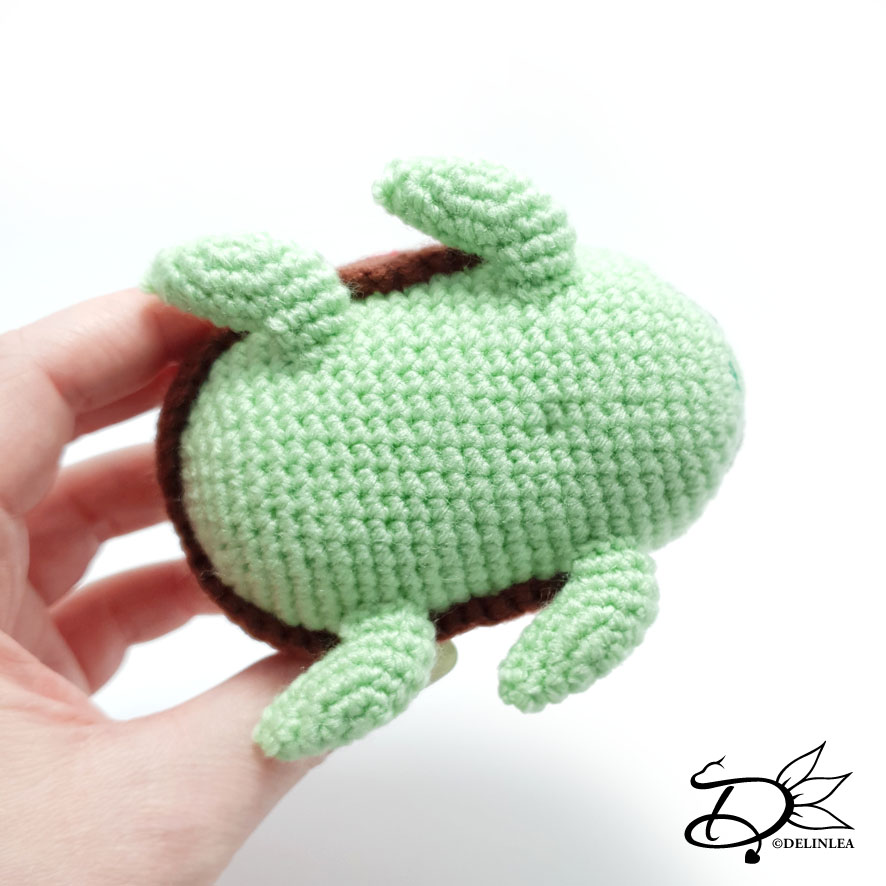
Flippers (Make 4)
Use the color Light Green.
1: 6SC in a
Magic Ring. [6]
2: 2SC in each st around. [12]
3: (1SC, inc) 6 times. [18]
4: 7SC, 1HDC, (2DC in the next st) 2 times, 1HDC, 7SC. [20]
5: 4SC, skip 12st, 4SC. [8]
6: 8SC. [8]
Fasten off and leave a long tail for sewing.
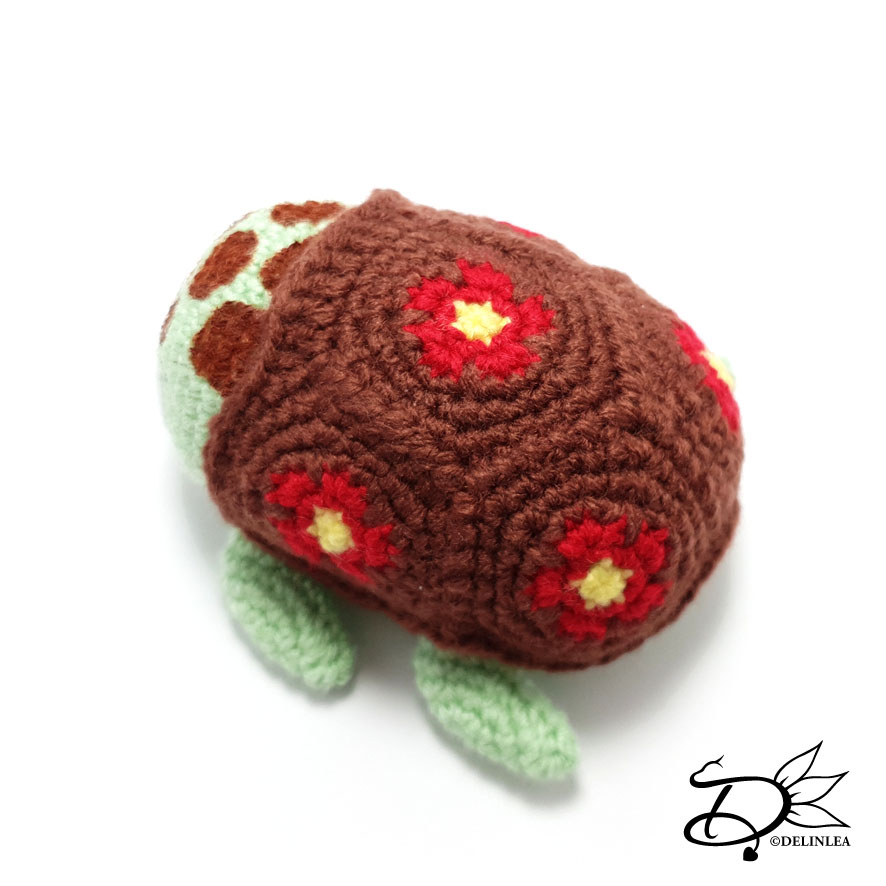
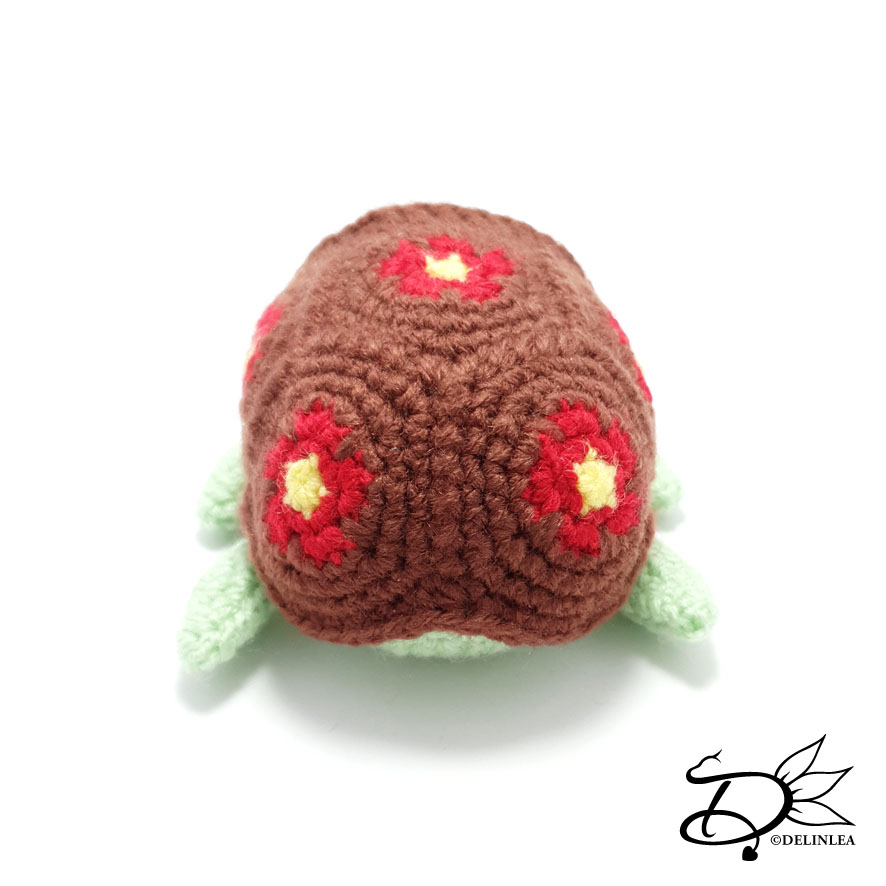
Shell (Make 5)
Start with the color yellow
This part won’t be made with continues rounds, close every row with a SlSt and start with a Ch.
1: 5SC in a
Magic Ring, SlSt in the first st. [5]
Change to the color Red.
2: Ch1, 2SC in each st around, SlSt in the first st. [10]
3: Ch1, (3SC in the next st, Ch1, Skip 1st) 5 times, SlSt in the first st. [20]
Change to the color Brown.
4: (3SC, 1SC in the st you skipped at row3) 5 times, SlSt in the first st. [20]
5: (3SC, inc) 5 times, SlSt in the first st.
[25]
6: (4SC, inc) 5 times, SlSt in the first st.
[30]
Fasten off and leave a long tail for sewing.
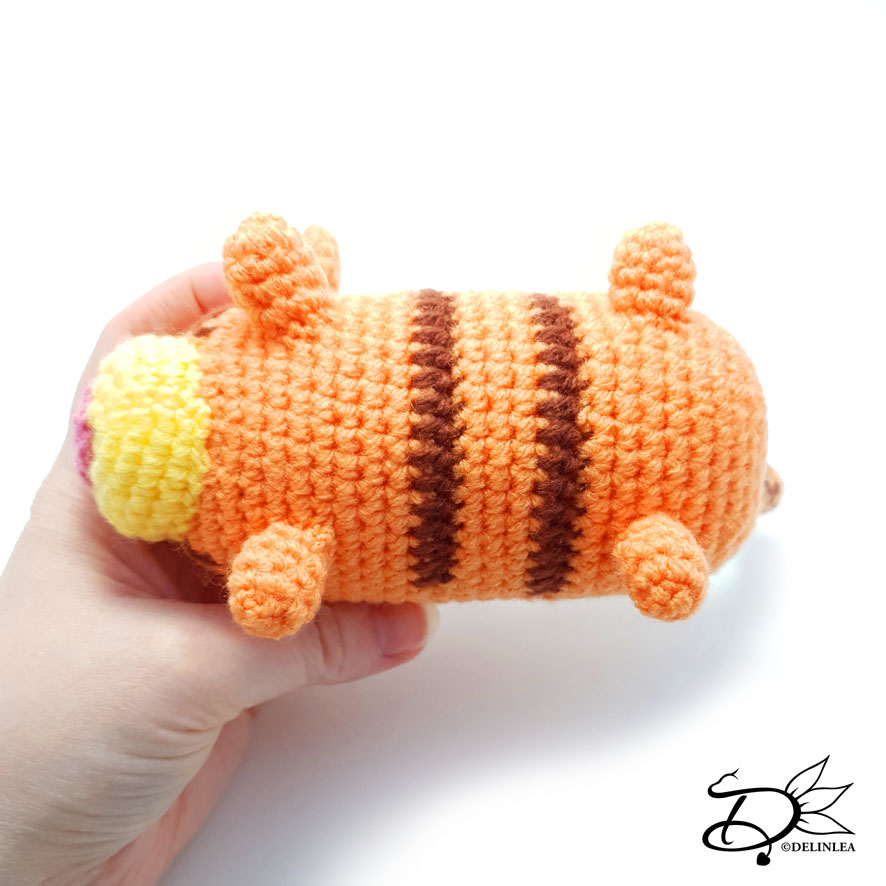
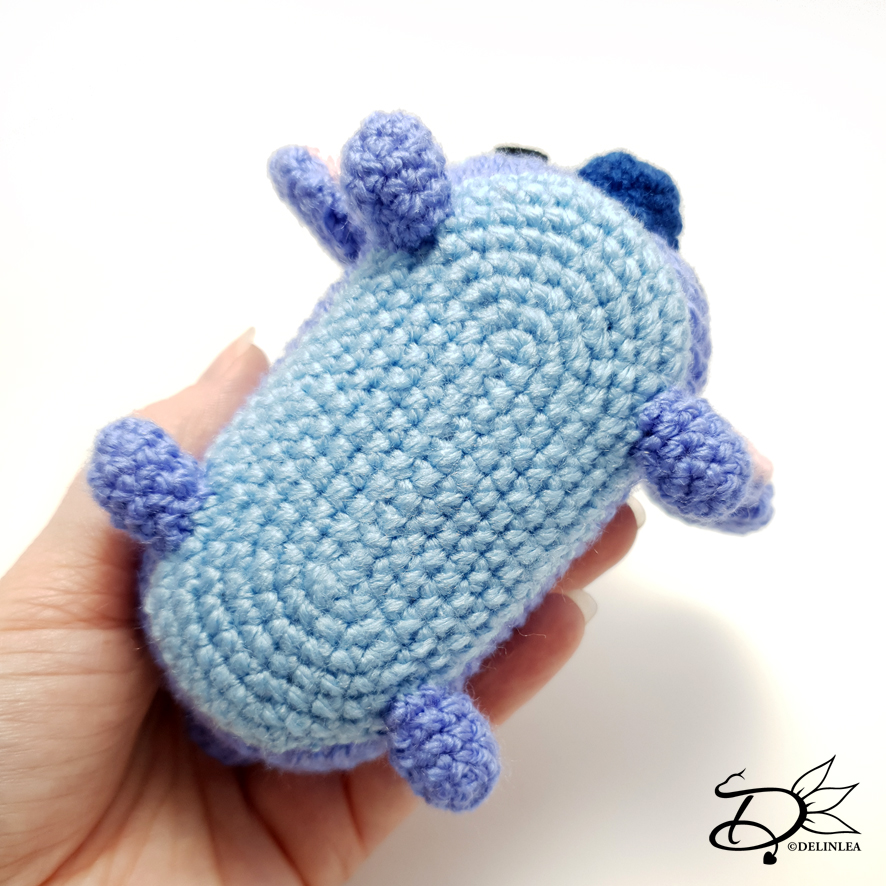
Obviously you are not finished with the shell yet, sew all the parts together as shown in the drawing below. When you have done that, Now you have to crochet around the edge with SC, but in the spots 2parts of the shell meet, you have to make a HDC. Also you have to make some DC where his ‘neck’ will be. Use the same drawing below to see what goes where.

♥ Assembling
Whenever I start sewing a Amigurumi together, I like to use sewing pins to position all parts first. This way I can move it easily around until I am happy with how it looks. After I will sew it on.
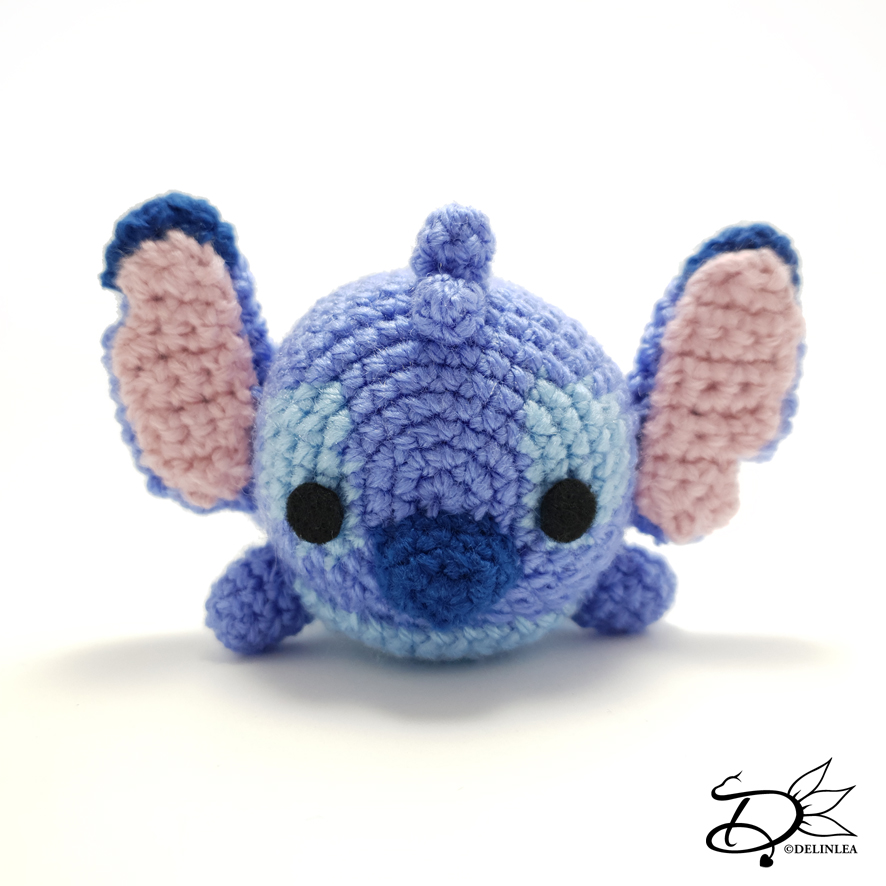
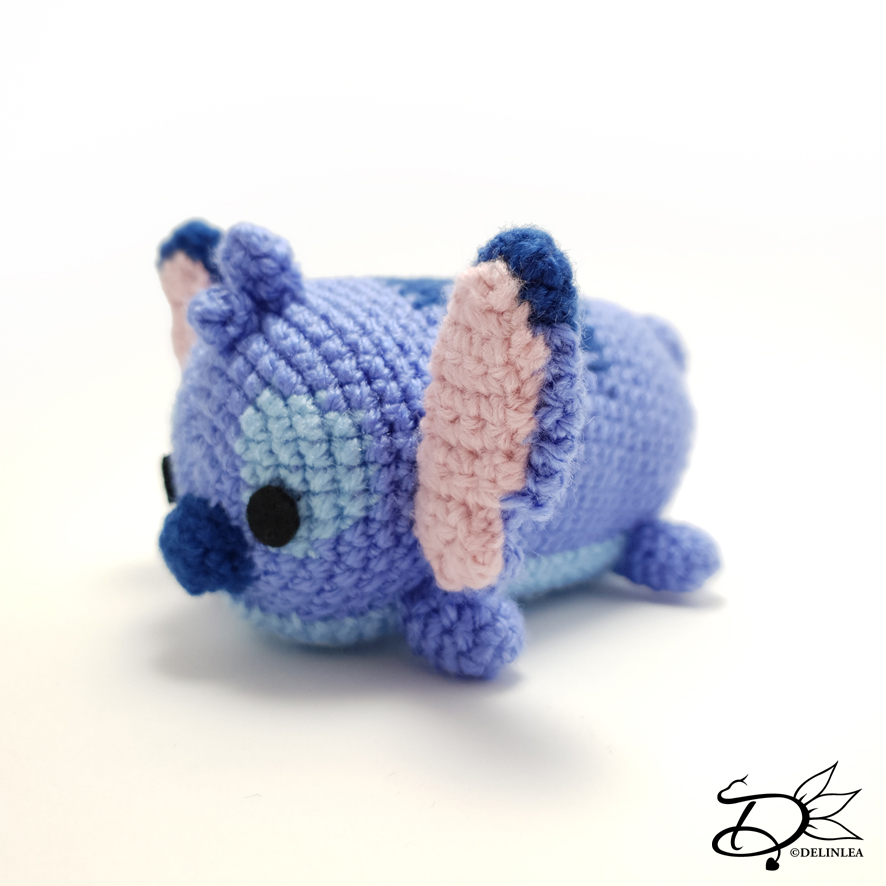
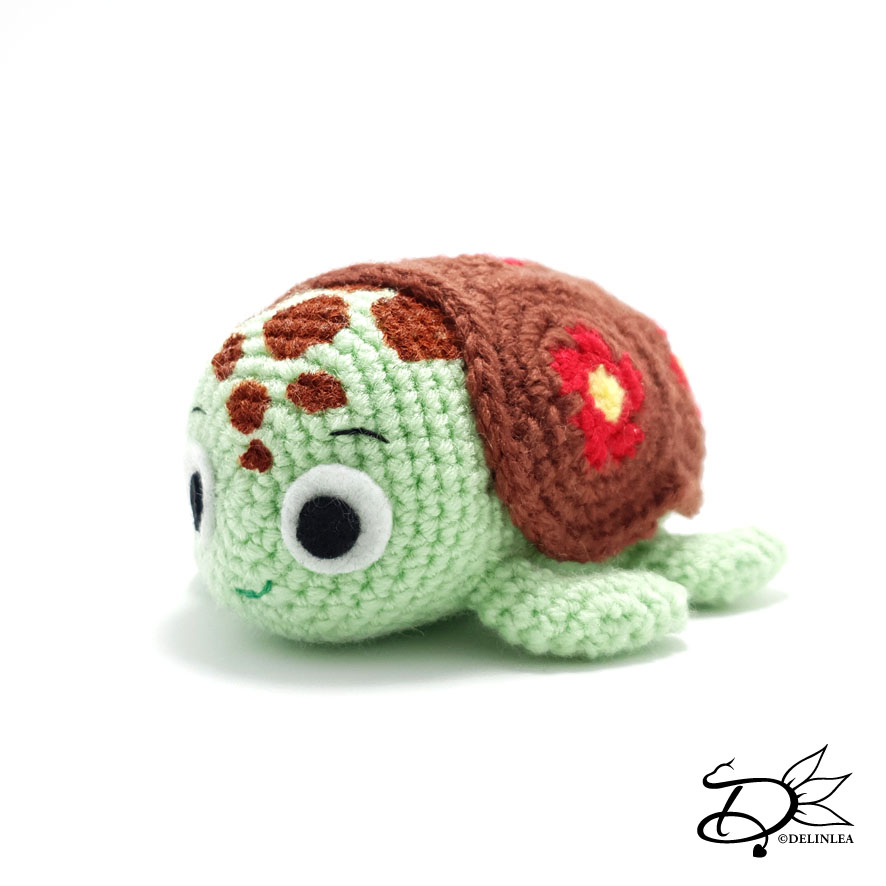
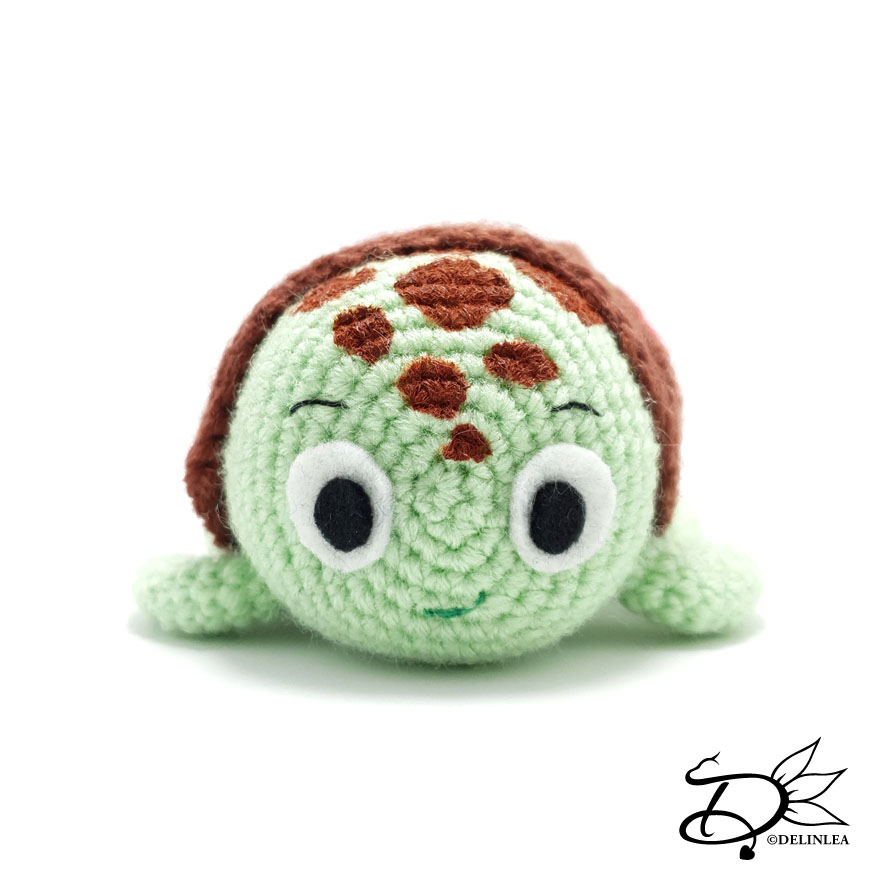
Easiest is to sew on his shell first. This way you know exactly where the flippers will go. The front flippers slightly in front of his shell and his back flippers where 2 parts of his shell meet. You can definitely do however you love it best, though. Then cut some eyes out of felt and glue those on. After I painted on the spots on his head with acrylic paint. (If you heat set the paint you can wash it as well). Last I made his mouth and eyebrows with some embroidery and he was already finished.
It took me forever to finish Squirt though, I have no clue why, probably procrastinating problems haha xD. But I love him now and I am glad Squirt is born. Another Tsum for my growing TsumTsum collection. xD. I hope you will make him as well and if you do, please show me on Twitter or Instagram with the #DelinleaDIY
I hope you had fun with this pattern today and I’ll see you next week.
Love
Danielle