Delinlea - My little fantasy world
  • ♥ Home
  • ♥ About Me
  • ♥ Blogmas 2021
  • ♥ Free Patterns
    • ♥ Amigurumi; Spring/Easter
    • ♥ Amigurumi; Fall/Halloween
    • ♥ Amigurumi; Winter
    • ♥ Amigurumi Tsum Tsum
    • ♥ Amigurumi Ufufy
    • ♥ Amigurumi Others
    • ♥ Christmas Countdown 2017
    • ♥ Blogmas 2018
    • ♥ Blogmas 2020
  • ♥ Tutorials
    • ♥ Easter
    • ♥ Home Deco
    • ♥ Others
  • ♥ Drawing Lessons
  • ♥ FanFic
    • ♥ Chapter 1
    • ♥ Chapter 2
    • ♥ Chapter 3
    • ♥ Chapter 4
    • ♥ Chapter 5
    • ♥ Chapter 6
    • ♥ Chapter 7
  • ♥ Gallery
    • ♥ Crafts
    • ♥ Drawings
    • ♥ Poseable Art Dolls
  • ♥ Links
  • ♥ Contact
    • Privacy Policy

Autumn

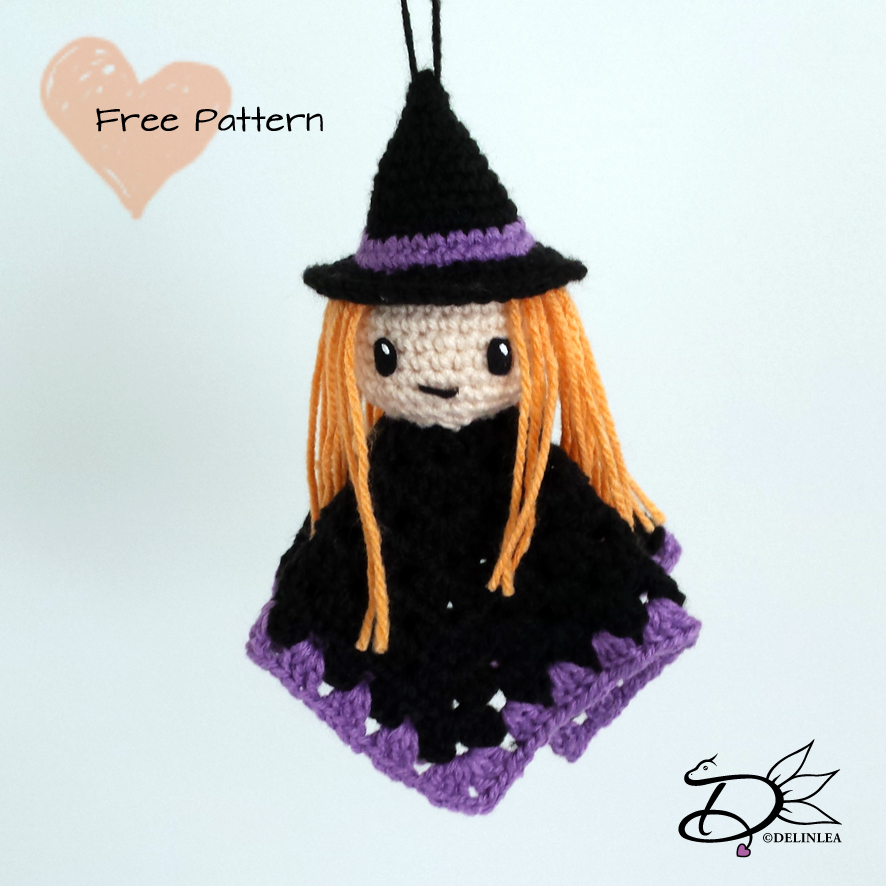
♥ Free Pattern; Bat Amigurumi

10 oktober 2019 by Delinlea Leave a Comment

Hey Lovelies! Do you enjoy fall so far?! Here there is a lot of wind and rain, but I love it, specially cause al lot of fruits and nuts are ready to collect. I love going out in nature and see what foods I can find. It’s a good feeling to work for your food =P. Do you do this as well? Or do you prefer to stay inside with this weather? ^_^
Since it’s getting darker faster now, every evening when I close my curtains, I 
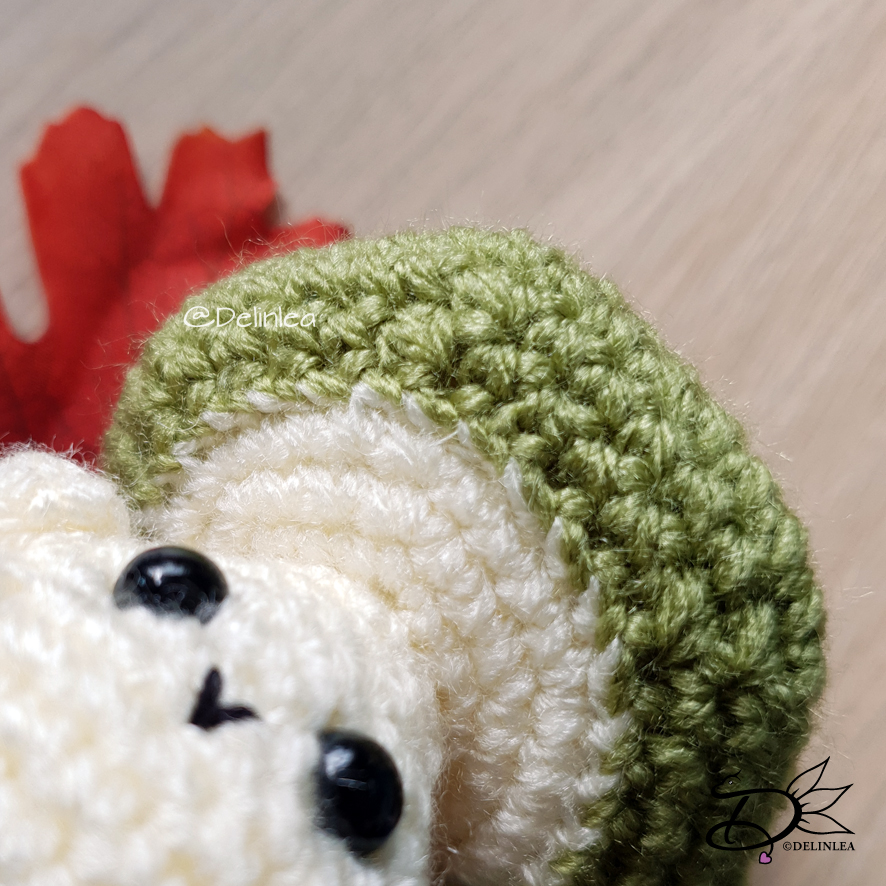
see a bat flying around, it’s so fun to watch! This made me inspired to make a Bat amigurumi, it’s so cute~. I hope you will love it as well, do you see real bat’s flying sometimes?

For this DIY you’ll need:
♥ Yarn in the colors; Black and Purple (I used Budgetyarn.com).
♥ Crochet Hook (I used a 2,5mm hook).
♥ Stuffing.
♥ Scissors.
♥ Sewing Pins.
♥ Yarn Needle.
♥ Safety Eyes, 9mm.

Stitches used (US Terms):
Magic Ring.
CH = Chain.
SLST = Slip Stitch.
SC = Single Crochet.
HDC = Half Double Crochet.
DC = Double Crochet.
ST = Stitch.
Inc = Increase.
Dec = Decrease.
(…) = Repeat the space in brackets the given number of times.
[…] = Total number of stitches.

Pattern

Work in continues rounds, use a stitch marker to mark your first stitch of every row. This is for every part, unless stated otherwise.

Head + Body
Use the color Black.

1: 6SC in Magic Ring. [6]
2: 2SC in each st around. [12]
3: (1SC, inc) 6 times. [18]
4: (2SC, inc) 6 times. [24]
5: (3SC, inc) 6 times. [30]
6: 30SC. [30]
|
11: 30 SC. [30]
12: (3SC, dec) 6 times. [24]
13: (2SC, dec) 6 times. [18] Insert the eyes between row 8 and 9, about 4 cm apart. Stuff the head here to make it easier for yourself. You can do it last but it’s harder to stuff nicely.
14: (1SC, dec) 6 times. [12]
15: 12SC. [12]
16: (1SC, inc) 6 times. [18]
17: 18SC. [18]
|
20: 18SC. [18]
21: (1SC, dec) 6 times. [12] Stuff the body now as well.
22: Dec all around. [6]
Fasten off and weave in tail.

Ears (Make 2)
Use the color black

1: 6SC in Magic Ring. [6]
2: (1SC, inc) 3 times. [9]
3: (2SC, inc) 3 times. [12]
4: 12SC. [12]
|
8: 12 SC. [12]
Fasten off and leave a long tail for sewing.

Inside of the Ears (Make 2)
Use the color Purple.
You won’t work in continues rounds.

1: Ch5, insert in second Ch from hook, 4SC, turn. [4]
2: 4SC, 3SC in the next st, 4SC. [11]
Fasten off and leave a long tail for sewing, sew this to the outer ear.

Belly
Use the color Purple.

1: 6SC in Magic Ring. [6]
2: 2SC in each st around. [12]
Fasten off and leave a long tail for sewing.

Legs (Make 2)
Use the color Black.

1: 6SC in Magic Ring. [6]
2: (1SC, inc) 3 times. [9]
3: 9SC. [9]
Fasten off and leave a long tail for sewing.

Wings (Make 2)
Start with the color Black.
You won’t work in continues rounds.

1: Ch3, insert in second Ch from hook, 2SC, turn. [2]
2: Inc 2 times, turn. [4]
3: Inc, 2SC, inc, turn. [6]
4: Inc, 4SC, inc, turn. [8]
5: 8SC, turn. [8]
6: Inc, 6SC, inc, turn. [10]
7: 10SC, turn. [10]
8: Ch3, DC + HDC in the next st, 3SC, HDC + DC in the next st, Ch1, DC + HDC in the next st, 4SC.
Change to the color Purple.
Crochet along the edge of the wing now. In the middle of the wing you can either stitch on a line with Purple yarn of use the Surface Crochet Technique.

Assembling

By using sewing pins, you can position all parts before sewing them on. This way you can easily move them around until you are happy with how it looks.

Sew the ears on to of the head of the Bat and his belly to the body. His legs go right beside, slightly lower his belly. On His back you will sew his wings. Position them however you like.

If you want you can sew on a little mouth, I didn’t because I like it this way xD.

I hope you enjoyed this new bat pattern and let me know if you made it! I always love to see works that are made by you, using my patterns, I always feel so loved!

Have a wonderful day!

Love
Danielle

Posted in: Crafting, Crochet Tagged: Amigurumi, Autumn, Bat, Crochet, cute, fall, Free Pattern, haken, Halloween, kawaii, october

♥ Papercraft; Fall Decor

26 september 2019 by Delinlea Leave a Comment

Hey Lovelies! I really needed a small break from my crochet works, I sometimes forget other crafts excist as well! There is so much fun stuff out there. I really needed to go back to my first love for paper. You can create so much with it, either flat or 3D. For today I created something flat, tho I think it’s very cute to put somewhere in your home, some nice little fall decor. And it also includes some handlettering (I don’t explane how, but there are plenty tutorials out there). I hope you will enjoy this easy, but fun craft!

For this DIY you’ll need:
♥ Cardboard, in Autumn colors (you can also use patterned paper to give it that little extra).
♥ Pencil.
♥ Scissors.
♥ Glue.
♥ This Template.
♥ Black Fineliner.

DIY

Start with printing out the template (or trace it from your screen if you don’t have a printer). Cut all these parts out.

If you have all your parts cutted out, trace those to the colored paper of choise. Most parts you trace just ones, but for the leaves, just trace them as many times as you want.
For the hood mushrooms and the stem of the pumpkin, leave them on first if you trace them on to the main color, then cut off the hoods of the mushrooms and the stem of the pumpkin. Trace those parts to the desired color seperately.

Glue the stem of the pumpkin and the hoods of the mushrooms on the main colored paper.

With a black fineliner, draw on the details on the pumpkin and the leaves.

Make an arrangement of all the parts you have made, if you are happy with how it looks, glue all parts to it’s definite place.

Handlettering

Last but not least, handletter on the word ‘Fall’ or ‘Autumn’. I won’t explane, like I said, but you can find plenty of tutorials online. Or simply copy hope I wrote mine!

I hope you enjoyed this easy DIY in between everything, I defenitely did!

Love
Danielle

Posted in: Crafting, Paper Tagged: Autumn, decoration, fall, handlettering, leaves, papercraft, pumpkin

♥ Free Pattern; Mushroom Buddy Amigurumi

19 september 2019 by Delinlea 2 Comments

Hey Lovelies! Fall is really starting to show it’s face. I am so happy we can leave summer behind, finally! Autumn is my favorite season of the year, but if you know me, when there’s snow in winter, you will hear me say, winter is my favorite season haha.
I have like so many ideas for autumn to make, that I barely know where to start. I’ll probably busy until next year to get everything done. That’s not happening. I have to make decisions! So for today I decided to make this adorable Mushroom buddy! I hope you will love him as much as I do. You can make so many variations with him, I kinda wanted to make a bazillion versions *hides.

Mushroom Buddy

For this DIY you’ll need:
♥ Yarn in the colors; off white and a color of choise. (I used StyleCraft Special DK)
♥ Crochet Hook (I used a 2,5mm hook).
♥ Stuffing.
♥ Scissors.
♥ Sewing Pins.
♥ Yarn Needle.
♥ Piece of black yarn to sew on it’s mouth
♥ Safety Eyes, 6mm.

Stitches used (US Terms):
Magic Ring.
BL = Back Loops.
CH = Chain.
SLST = Slip Stitch.
SC = Single Crochet.
ST = Stitch.
Inc = Increase.
Dec = Decrease.
(…) = Repeat the space in brackets the given number of times.
[…] = Total number of stitches.

Pattern

Work in continues rounds, use a stitch marker to mark your first stitch of every row. This is for every part, unless stated otherwise.

Body
Use the color Off-White.

1: 6SC in Magic Ring. [6]
2: 2SC in each st around. [12]
3: (1SC, inc) 6 times. [18]
4: (2SC, inc) 6 times. [24]
5: 24SC. [24]
|
9: 24SC. [24]
10: (2SC, dec) 6 times. [18]
11: 18SC. [18]
12: (1SC, dec) 6 times. [12]
13: 12SC. [12]
14: 12SC. [12]
15: BL, (1SC, inc) 6 times. [18]
16: (2SC, inc) 6 times. [24]
17: (3SC, inc) 6 times. [30]
Fasten of and weave in tail. Insert the eyes between row 9 and 10, and stuff the body firmly.

Hood
Use any color of choise.

1: 6SC in Magic Ring. [6]
2: 2SC in each st around. [12]
3: 12SC. [12]
4: 12SC. [12]
5: (3SC, inc) 3 times. [15]
6: 15SC. [15]
7: (4SC, inc) 3 times. [18]
8: 18SC. [18]
9: (2SC, inc) 6 times. [24]
10: 24SC. [24]
11: (3SC, inc) 6 times. [30]
12: (4SC, inc) 6 times. [36]
13: (5SC, inc) 6 times. [42]
14: 42SC. [42]
15: 42SC. [42]
16: (5SC, dec) 6 times. [30]
17: (4SC, dec) 6 times. [24]
Fasten off and leave a long tail for sewing. Stuff the hood, make sure around the opening, not to much stuffing.

Legs (make 2)
Use the color Off-White.

1: 6SC in Magic Ring. [6]
2: 2SC in each st aorund. [12]
3: 12SC. [12]
Fasten off and leave a long tail for sewing. Stuff both legs.

Arms (make 2)
Use the color Off-White.

1: 6SC in Magic Ring. [6]
2: 6SC.[6]
Fasten off and leave a long tail for sewing.

A look under the Hood.

Assembling

By using sewing pins, you can position all parts before sewing them on. This way you can easily move them around until you are happy with how it looks.

Sew the hood to the body, if you indeed kept a bit of space by the stuff part, you are able to push the body a bit inward for a more natural look.
Position his arms and legs and sew those on.
Stitch on a little mouth in case you like. You can also add dots to it’s hood as a variation on this one. just go wild with this pattern! Have fun!

I hope you enjoyed this pattern, and if you made one, show me! I would love to see!

Love
Danielle

Posted in: Crafting, Crochet Tagged: Amigurumi, Autumn, buddy, Crochet, cute, fall, haken, kawaii, mushroom

♥ Amigurumi Witch Ghost

11 oktober 2018 by Delinlea 1 Comment

Hey Lovelies! I’m a bit late with today’s post, I know, I’m Sorry! But here it is finally~~. Today we are gonna make a Witch Ghost, the last one in the series together with the Pumpkin Ghost en the Ghost. I made it cute, obvisiously, but I think if you change up de face, it can be a scary one as well. Have fun!

For this DIY you will need:
♥  Yarn, in Beige, Orange, Purple and Black.
♥  Crochet hook.
♥  Stitch marker.
♥  Yarn Needle.
♥  Sewing Pins. (optional)
♥  Fiber fill.
♥  Felt in Black.
♥  Scissors.
♥  Glue.

Stitches used (US):
CH = Chain.
SC = Single Crochet.
DC = Double Crochet.
ST = Stitch.
Inc = Increase.
Dec = Decrease.
Slst = Slip Stitch.
FL = Front Loop.
(…) = Repeat the space in brackets the given number of times.
[…] = Total number of stitches.

Pattern

Head
Use the color Beige.

1: 6SC in Magic Ring. [6]
2: 2SC in each st around. [12]
3: (1SC, inc) 6 times. [18]
4: (2SC, inc) 6 times. [24]
5: (3SC, inc) 6 times. [30]
6: 30SC. [30]
|
11: 30SC. [30]
12: (3SC, dec) 6 times. [24]
13: (2SC, dec) 6 times. [18]
14: (1SC, dec) 6 times. [12]
15: dec all around. [6]
Fasten off and weave in tail.

Granny Square
Start with the color Black. You start each row with 2CH, this counts as the first DC. Use SlSt after every row to go to the next ch space.

1: (3DC, CH2) 4 times in Magic Ring. [4ch space, 12DC]
2: (3DC, CH2, 3DC, CH1) 4 times. [8ch space, 24DC]
3: (3DC, CH2, (3DC, CH1) 2 times.) 4 times. [12ch space, 36DC]
4: (3DC, CH2, (3DC, CH1) 3 times.) 4 times. [16ch space, 48DC]
5: (3DC, CH2, (3DC, CH1) 4 times.) 4 times. [20ch space, 60DC]
6: (3DC, CH2, (3DC, CH1) 5 times.) 4 times. [24ch space, 72DC]
7: (3DC, CH2, (3DC, CH1) 6 times.) 4 times. [28ch space, 84DC]
8: (3DC, CH2, (3DC, CH1) 7 times.) 4 times. [32ch space, 96DC]
Change to the color Purple.
9: (3DC, CH2, (3DC, CH1) 8 times.) 4 times. [36ch space, 108DC]
Fasten off and weave in tail.

Witch hat
Start with the color Black.

1: 4SC in Magic Ring. [4]
2: (1SC, inc) 2 times. [6]
3: (1SC, inc) 3 times. [9]
4: (2SC, inc) 3 times. [12]
5: (3SC, inc) 3 times. [15]
6: (4SC, inc) 3 times. [18]
7: (5SC, inc) 3 times. [21]
8: 21SC. [21]
9: (6SC, inc) 3 times. [24]
Change to the color Black.
10: (7SC, inc) 3 times. [27]
11: (8SC, inc) 3 times. [30]
Change back to the color Purple.
12: Work in front loops only, (2SC, inc) 10 times. [40]
13: 40SC. [40]
14: 40SC. [40]
Fasten off and weave in tail.

Assembling

Sew the granny square to the head. With orange yarn, create ‘hair’ between row 5 and 6 of the head. I did just one row, and not a full circle, but you can make it however you like.
Make a loop on the witch hat and place the hat on the head, if you are happy with the look, sew it on.
Cut some eyes and mouth out of black felt en glue this on the face.

And you are done!! I hope you enjoyed this pattern. This is the last one of these series! I hope you enjoyed all 3 of them. And don’t forget to show me yours if you made it, use the #DelinleaDIY on instagram or twitter!

Love
Danielle


Posted in: Crafting, Crochet Tagged: Amigurumi, Autumn, Crochet, fall, Free Pattern, ghost, haken, Halloween, Witch

♥ Amigurumi Ghost

4 oktober 2018 by Delinlea 7 Comments

Hey Lovelies!! It’s October already! Time really is flying, feels like yesterday I heard I was selected for a contest haha. But that was June I believe. Anyway, more about that tomorrow~.
For now, I’ll gonna give you the second part of the Ghost series, and it’s an actual Ghost this time around! I hope you will enjoy it~!

For this DIY you will need:
♥  Yarn, in White, Purple and Black.
♥  Crochet hook.
♥  Stitch marker.
♥  Yarn Needle.
♥  Sewing Pins. (optional)
♥  Fiber fill.
♥  Felt in Black.
♥  Scissors.
♥  Glue.

Stitches used (US):
CH = Chain.
SC = Single Crochet.
DC = Double Crochet.
ST = Stitch.
Inc = Increase.
Dec = Decrease.
Slst = Slip Stitch.
FL = Front Loop.
(…) = Repeat the space in brackets the given number of times.
[…] = Total number of stitches.

Pattern

Head
Use the color White.

1: 6SC in Magic Ring. [6]
2: 2SC in each st around. [12]
3: (1SC, inc) 6 times. [18]
4: (2SC, inc) 6 times. [24]
5: (3SC, inc) 6 times. [30]
6: (4SC, inc) 6 times. [36]
7: (5SC, inc) 6 times. [42]
8: 42SC. [42]
|
14: 42SC. [42]
15: (5SC, dec) 6 times. [36]
16: (4SC, dec) 6 times. [30]
17: (3SC, dec) 6 times. [24]
18: (2SC, dec) 6 times. [18]
19: (1SC, dec) 6 times. [12]
20: dec all around. [6]
Fasten off and leave a long tail for sewing.

Granny Square
Start with the color White. You start each row with 2CH, this counts as the first DC. Use SlSt after every row to go to the next ch space.

1: (3DC, CH2) 4 times in Magic Ring. [4ch space, 12DC]
2: (3DC, CH2, 3DC, CH1) 4 times. [8ch space, 24DC]
3: (3DC, CH2, (3DC, CH1) 2 times.) 4 times. [12ch space, 36DC]
4: (3DC, CH2, (3DC, CH1) 3 times.) 4 times. [16ch space, 48DC]
5: (3DC, CH2, (3DC, CH1) 4 times.) 4 times. [20ch space, 60DC]
6: (3DC, CH2, (3DC, CH1) 5 times.) 4 times. [24ch space, 72DC]
7: (3DC, CH2, (3DC, CH1) 6 times.) 4 times. [28ch space, 84DC]
8: (3DC, CH2, (3DC, CH1) 7 times.) 4 times. [32ch space, 96DC]
Change to the color Purple.
9: (3DC, CH2, (3DC, CH1) 8 times.) 4 times. [36ch space, 108DC]
Fasten off and weave in tail.

Witch hat
Start with the color Purple.

1: 4SC in Magic Ring. [4]
2: (1SC, inc) 2 times. [6]
3: (1SC, inc) 3 times. [9]
4: (2SC, inc) 3 times. [12]
5: (3SC, inc) 3 times. [15]
6: (4SC, inc) 3 times. [18]
7: (5SC, inc) 3 times. [21]
8: 21SC. [21]
9: (6SC, inc) 3 times. [24]
Change to the color Black.
10: (7SC, inc) 3 times. [27]
11: (8SC, inc) 3 times. [30]
Change back to the color Black.
12: Work in front loops only, (2SC, inc) 10 times. [40]
13: 40SC. [40]
14: 40SC. [40]
Fasten off and weave in tail.

Assembling

Sew the granny square to the head.
Make a loop on the witch hat and place the hat on the head, if you are happy with the look, sew it on.
Cut some eyes and mouth out of black felt en glue this on the face.

And you are done!! I hope you enjoyed this pattern. This is a series of 3, and this is part 2, so, look forward for the last one. And don’t forget to show me yours if you made it, use the #DelinleaDIY on instagram or twitter!

Love
Danielle


Posted in: Crafting, Crochet Tagged: Amigurumi, Autumn, Crochet, cute, fall, ghost, granny square, haken, Halloween, kawaii
« Vorige 1 2 3 Volgende »

What are you looking for?!

My Socials

Ko-Fi

I love making all these free things for you, tho it would be very helpfull if you can support me on Ko-Fi! (You don’t have to tho, totally up to you!)

Ko-Fi Shop!!

In my Ko-Fi shop you can find PDF Amigurumi Patterns!! You can pay easily with PayPal.
Go to the shop here!!

Recent Blog Posts

  • ♥ Happy 2022!
  • ♥ Day 12; Lights
  • ♥ Day 11; Flower Deco
  • ♥ Day 10; Snowman
  • ♥ Day 9; Gingerbread Houses

Recent Comments

  • Erzsebet M. Marosvari op ♥ My Entry For a Faber Castell Contest
  • Delinlea op ♥ Pietje Gnome Amigurumi
  • Delinlea op ♥ Toy Story Alien TsumTsum Amigurumi
  • Delinlea op ♥ Pua Tsum Tsum Amigurumi
  • Charli op ♥ Free Pattern; CNY Mouse Amigurumi

Categories

  • animation
  • Beadwork
  • Blogmas 2018
  • Blogmas 2020
  • Blogmas 2021
  • Books
  • Bujo
  • Christmas
  • Christmas CAL 2019
  • Christmas Countdown 2017
  • Contest
  • Crafting
  • Crochet
  • Drawing
  • Drawing Lesson
  • Easter
  • Geen categorie
  • Life
  • Miniature
  • Nail Art
  • New Year
  • Paper
  • plush
  • Pokemon
  • Poseable Art Doll
  • Recipe
  • Sewing
  • Shop Pattern
  • Sinterklaas
  • Social Media
  • Tsum Tsum
  • Ufufy

Copyright © 2025 Delinlea - My little fantasy world.

Family WordPress Theme by themehall.com